
 OFFER
OFFER


Email essentials

Drive sales on autopilot with ecommerce-focused features
See FeaturesWant to learn how to set up DMARC? DMARC authentication adds essential protection to your email system by controlling how receiving servers handle emails that claim to be from your domain.
Once configured, DMARC actively monitors incoming and outgoing emails, enforces your specified policies, and helps email providers determine whether to accept, quarantine, or reject messages claiming to be from your domain.
Join us below for a complete DMARC setup guide.
Step 1: Access your DNS settings
Step 2: Create your DMARC record
Step 3: Add new TXT record
Step 4: Save the record
Step 5: Verify setup
Get started with Omnisend and automate email marketing with personalized deliverability reports
Quick sign up | No credit card required
What is DMARC and why it matters
DMARC (Domain-based Message Authentication, Reporting, and Conformance) protects your business emails from being impersonated by cybercriminals.
When you send emails to your customers, DMARC works with two other authentication protocols (SPF and DKIM) to verify that they come from your domain:
- SPF: Validates which servers are allowed to send emails from your domain
- DKIM: Adds a digital signature to your emails to prove they haven’t been tampered with
- DMARC: Sets rules for what should happen if an email fails either SPF or DKIM checks
If you don’t have DMARC configured, anyone can send emails pretending to be your business, putting your customers at risk of phishing scams and damaging your brand reputation.
Even worse, major email providers may consider your legitimate emails suspicious, meaning your essential business communications may not reach your customers’ inboxes.
Setting up DMARC gives you control over how email providers handle messages sent from your domain. It tells these providers exactly how to handle suspicious emails claiming to be from your business and helps ensure your legitimate emails reach your customers’ inboxes.
However, implementing authentication alone doesn’t guarantee inbox delivery — you need to focus on overall email deliverability as well.
How to set up DMARC for your domain: Detailed explanation
Follow these steps to set up DMARC for your domain:
Step 1: Access your DNS settings
- Log in to your domain host’s management console (where you purchased your domain — common providers include GoDaddy, NameCheap, or your web hosting control panel)
- Navigate to DNS settings or DNS zone editor
- Look for options like Manage DNS, DNS Settings, or DNS Zone Editor
Step 2: Create your DMARC record
- Format your record using this syntax: v=DMARC1;p=none;fo=1;rua=mailto:[email protected] (replacing [email protected] with your monitoring email address)
- The v tag specifies the DMARC version (always DMARC1)
- The p tag sets policy (start with ”none” for monitoring)
- The rua tag defines where reports go
- Important: Start with a p=none policy to monitor without affecting email delivery, then gradually move to quarantine or reject as you confirm legitimate email flows (see DMARC policies below)
Step 3: Add new TXT record
- Select TXT as the record type
- Set host/name field to _dmarc
- For subdomains, use _dmarc.subdomain
- Enter your DMARC record (e.g., v=DMARC1;p=none;fo=1;rua=mailto:[email protected]) in the value field
- Note: Some DNS providers automatically add your domain name to the end of the host/name field — if yours does this, enter only _dmarc
Step 4: Save the record
- Review all fields for accuracy
- Ensure proper formatting with semicolons between tags
- Click save/submit to create the record
Step 5: Verify setup
- Use DMARC lookup tools (like MXToolbox) to confirm that the record is published and verify these data points:
- The record starts with v=DMARC1
- Contains p=none (or your chosen policy)
- Your email address is correctly listed after rua=mailto:
- No duplicate domain names in the _dmarc hostname
- Semicolons separate all tags
- Allow up to 48 hours for DNS propagation
- Test your email sending to ensure proper delivery
Set up DMARC with Omnisend
These DMARC configuration steps will help you set everything up in Omnisend:
Step 1: Add and authenticate your domain
- Click any Set up a sender domain prompt in Omnisend (found in Campaigns list, Campaign setup, Automation builder, Dashboard, or Reports)
- Enter your domain or subdomain name and click Add domain
- Omnisend will generate SPF, DKIM, and DMARC records
- Add these records to your DNS provider’s settings (e.g., GoDaddy, NameCheap, Amazon)
- For DMARC setup:
- Set policy to p=none with SPF and DKIM alignment=relaxed
- Add TXT record with Name value _dmarc.yourdomain.com
- If verification fails, try using just _dmarc
- Click Verify Records (allow up to 24 hours for DNS changes)
Step 2: Assign your authenticated domain
- Go to Store settings > Sender Domain
- Select your verified custom domain from the dropdown for Campaigns and Automations
- No additional setup is needed after domain selection
Important: Your main domain’s DMARC record automatically applies to all subdomains unless configured differently. At least one authentication method (SPF, DKIM, or DMARC) must be valid to send emails through Omnisend.
Read our technical guide:
SPF, DKIM, and DMARC Records
This video also explains the process:
Join Omnisend to set up DMARC in your email marketing
Quick sign up | No credit card required
Prerequisites for setting up DMARC
Before implementing DMARC for your domain’s email security, ensure you have these essential requirements to prevent delivery failures and authentication issues:
Authentication requirements
Start by gathering complete access to your domain host’s DNS settings and login credentials — you’ll need these throughout the process.
Next, set up both SPF and DKIM on your domain. These fundamental authentication protocols must run for at least 48 hours before DMARC implementation.
Email providers will block or reject your emails without proper authentication, potentially damaging your domain’s reputation and deliverability rates.
Reporting configuration
Create a dedicated email group or mailbox for your DMARC reports. Use a reporting email address that matches your DMARC record domain.
If you expect to receive thousands of emails daily, plan your email storage capacity, set up automated filtering rules, and consider using DMARC analysis tools like EasyDMARC to process and understand these reports.
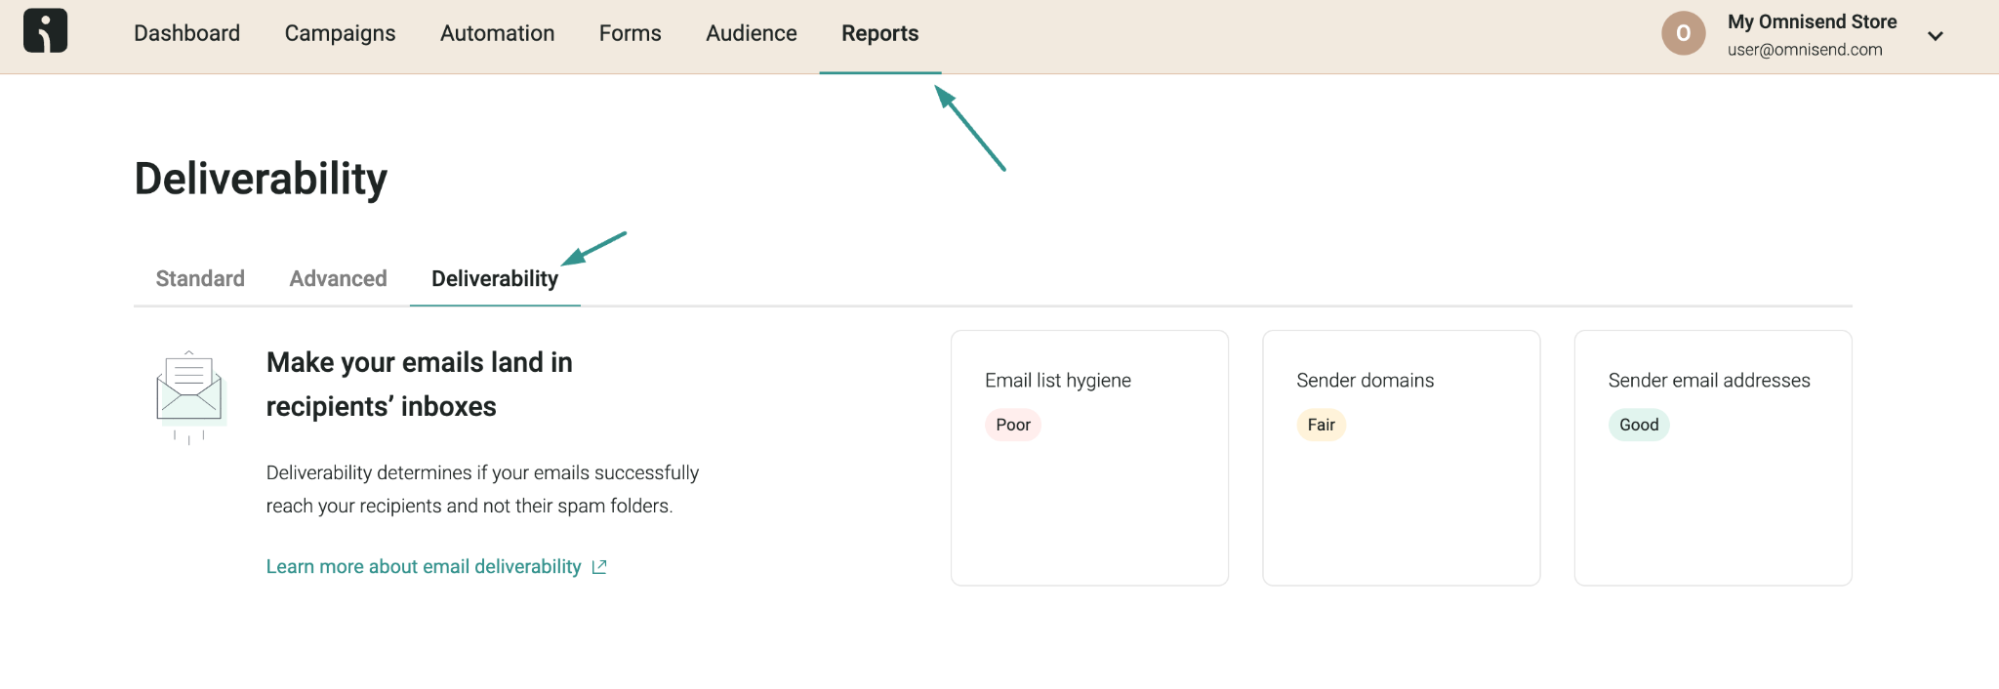
Omnisend’s deliverability reports provide detailed insights into your email marketing performance, offering color-coded labels and personalized recommendations to improve sender domain reputation, list hygiene, and overall email engagement.
Third-party service setup
If you use third-party email services (like SMTP or email campaign platforms), configure them correctly from the start. Check that each service has:
- Active DKIM setup
- IP addresses listed in your SPF record
- A matching envelope sender domain
These steps will help email providers recognize your legitimate emails.
Verification tools
Use these tools to verify your setup:
- Google Admin Toolbox for record verification
- dmarcian.com/spf-survey/ for SPF record checks
- DNS lookup tools to confirm your authentication records
Important: Wait 48 hours after setting up SPF and DKIM before adding DMARC to ensure your authentication methods work properly before activating DMARC policies.
Understanding DMARC policies
DMARC offers three increasingly strict policies to control how receiving servers handle your emails. Here’s how to use them effectively:
- Start with monitoring (p=none): Begin with the “none” policy to observe email authentication patterns. This lets you collect detailed reports about your email authentication without affecting delivery. Use this diagnostic phase to identify legitimate senders and potential security issues.
- Progress to quarantine (p=quarantine): Once you understand your email patterns, move to quarantine mode. Failed authentications will route emails to spam folders rather than inboxes. This middle-ground approach helps you catch authentication issues while still allowing message delivery.
- Advance to reject (p=reject): After confirming that all legitimate emails pass authentication, implement the reject policy. This strongest setting automatically blocks emails that fail authentication, providing maximum protection against unauthorized senders.
Best practice
- Start with none to test your configuration
- Analyze reports thoroughly
- Gradually transition through quarantine to reject as you confirm emails are delivered correctly
FAQs
How do I set up DMARC on my domain?
Access DNS settings, create a DMARC record with specific syntax, add a TXT record with _dmarc hostname, save the record, and verify using DMARC lookup tools.
Is DMARC easy to set up?
DMARC setup requires basic technical knowledge of DNS settings and email authentication. While straightforward with guidance, it involves multiple steps, such as configuring SPF and DKIM first.
What happens if DMARC is not set up?
Without DMARC, cybercriminals can impersonate your domain, send phishing emails, and damage your brand reputation. Major email providers might also mark your legitimate emails as suspicious.
What is required for DMARC?
DMARC requires access to DNS settings, prior SPF and DKIM authentication, a dedicated email for reports, correctly configured third-party email services, and an understanding of authentication policies.
TABLE OF CONTENTS
TABLE OF CONTENTS

Subscribe and don’t miss any updates!
No fluff, no spam, no corporate filler. Just a friendly letter, twice a month.