
 OFFER
OFFER


30 exit-intent popup examples & ideas for online businesses
With over 130+ pre-built integrations and flexible APIs, you can easily centralize data from across your tech stack
Make the most out of your data and unlock powerful growth marketing possibilities with these other top marketing tools.
Build any custom integration with our open, flexible APIs that are simple to use and implement.
Check out apps that have been stealing all the spotlight.
Email and SMS marketing insights, ecommerce resources, and the latest Omnisend news
Expert-led sessions covering email, SMS, and ecommerce marketing strategies.
Educational video and live training to help you make the most out of Omnisend.
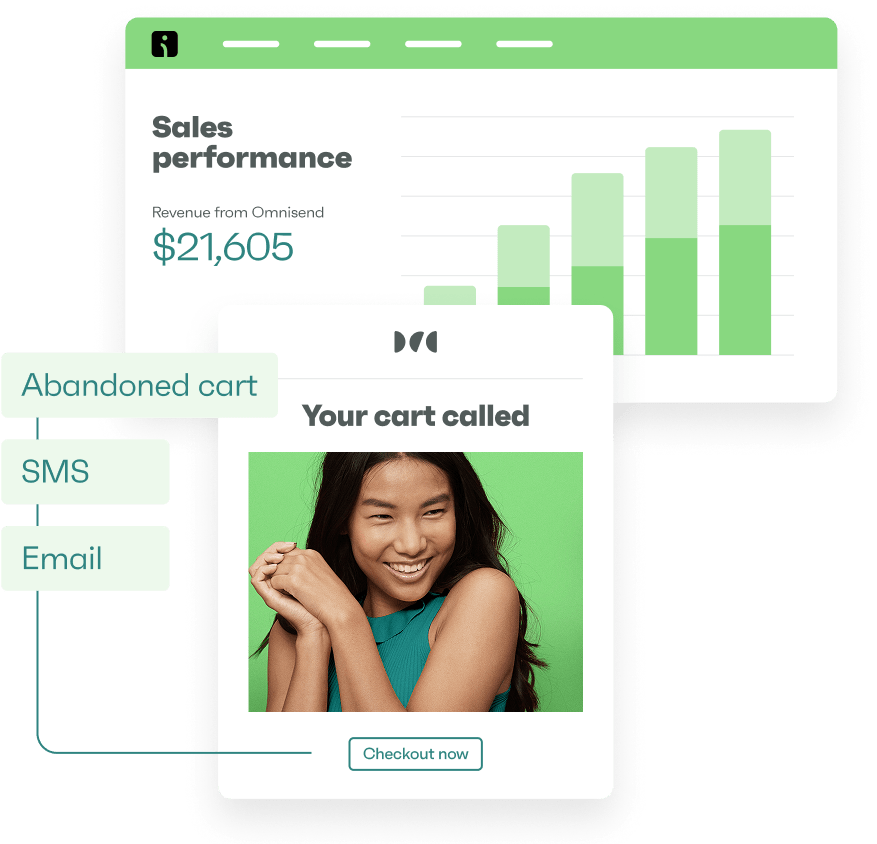
Drive sales on autopilot with ecommerce-focused features
See FeaturesPopup timing is crucial for maximizing email signups; a delay of 5-10 seconds can boost conversion rates significantly compared to immediate displays.
Tailor popup timing to the type of page and visitor intent, with longer delays for blog posts and shorter ones for product pages to enhance user engagement.
Utilize A/B testing to discover the optimal popup timing for your specific audience, as what works for one store may not work for another.
Monitor key metrics like conversion rates and bounce rates to refine your popup strategy continually and ensure a positive user experience.
Getting popup timing wrong can cost you signups, even when everything else about your store is working. A well-designed popup with a strong offer can still drive visitors away if the timing is off.
Getting popup timing right is what separates stores that grow their email lists steadily from those that watch visitors leave without converting.
Website popup timing affects your opt-in rates, your bounce rates, and how visitors feel about your brand from the first few seconds.
According to Omnisend’s analysis of 1.24 billion popup displays, popups shown after a six- to ten-second delay converted at 2.4%, while those shown immediately converted at 1.9%.
In this guide, you’ll learn the best timing for popups across different page types and visitor behaviors. You’ll walk away with a clear strategy you can put to work in your store right away.
Quick sign up | No credit card required
There’s no single popup timing rule that works for every store. But there are proven methods you can use to figure out what works for yours.
Here’s a quick overview of where to start:
Let’s break each of these down.
Not every page on your store deserves the same popup timing. A visitor who lands on your homepage for the first time is in a very different mindset from someone reading a 2,000-word blog post.
For product pages, visitors are already showing purchase intent. A popup appearing after 20–30 seconds makes sense here, because anyone still on the page at that point is genuinely interested.
For the best popup timing for blog posts, you want to give readers more time to engage with the content before interrupting them. A delay of 45–60 seconds works better on longer editorial pages.
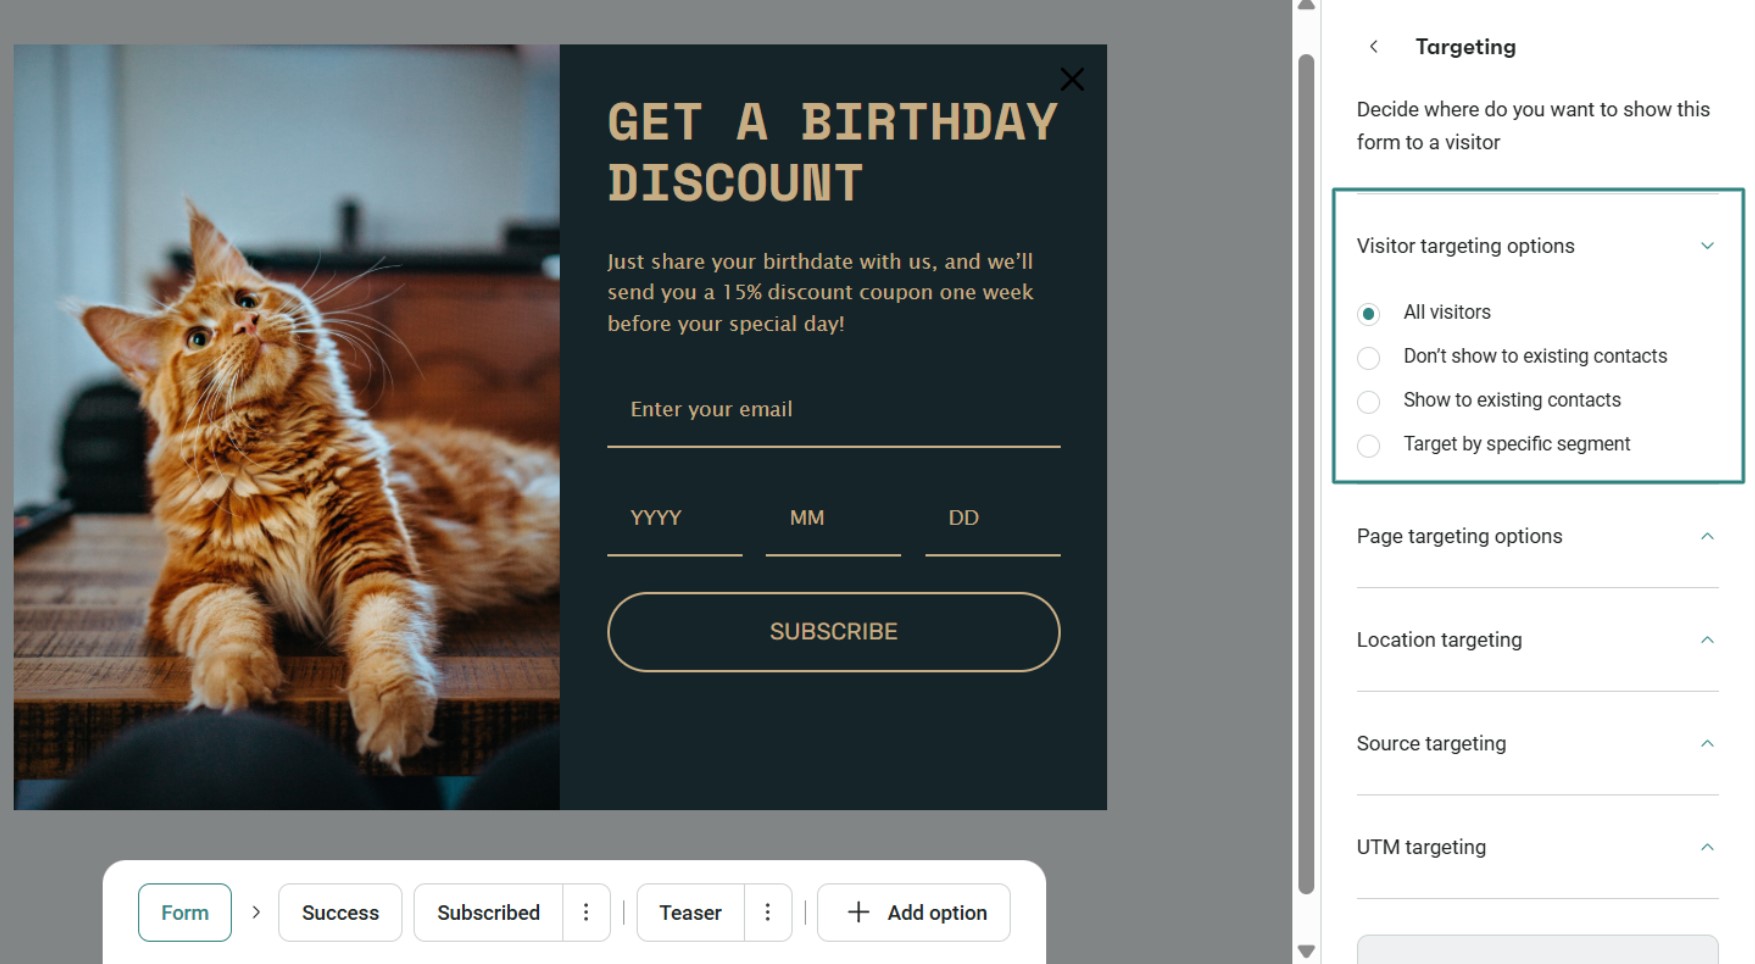
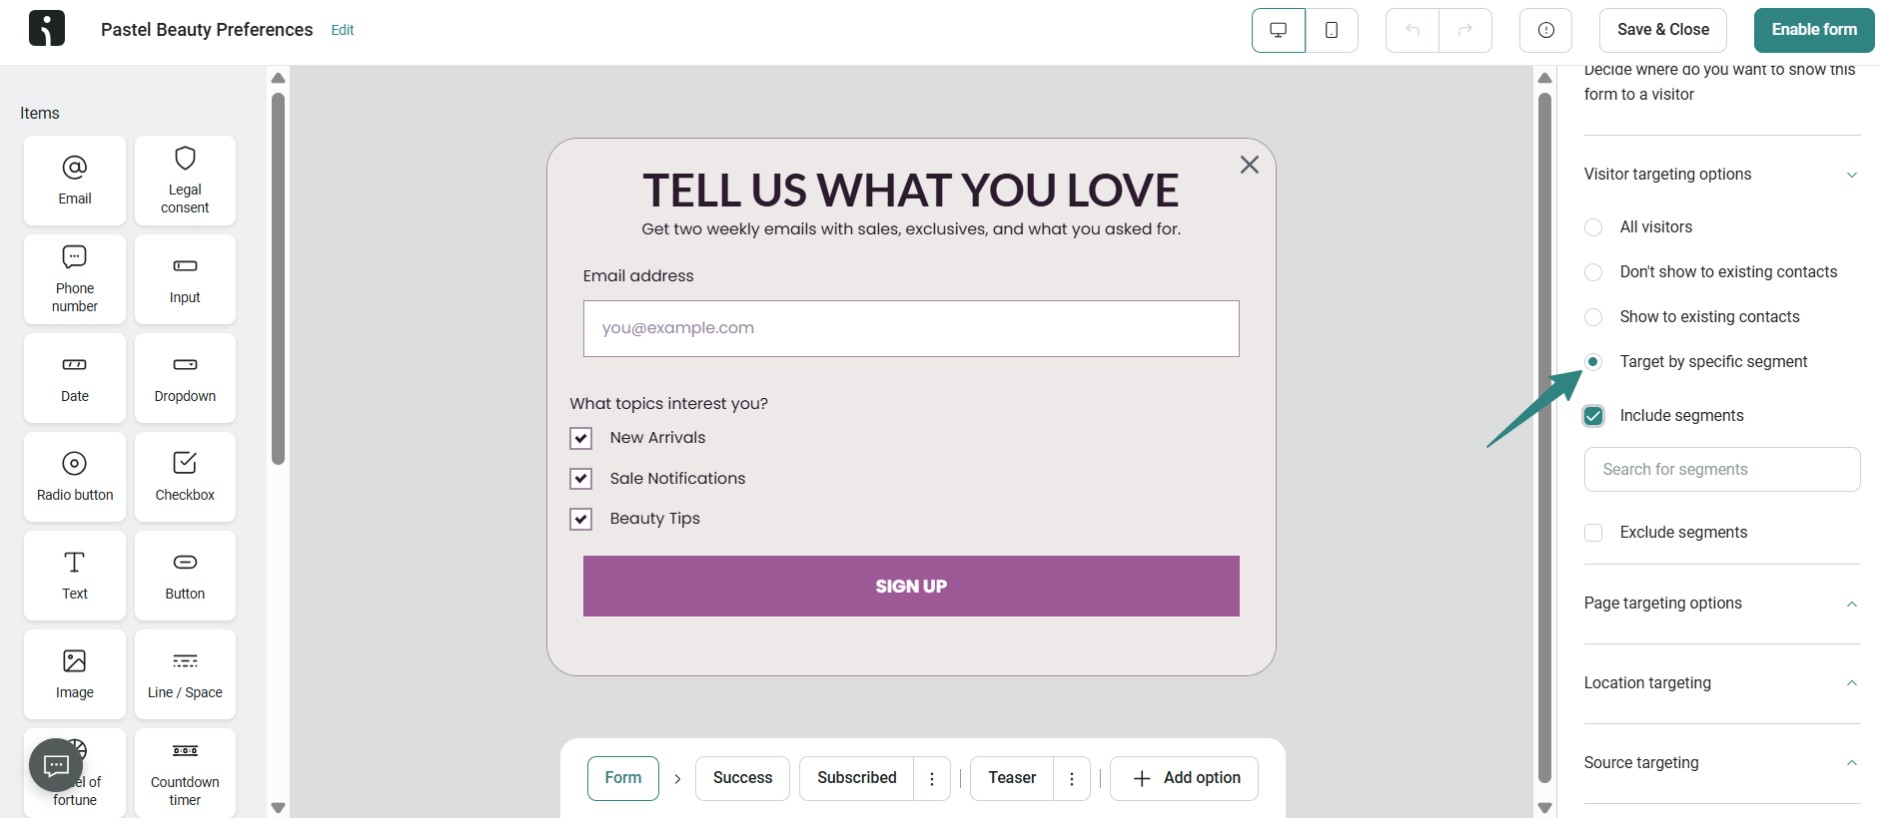
Omnisend lets you target specific audiences with intuitive setups, just like this:
Setting your website popup timing in seconds is an ideal and straightforward practice. You set a specific number of seconds after page load, and the popup appears when that timer runs out.
Omnisend’s popup data shows that a five to 10-second delay produces the highest conversion rates at 2.4%, making it the most reliable starting point for most pages. It gives visitors just enough time to orient themselves without letting them disengage.
That said, the best timing for popup displays will vary depending on your audience and your page content.
For example, if your store has a busy homepage with lots of products and promotions, 10 seconds might not be enough for a visitor to form an opinion. In that case, pushing the delay to 15–20 seconds could produce better opt-in rates.
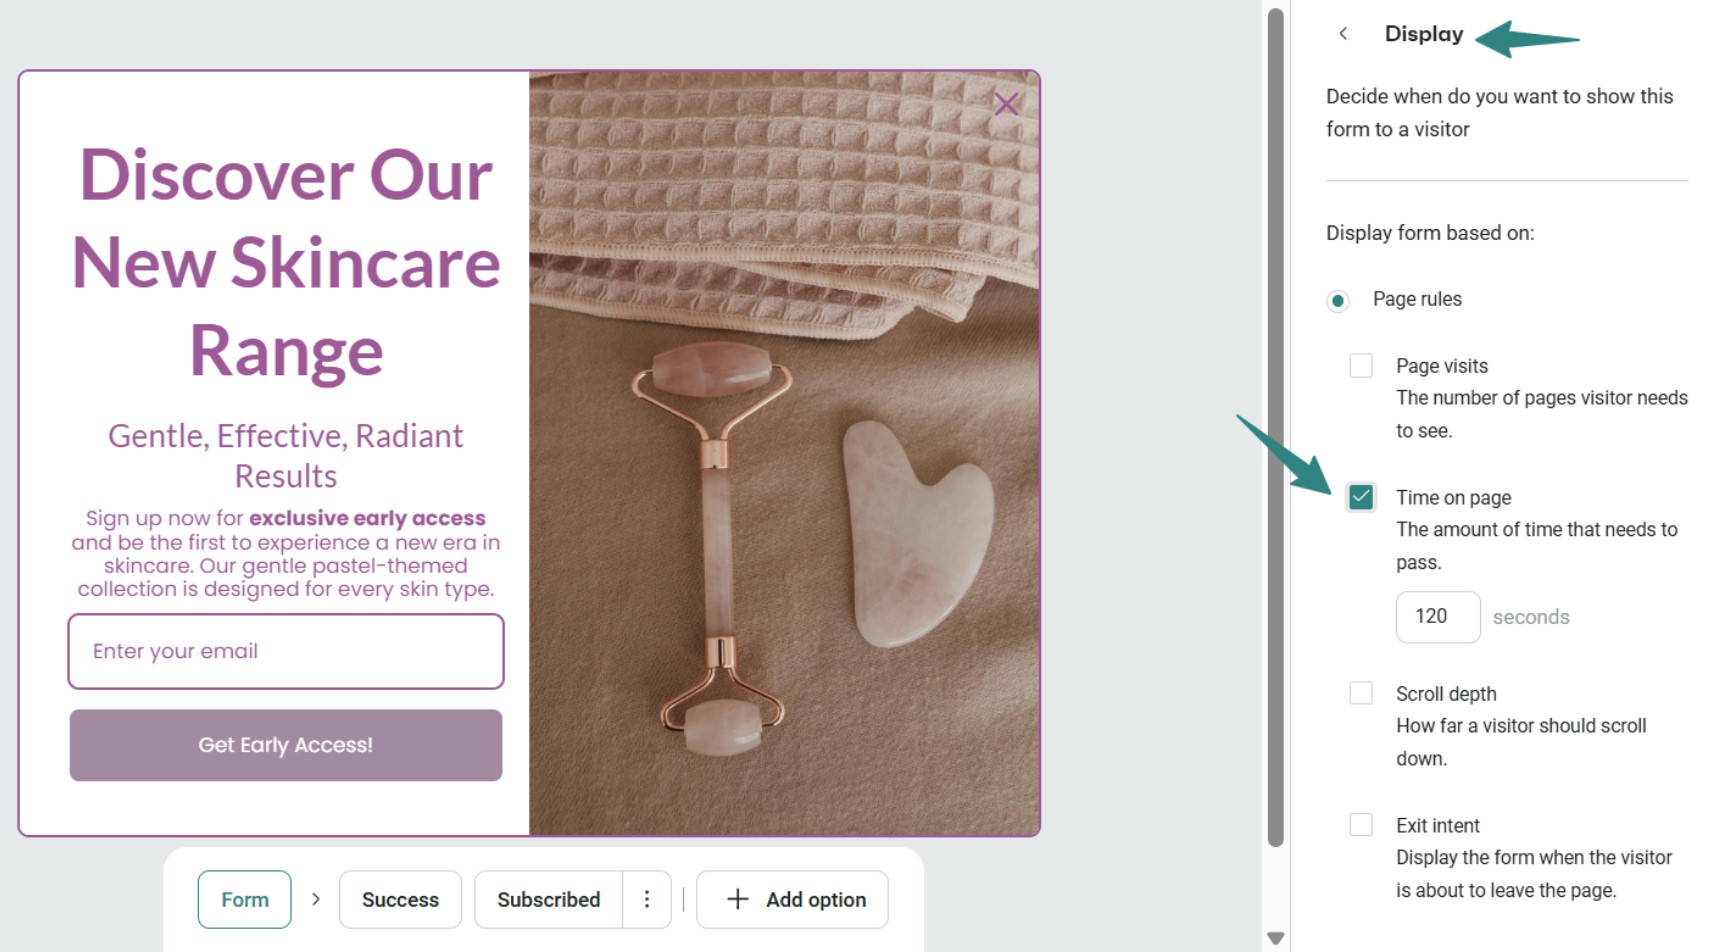
Omnisend lets you set these time delays precisely, so you can test different intervals without touching a single line of code. Here’s a look at Omnisend’s popup display setting interface:
Scroll depth is one of the more reliable signals of genuine interest. A visitor who has scrolled 50% down your product page is far more engaged than one who just landed on it.
For blog posts over 1,500 words, triggering a popup at 50% scroll depth tends to perform well. The reader has consumed enough content to understand your value, making it the optimal subscription timing popup moment.
For shorter product pages, 25% scroll depth is often sufficient, since there’s less content to get through before a visitor decides if they’re interested. The key is to match your scroll trigger to the length and purpose of the page.
Beyond time and scroll depth, visitor behavior offers some of the clearest signals for popup window timing. Mouse movement, tab switching, and time spent on a page all tell you something about where a visitor’s head is at.
If a visitor’s mouse starts drifting toward the top of the browser, that’s a strong exit signal. If they’ve switched tabs twice and come back, they may still be considering your store. These micro-behaviors are worth paying attention to when setting up your popup timing strategy.
Omnisend tracks these engagement signals automatically, so your popups can respond to real visitor behavior rather than just a countdown timer. This makes your email popup timing far more precise and less disruptive to the browsing experience:
Even with solid guidelines, the best timing for popup displays in your specific store comes down to testing. What works for a fashion brand on Shopify might not work for a home goods store on WooCommerce.
Set up two versions of your popup with different timing rules and run them simultaneously. Compare opt-in rates, bounce rates, and time on page across both versions. Give each test enough time to collect meaningful data before making a call.
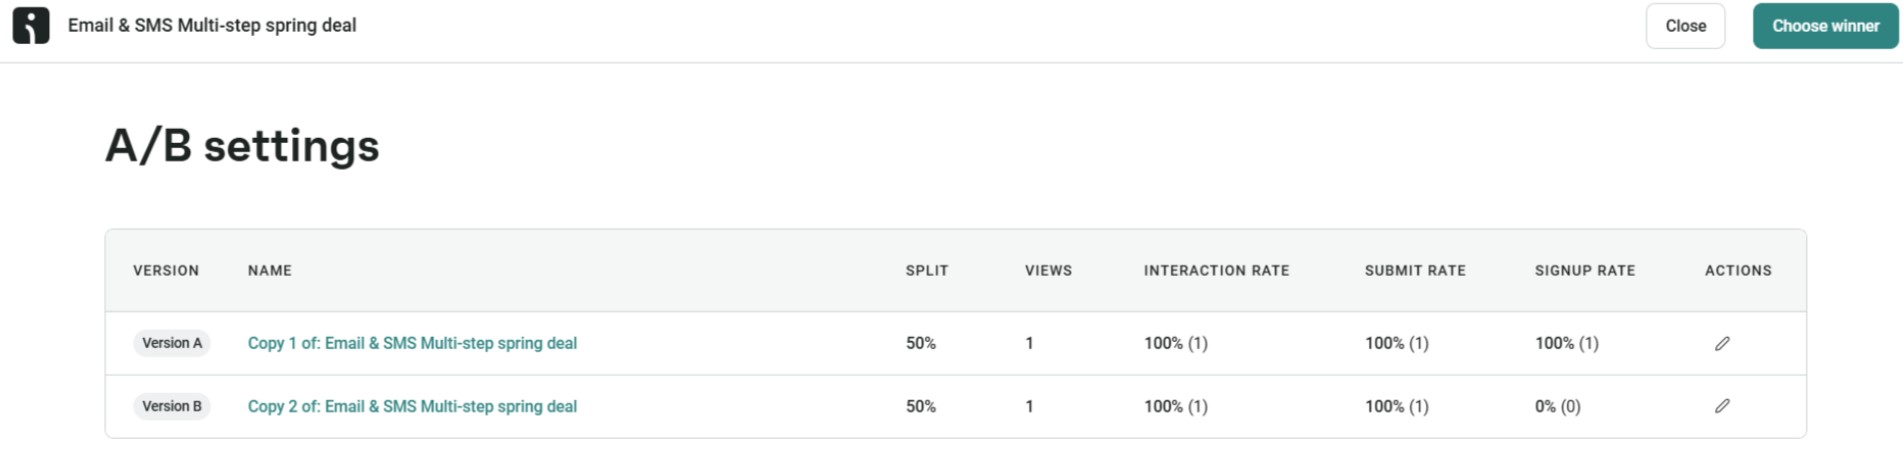
Omnisend’s A/B testing feature lets you test popup time delays, scroll triggers, and exit-intent setups side by side. You can see which popup timing configuration drives the most signups for your specific audience and optimize accordingly:
The right popup timing depends heavily on the type of popup you’re using and where your visitor is in their journey. Each one serves a different purpose and works best at a specific point in the visitor’s journey. Here are the four main types worth knowing:
Exit-intent popups appear when a visitor shows clear signs of leaving your site. On a desktop, this usually means their mouse is moving toward the browser’s close button or address bar. On mobile, it often triggers when a visitor hits the back button.
Data from Omnisend’s popup report shows exit-intent triggers converted at around 1.8%, compared to 2.1% for scroll-based triggers. That gap is worth keeping in mind when deciding which trigger to prioritize.
The best timing for this popup type is after a visitor has already spent some time on your site. Showing an exit-intent popup on someone’s very first page view is too aggressive.
For ecommerce stores, exit-intent popups work particularly well on cart and product pages. A visitor who has added items to their cart but is about to leave is a strong candidate for a discount offer or free shipping incentive.
That’s the kind of targeted popup window timing that can recover an otherwise lost sale.
It’s important to set a frequency cap on exit-intent popups. Showing the same popup every time a visitor moves their mouse toward the top of the screen will frustrate even your most loyal customers.
Following popup message best practices on exit-intent displays, like keeping your offer clear and your copy short, makes a bigger difference.
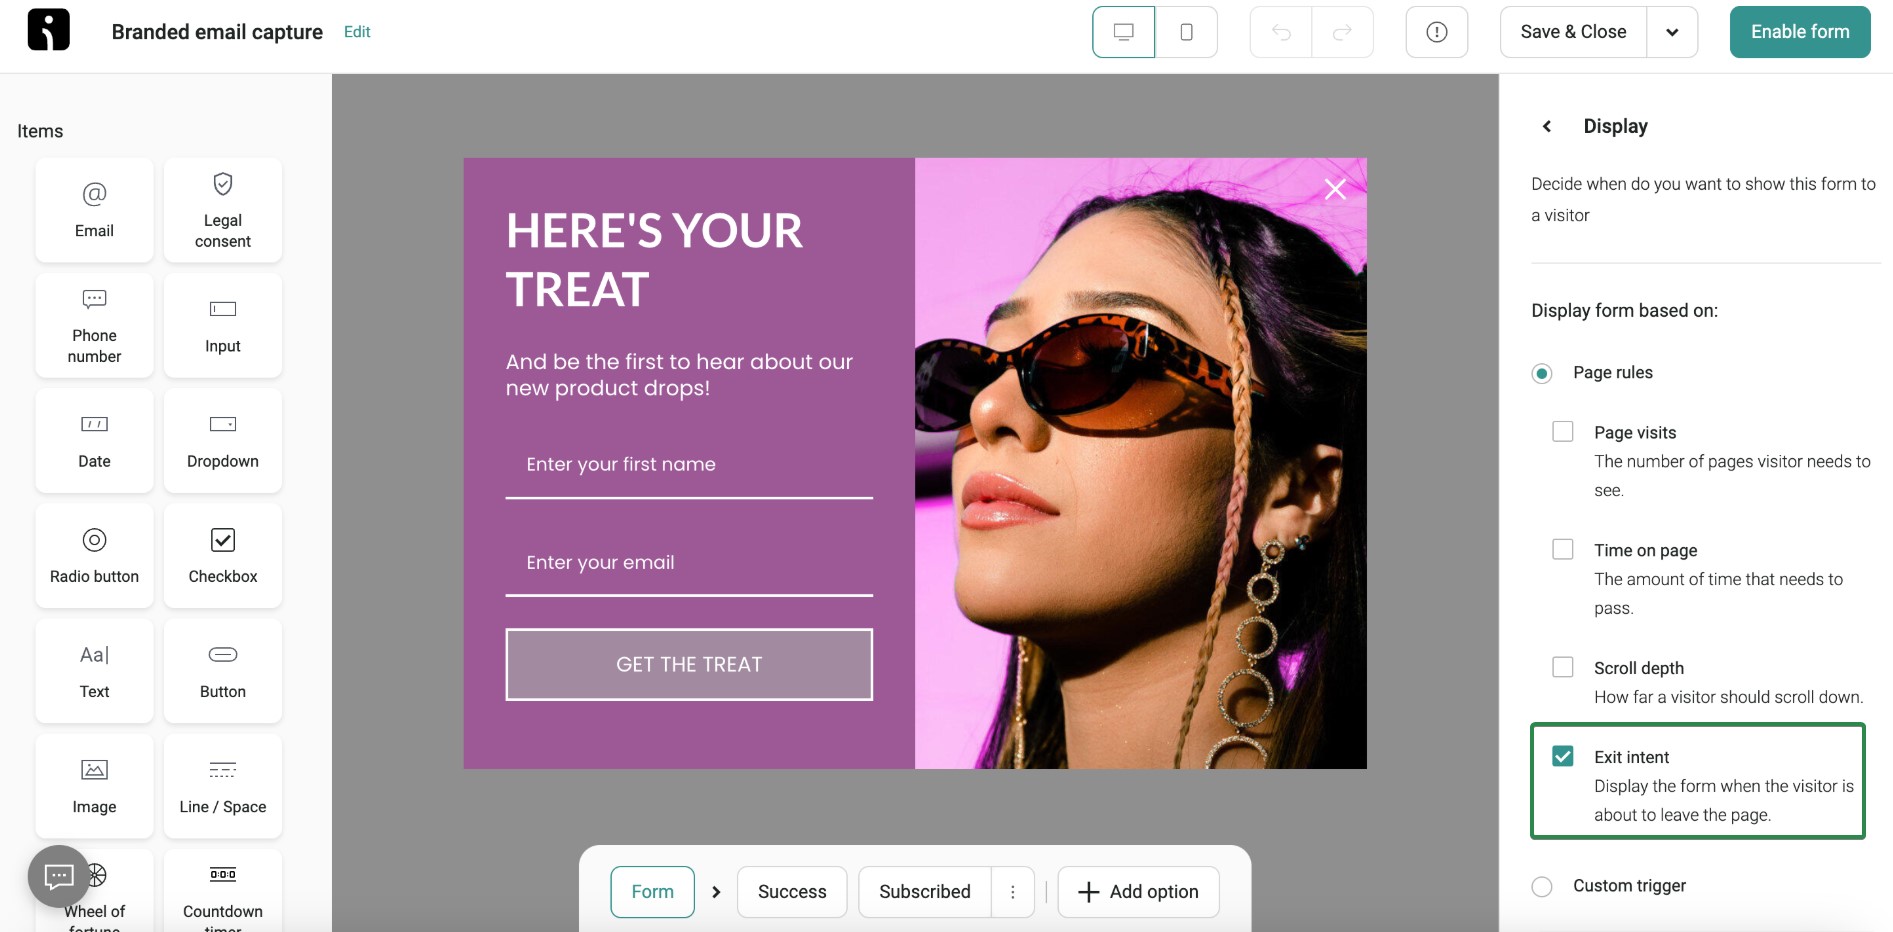
Omnisend’s exit-intent trigger detects abandonment behavior on both desktop and mobile, so you can capture leaving visitors with the right offer at the right moment.
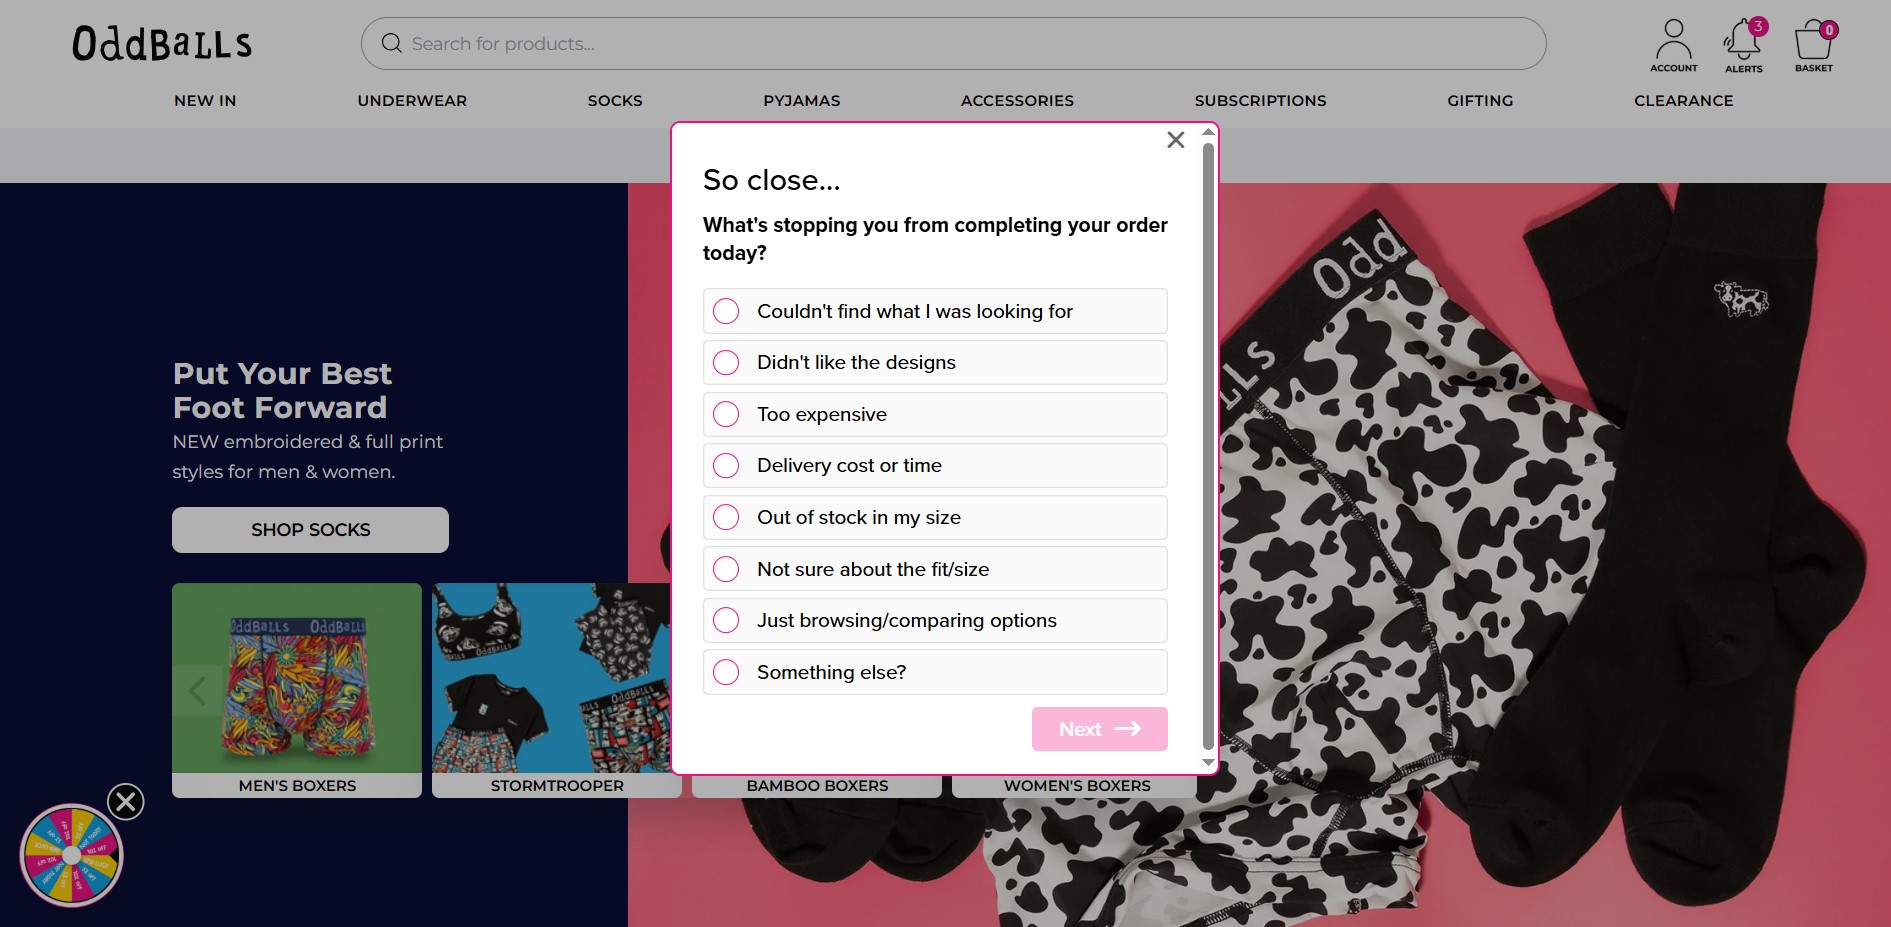
Here are great exit-intent popup samples from Oddballs:
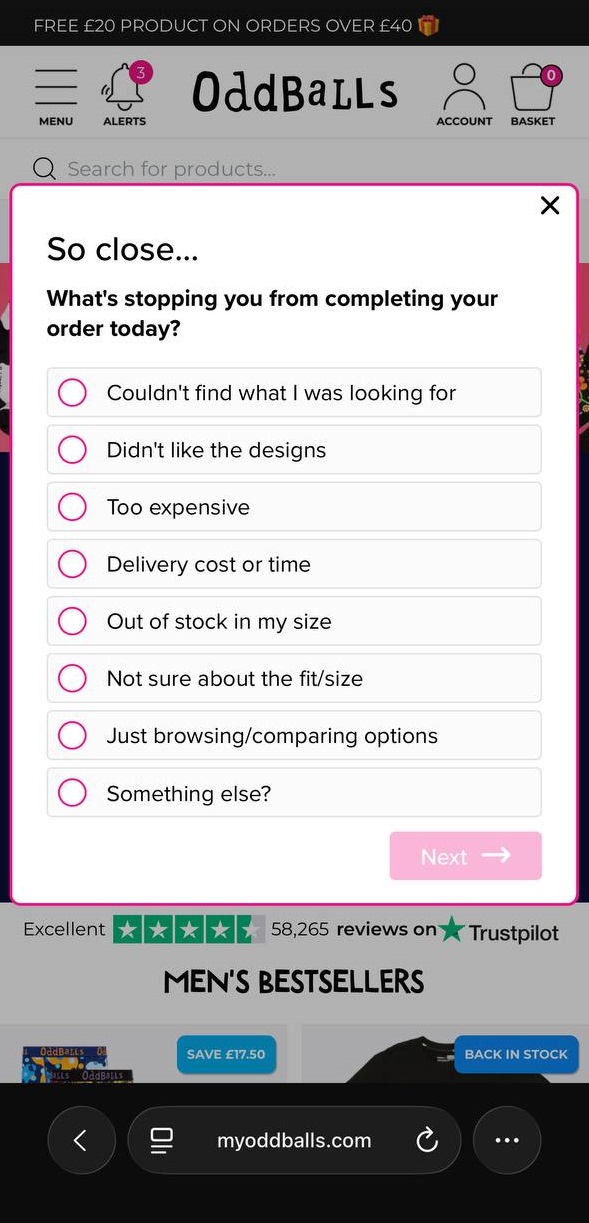
And here’s the same popup on a mobile device:
Finding the best timing for a popup email signup comes down to catching visitors when they’re most engaged, not just when they’ve arrived.
The best timing for a popup discount offer tied to a signup is around 10–15 seconds after page load, or at 25% scroll depth, whichever comes first. This gives visitors just enough time to see what your store is about before you ask them to commit.
For blog content specifically, email popup timing works better at the 50% scroll mark. A reader who has made it halfway through your post is clearly engaged, making them far more likely to sign up for more content or offers.
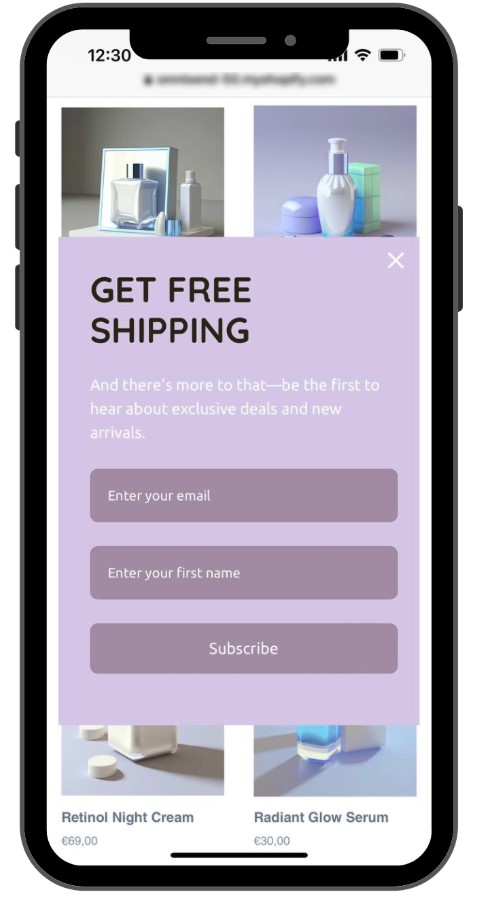
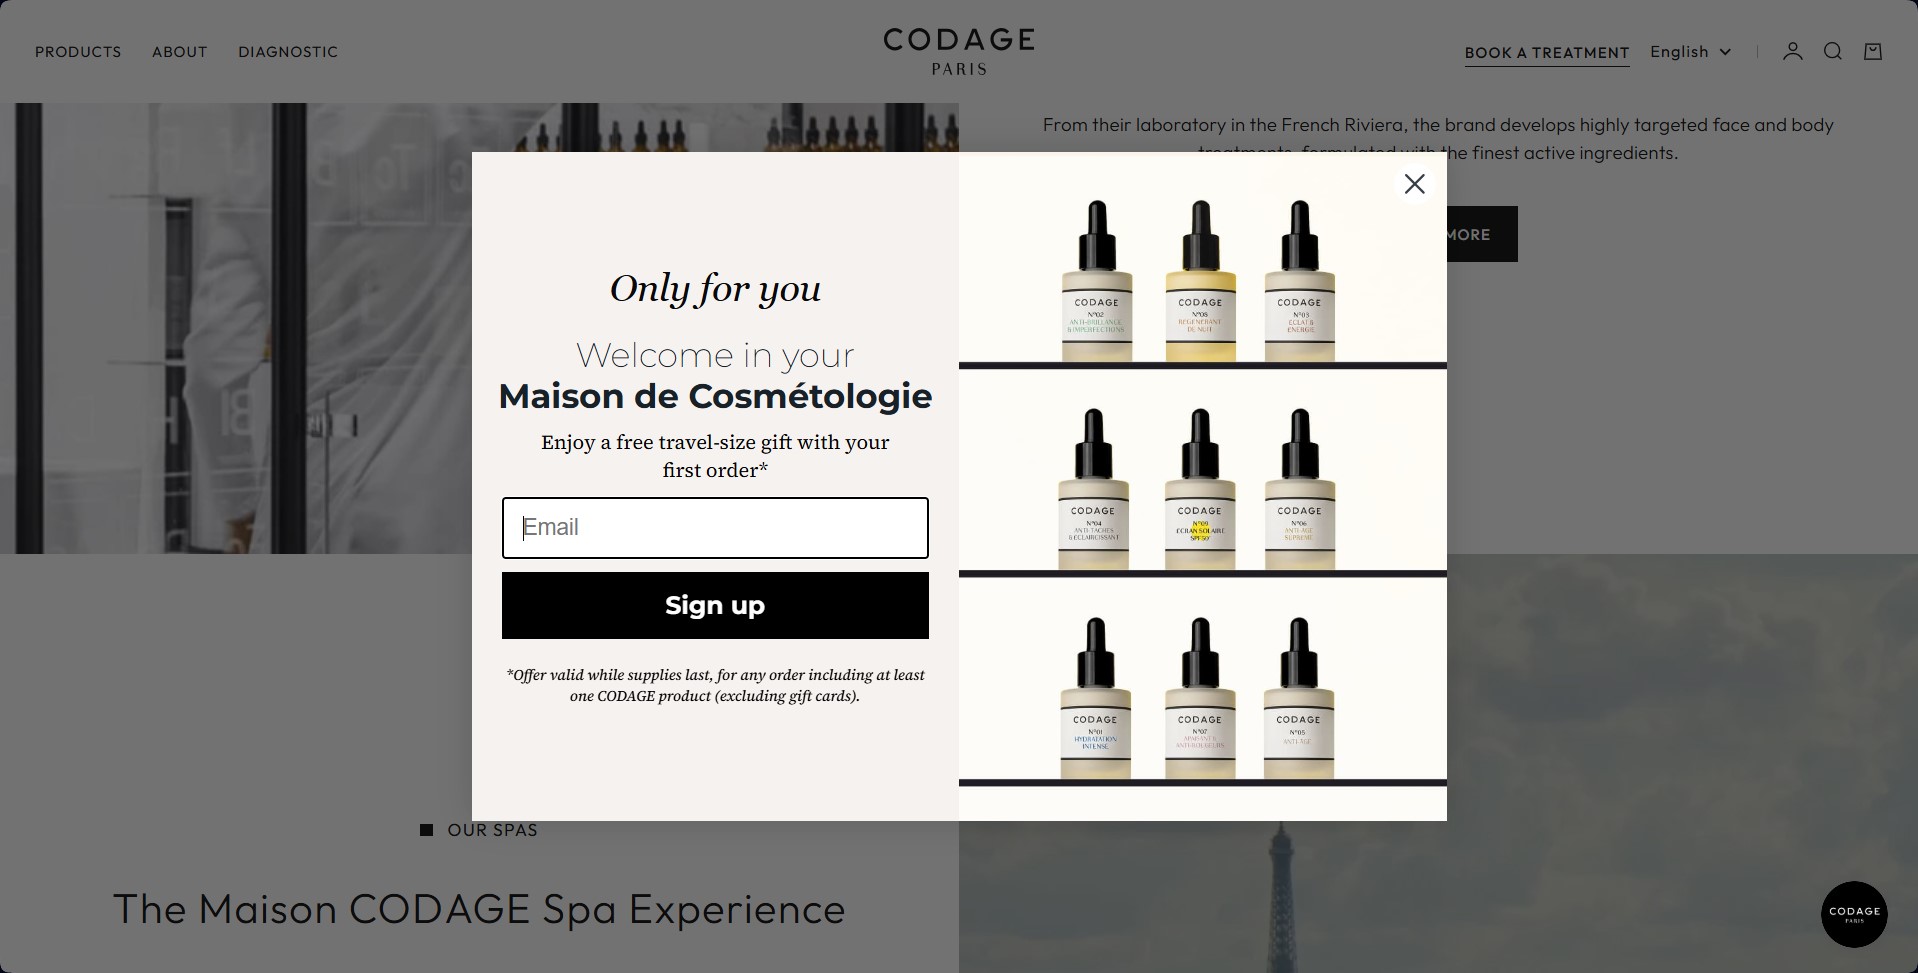
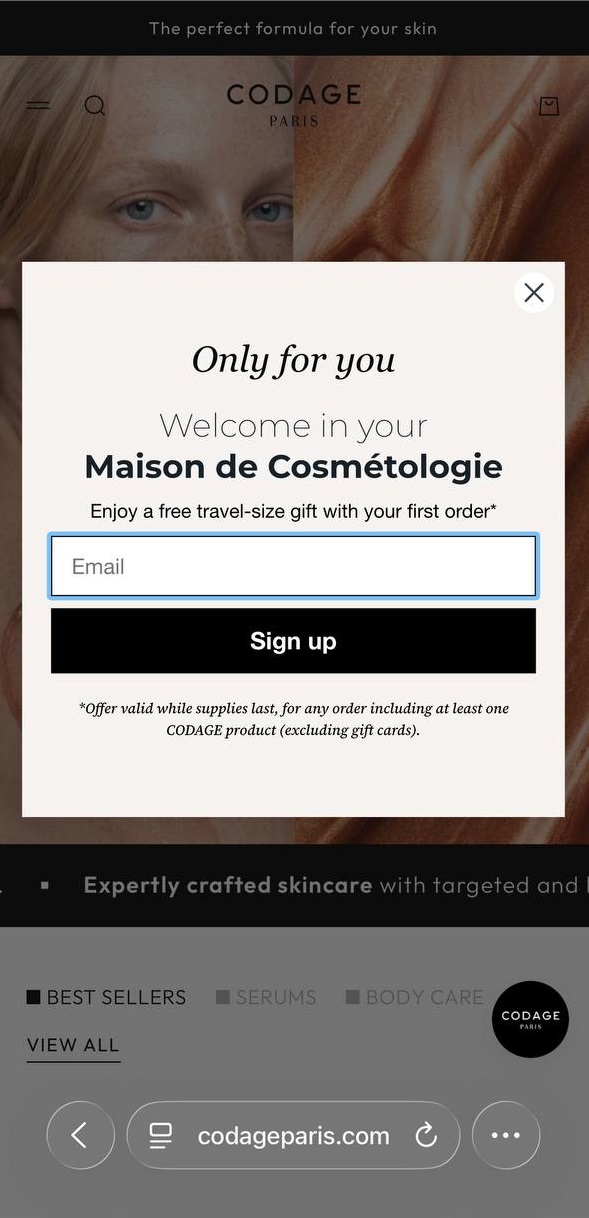
Omnisend offers a library of conversion-tested signup popup templates built specifically for ecommerce. You can customize timing triggers, scroll depths, and offers without any technical setup. Here are some great signup website popup examples from Omnisend:
For more context, here’s the mobile layout of the same website popup:
Welcome popups target first-time visitors specifically. Their job is to make a strong first impression and give new visitors a reason to stay connected with your brand.
Popup timing on a new website requires extra patience, since visitors have no existing relationship with your brand yet. They need time to look around before you ask anything of them.
A 30–45 second delay, or waiting until a visitor lands on their second page view, tends to work better than an immediate display.
A first-order discount is the most effective offer to pair with a welcome popup. Something like 10% off their first purchase gives a new visitor a concrete reason to sign up right away.
For context, Omnisend’s data shows that popups with a discount offer converted at 2.4%, compared to 1.7% for those without one.
Omnisend’s behavioral segmentation automatically identifies first-time visitors, so your welcome popup only appears to people who haven’t seen it before. Pair that with a first-purchase discount, and you have a solid setup for turning new traffic into subscribers.
Here’s a great example of a welcome popup for new visitors that pops up after a few seconds on the page:
And here’s the mobile version of the same welcome popup:
Timed popups are triggered purely by how long a visitor has spent on a page. They’re one of the most practical subscription popup timing tools available because time on page is a reliable indicator of genuine interest.
The optimal timing varies by page type:
For example, a visitor who has spent 25 seconds on a product page is actively evaluating that product. A popup offering a limited-time discount at that moment is well-timed and relevant.
With Omnisend, you can set precise time delays for each popup and A/B test different intervals to find what drives the most conversions for your audience.
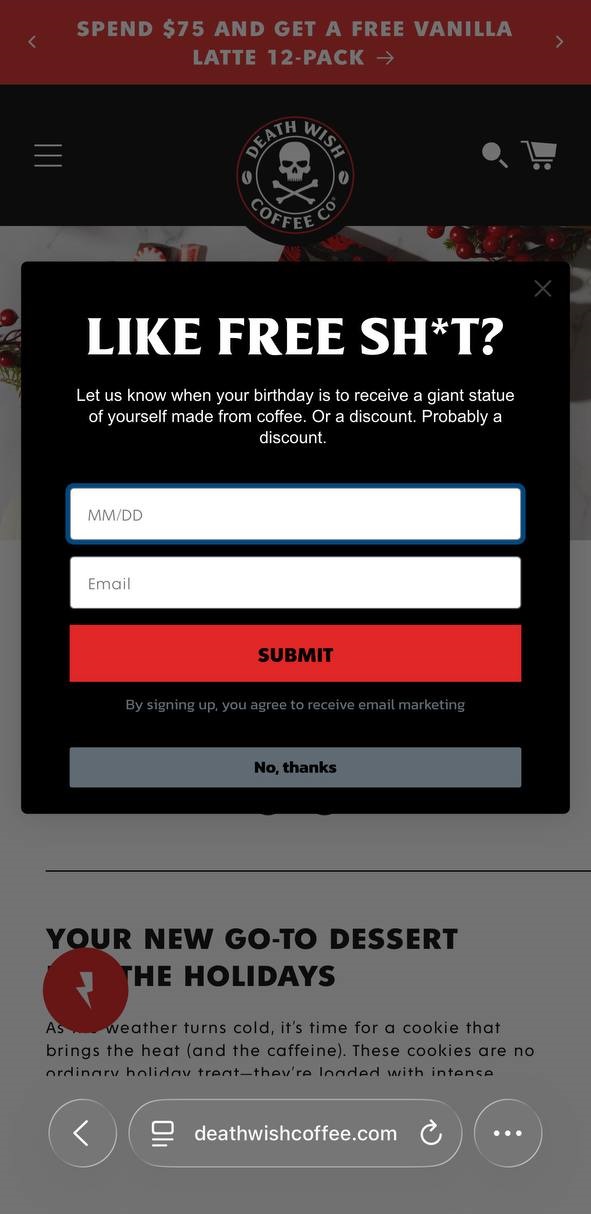
This popup from Death Wish Coffee shows up when you spend a few seconds on the brand’s recipe page:
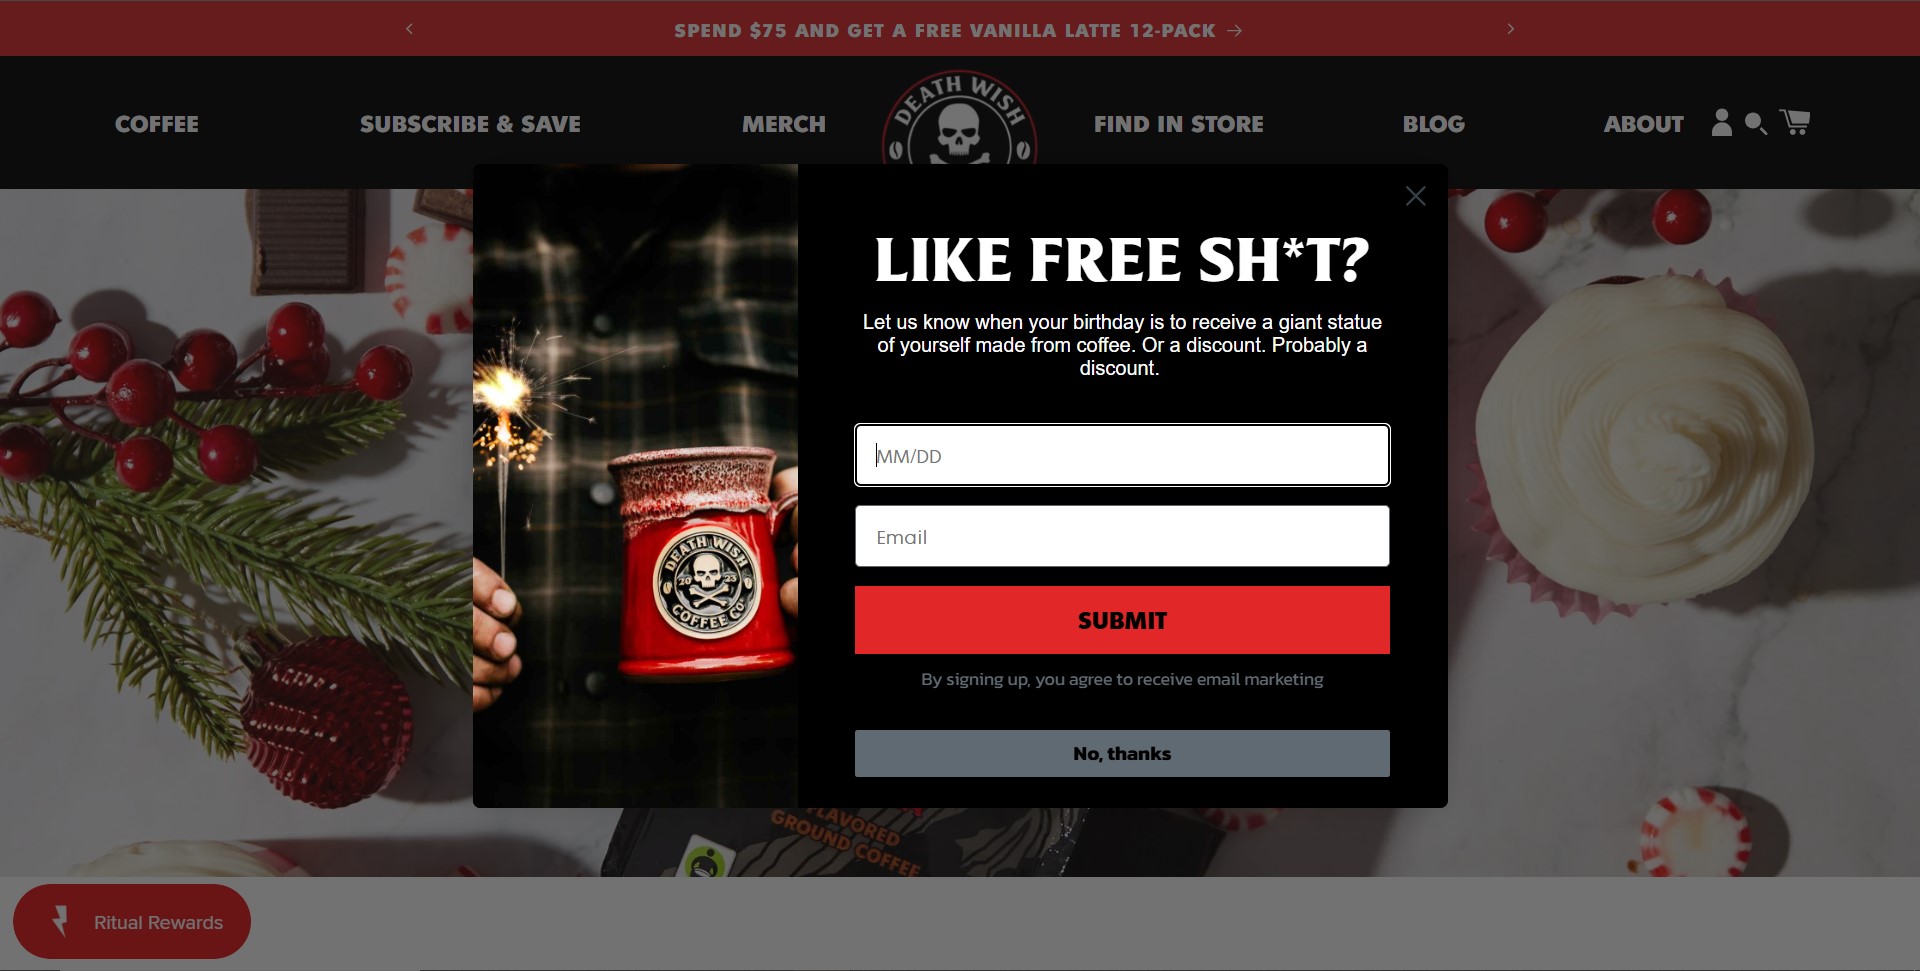
And here’s the mobile version of the same Death Wish Coffee popup:
Popup timing affects more than your opt-in rates. It shapes how visitors perceive your brand, how long they stay, and whether they return. A popup appearing at the wrong moment can undo a lot of good work done by your product pages and store design.
No matter how well-designed your popup is, it will always interrupt the browsing experience to some degree. The goal is to make that interruption feel worthwhile.
When you apply the best timing for popups correctly, visitors engage more because the popup feels relevant to where they are in their journey.
There’s a psychological reason for this. Human attention spans are short, and perceived interruptions feel more intrusive before a visitor has formed any connection with your store. The longer someone browses, the more receptive they become to an offer.
Consider the visitor’s perspective. Someone who lands on your store and sees a popup within two seconds hasn’t decided if they like what you sell yet. That friction often drives people away.
A visitor who has spent 30 seconds browsing your catalog is already showing interest. A well-timed popup at that point feels like a helpful nudge rather than an intrusion. That’s the balance every popup timing decision should aim for.
Getting your popup timing right touches three areas of your business simultaneously:
Here’s how that plays out in practice:
| Dimension | Wrong timing | Right timing |
|---|---|---|
| User experience | Feels like an interruption | Feels relevant and well-placed |
| Conversion rate | Typically 1–2% | Can reach 2.5–5% and above |
| Brand perception | Comes across as pushy | Comes across as helpful |
Omnisend’s timing controls let you fine-tune when your popups appear, so you protect the browsing experience while still hitting your conversion targets.
Poor popup timing hurts your conversions and your search rankings at the same time. Google’s intrusive interstitial guidelines discourage pages that use popups in ways that disrupt the user experience, particularly on mobile devices.
Here are some examples of Google’s classification of intrusive interstitials:
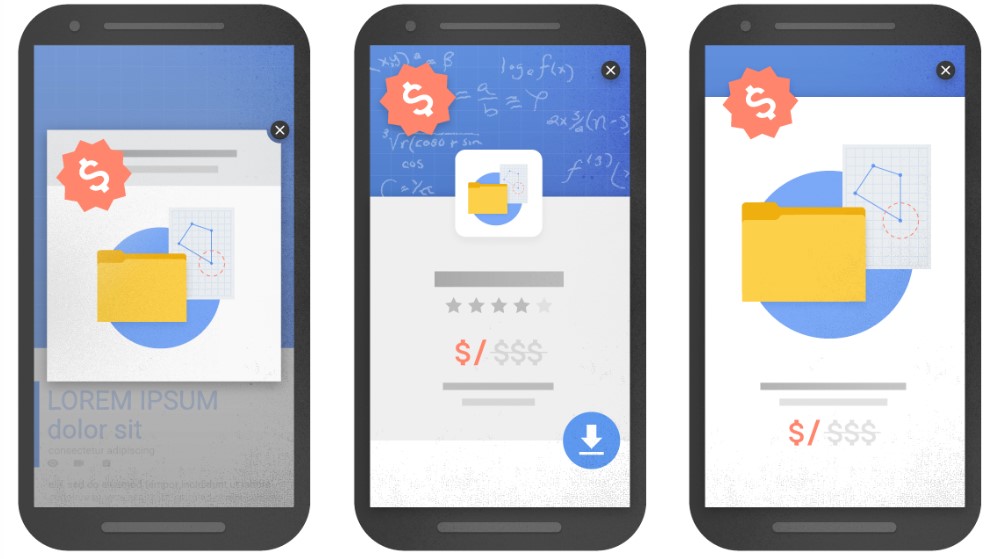
If your popup fires immediately after a visitor arrives from search results, you risk violating these guidelines. For ecommerce stores relying on organic traffic, wrong popup timing can directly reduce how much of that traffic you receive.
A minimum five-second delay is a safe starting point.
Timing aside, early popups simply don’t convert well. Visitors who haven’t spent enough time on your store are unlikely to hand over their email address regardless.
Basing your popup timing on real engagement signals like scroll depth, time on page, and page views keeps both visitors and search engines satisfied.
Getting your popup timing right is an ongoing process and not a one-off event. These four practices will help you keep improving your results over time.
Not every visitor deserves the same popup experience. A first-time visitor needs more time to browse before you ask for their email. A returning visitor who has already viewed several products is much closer to making a decision.
Segmenting your audience lets you apply different popup timing rules to different visitor groups.
For example, new visitors might see a welcome popup after 35 seconds, while returning visitors see a product-specific offer after just 15 seconds. That level of personalization makes your popups feel relevant rather than random.
Omnisend’s built-in segmentation lets you apply different popup timing rules to new and returning visitors from one dashboard, without any complicated setup. Here’s a look at the interface for setting up segmentation:
The best timing for popup displays in your store isn’t something you can determine without testing. Two stores selling similar products can have very different audiences, and what works for one won’t always work for the other.
Start by running two versions of your popup with different time delays or scroll triggers. Compare opt-in rates and bounce rates across both versions over at least two weeks. Then adjust based on what the data tells you.
With Omnisend’s A/B testing, you can test time delays, scroll triggers, and exit-intent setups simultaneously to find your winning popup timing strategy. This removes guesswork from the equation completely.
Knowing which metrics to track makes your popup timing decisions much more informed. The four most important ones to monitor are:
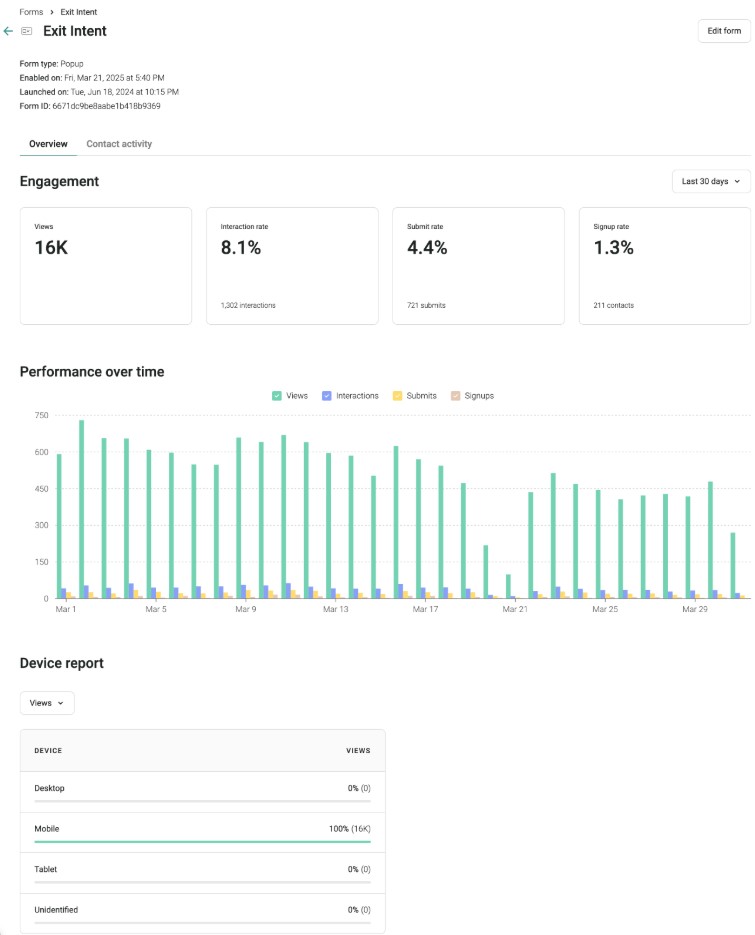
Omnisend’s popup dashboard tracks these metrics in real time, so you always have a clear picture of how your popup timing is performing. Here’s a look at how detailed Omnisend’s popup dashboards are:
Even with optimal subscription timing popup settings, showing your popup too often will frustrate visitors. Frequency caps control how many times a single visitor sees your popup within a given period.
For most ecommerce stores, showing a popup once per session is a good starting point. For exit-intent popups specifically, once every 24-48 hours per visitor is a reasonable cap.
Getting your frequency caps right is just as important as getting your popup timing right. Too many impressions on the same visitor signals desperation, and that’s not a good look for any brand.
All in all, getting popup timing right isn’t a one-time fix. It’s something you refine as you learn more about how your visitors behave on your site, alongside other popup best practices. That said, here’s where to start:
Stores that grow their email lists consistently do so by paying close attention to when their popups appear and adjusting from there.
Omnisend gives you the timing controls, A/B testing, and analytics to do exactly that, all in one place.
Quick sign up | No credit card required
There’s no universal answer — it depends on your page type, audience, and goals. Three guidelines work as a starting point: a five to 10 second delay for most pages, 25–50% scroll depth for content pages, and exit intent for cart pages. A/B testing with tools like Omnisend helps you find what works best for your specific store.
Rarely immediately. Instant popups interrupt visitors before they’ve engaged, increase bounce rates, and can trigger Google’s intrusive interstitial penalty. A minimum five-second popup timing delay is a safe starting point for most popup types.
New visitors need longer delays of 30–45 seconds and simple offers like a first-order discount. Returning visitors respond better to personalized popup timing — shorter delays of 15–20 seconds with recommendations based on their browsing history. Omnisend’s visitor segmentation popup timing tools handle this differentiation automatically.
TABLE OF CONTENTS
TABLE OF CONTENTS
What’s next


No fluff, no spam, no corporate filler. Just a friendly letter, twice a month.