
 OFFER
OFFER


How to customize WooCommerce emails to boost sales (Guide)
With over 130+ pre-built integrations and flexible APIs, you can easily centralize data from across your tech stack
Make the most out of your data and unlock powerful growth marketing possibilities with these other top marketing tools.
Build any custom integration with our open, flexible APIs that are simple to use and implement.
Check out apps that have been stealing all the spotlight.
Email and SMS marketing insights, ecommerce resources, and the latest Omnisend news
Expert-led sessions covering email, SMS, and ecommerce marketing strategies.
Educational video and live training to help you make the most out of Omnisend.
Get better email & SMS marketing made for WooCommerce for 30% off PLUS a bonus migration package valued at $1,000
Use code to get 30% discount COPIED ONLYWOO
Drive sales on autopilot with ecommerce-focused features
See FeaturesYou can migrate Shopify to WooCommerce either manually or by using a migration plugin like LitExtension to automate most of the work.
The manual approach means exporting data from Shopify, importing it into WordPress and WooCommerce with plugins, and then reconfiguring your store settings.
This can work for very small stores, but it quickly becomes time-consuming and error-prone if you’re dealing with a larger catalog or customer history.
LitExtension takes a more hands-off route by managing the technical setup for you, mapping data automatically, and transferring products, customers, orders, and related store data to WooCommerce.
Below, we’ll walk through how to move your store from Shopify to WooCommerce.
Quick sign up | No credit card required
We’ll cover the following steps:
Shopify lets you export CSV files containing your products, customers, orders, gift cards, discount codes, and financial data. This manual method works well for regular backups and before significant store changes to prevent data loss.
To export CSV files from your Shopify website, follow these steps:
Shopify doesn’t have built-in backup functionality, but third-party apps can do the job for you. Rewind Backups, Matrixify, BackupMaster, and Talon Backups are good options.
These apps are configurable to automatically back up your entire store, protecting against accidental deletions, glitches, hacking attempts, and failed updates. Most provide cloud storage and one-click restoration options.
We recommend combining backup apps with manual backups via CSV downloads to preserve your data and ensure continuity.
To import to WooCommerce, you need to set up a website first. To do this, you’ll need to install WordPress since WooCommerce is a WordPress plugin. Once installed, you can proceed to set up WooCommerce.
To get WooCommerce, go to Plugins in your WordPress admin and click Add New. Search for WooCommerce, and then click Install Now. Once the installation is complete, click Activate Now to launch the WooCommerce Wizard.
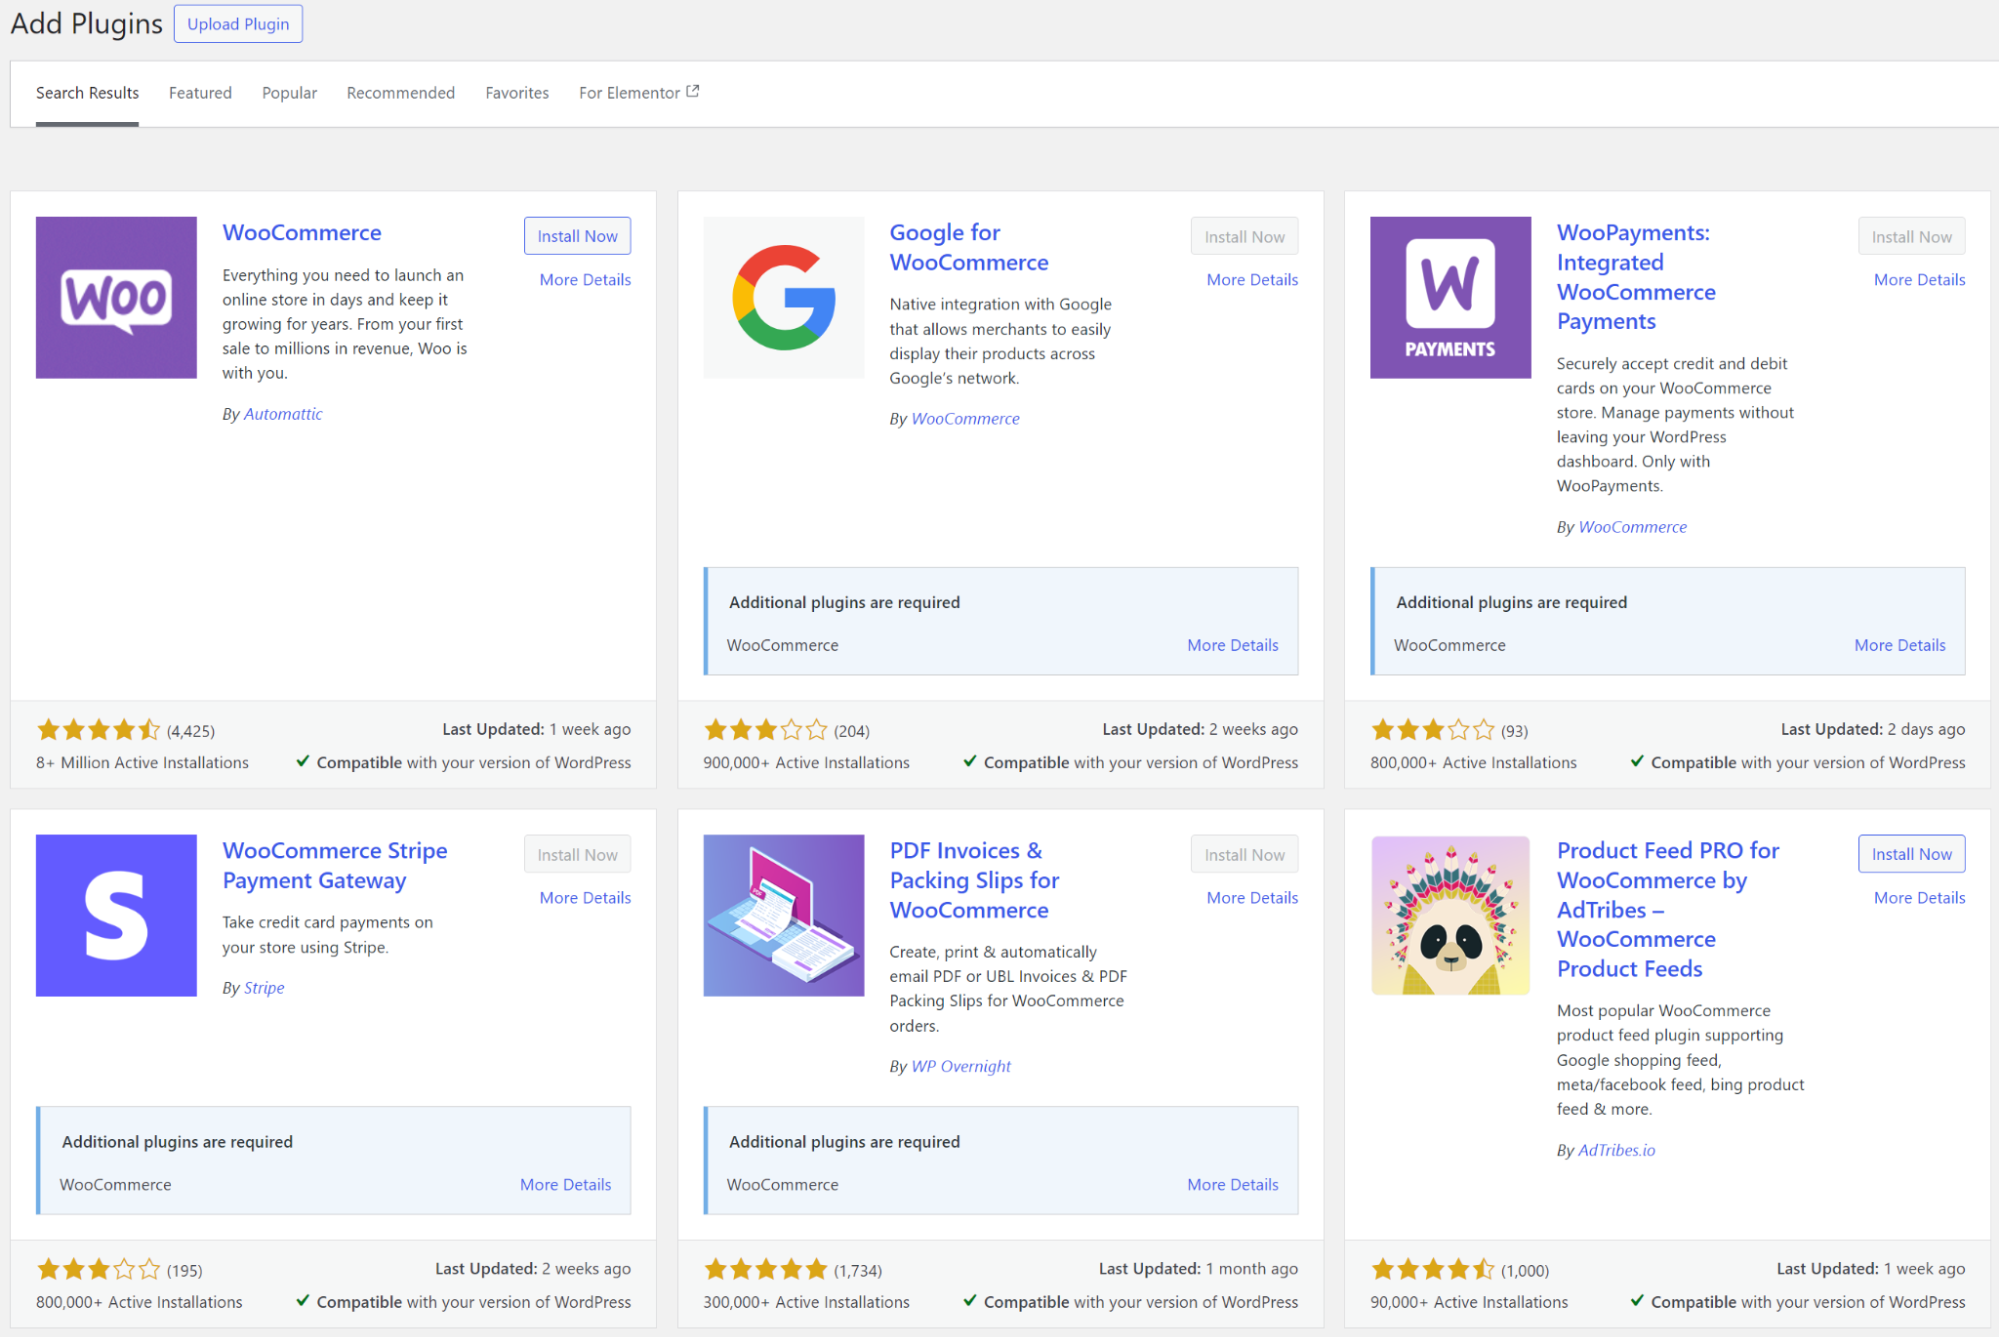
Now WooCommerce is up and ready for you to start publishing and selling products.
While you can use the WooCommerce Product Importer to import product data from Shopify to WooCommerce, this method requires a lot of manual uploading and might be time-consuming. Instead, you can use a tool to handle your migration!
LitExtension automates the entire process of transferring data from Shopify to WooCommerce for merchants and enables you to import data that you can’t with a simple CSV file.
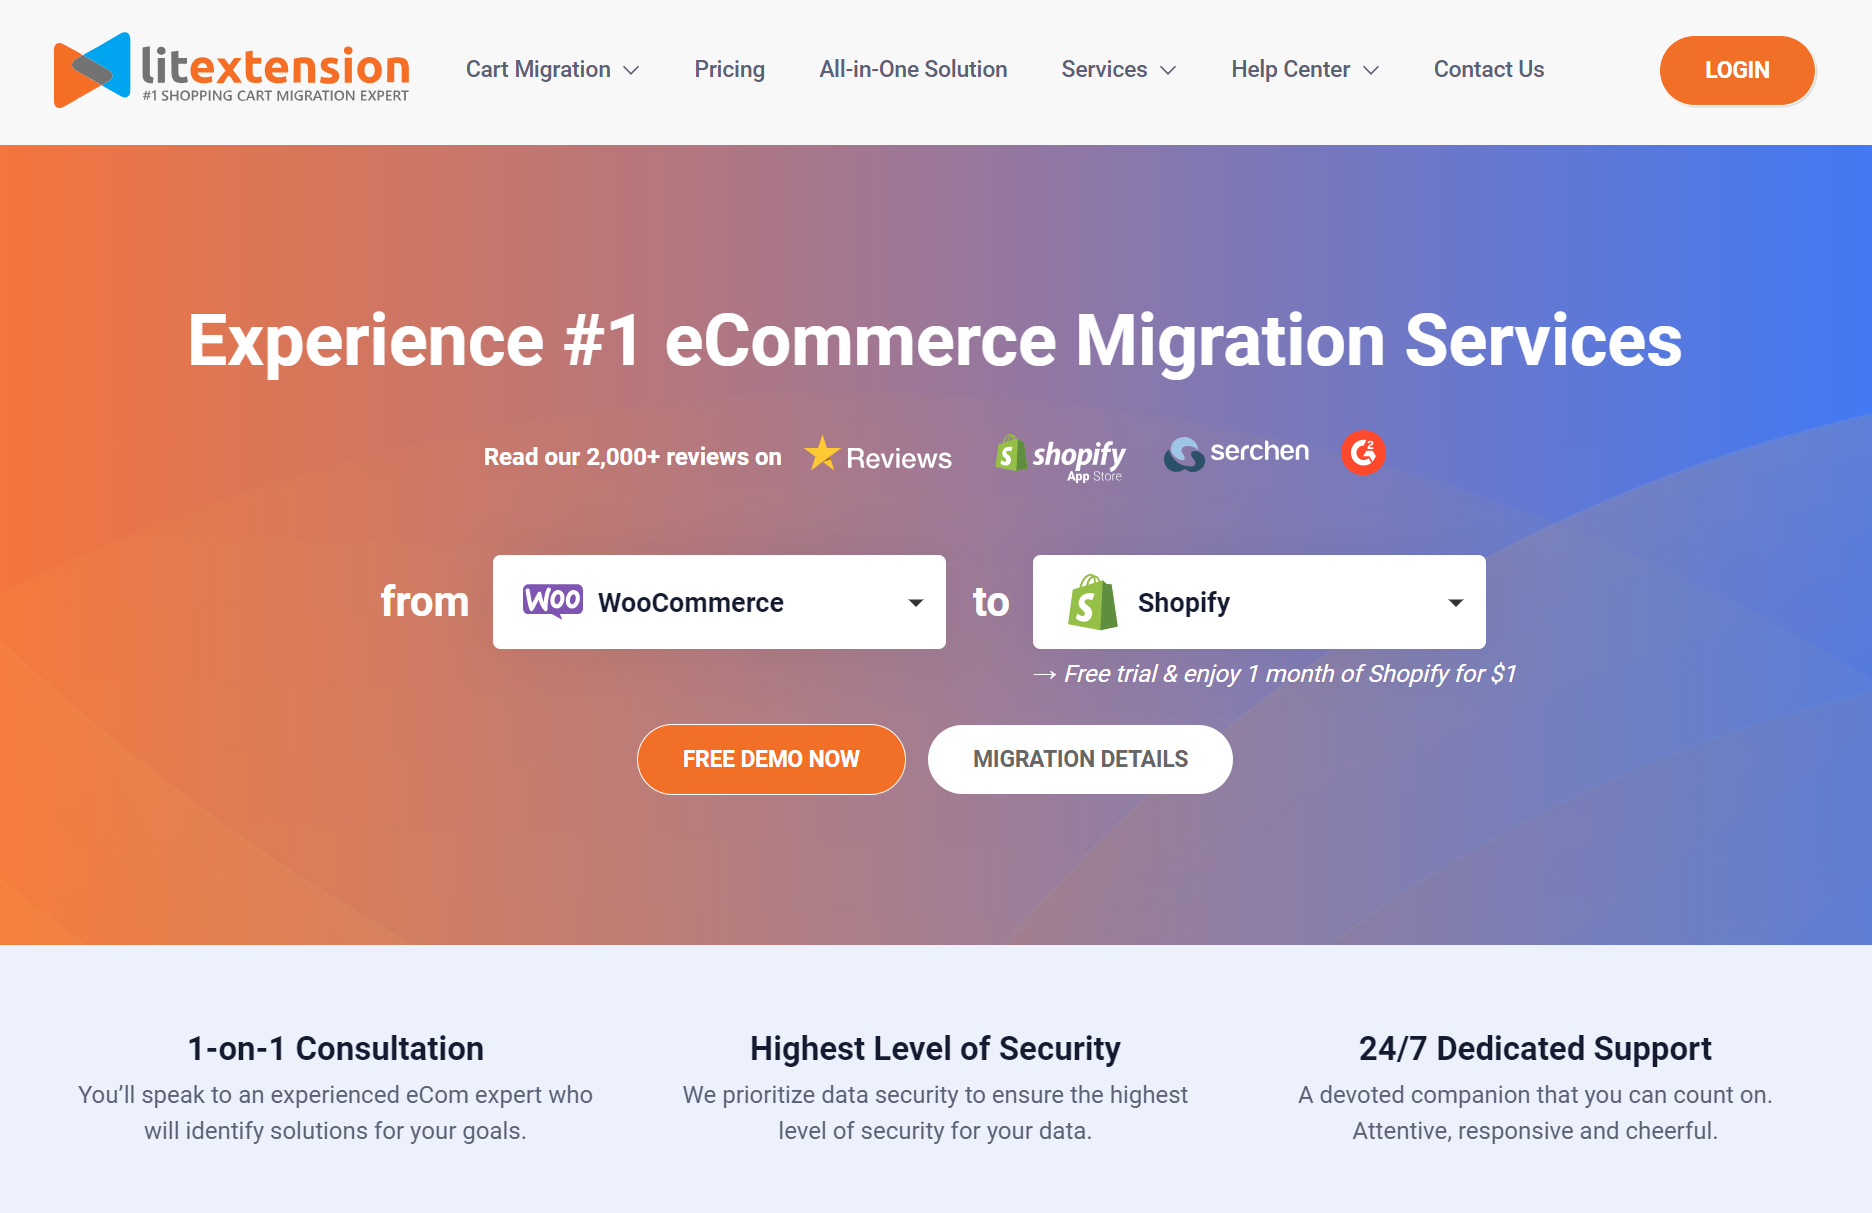
To start your migration, simply create a new account on the LitExtension site.
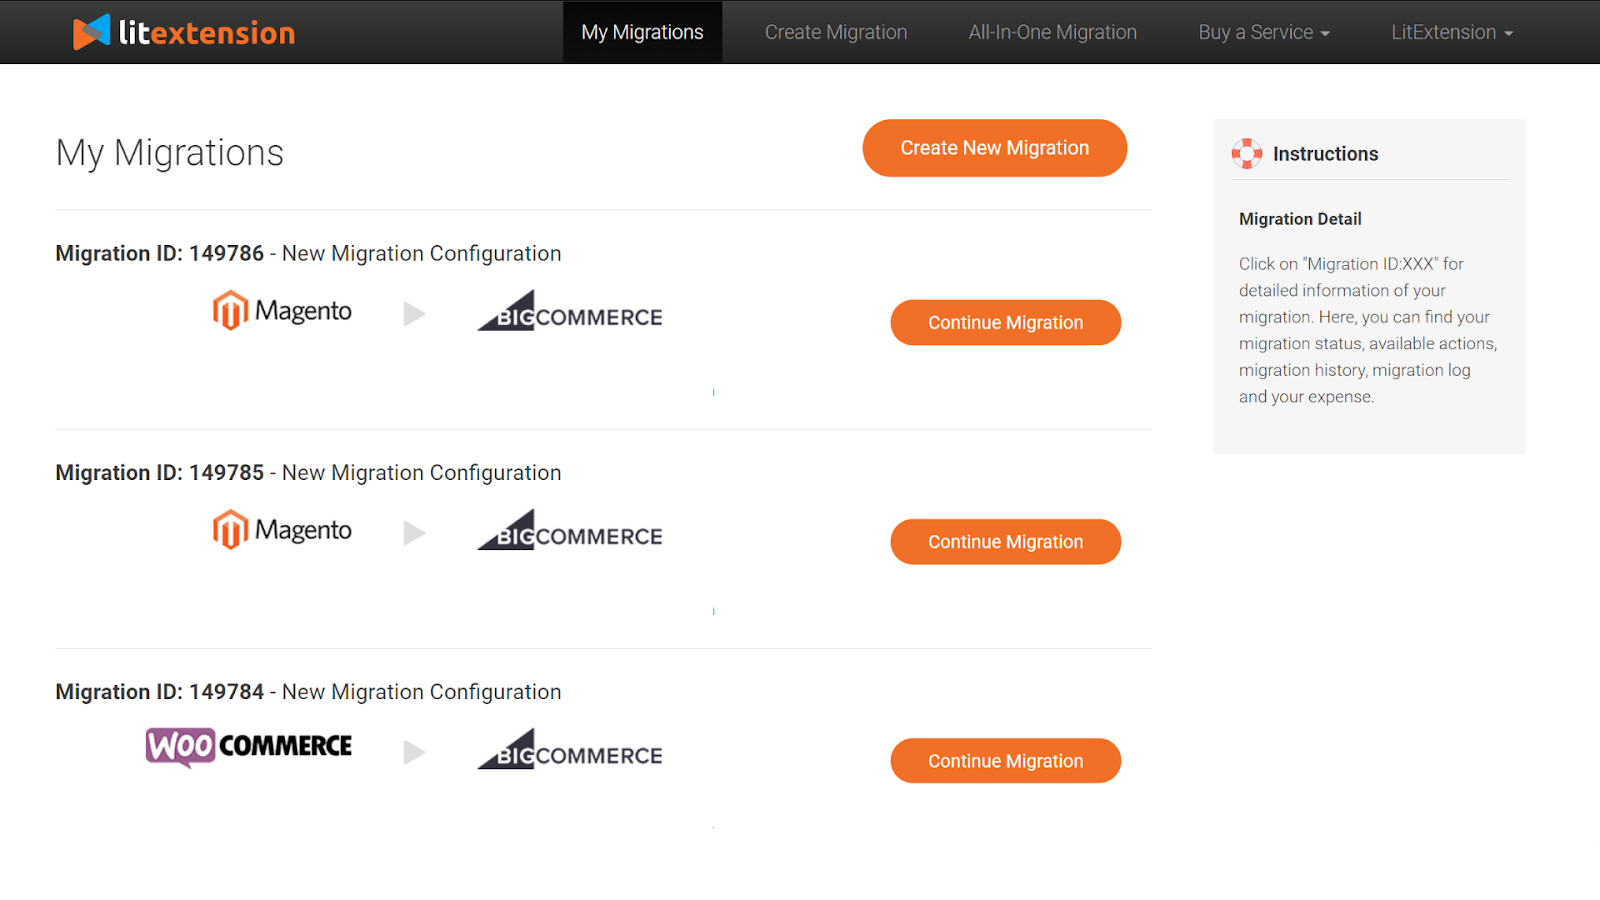
Once you’ve registered with LitExtension, you can immediately start your migration by clicking the Create New Migration button:
Next, navigate to the Source Cart Setup section in LitExtension. Select Shopify from the dropdown menu and enter your store’s URL.
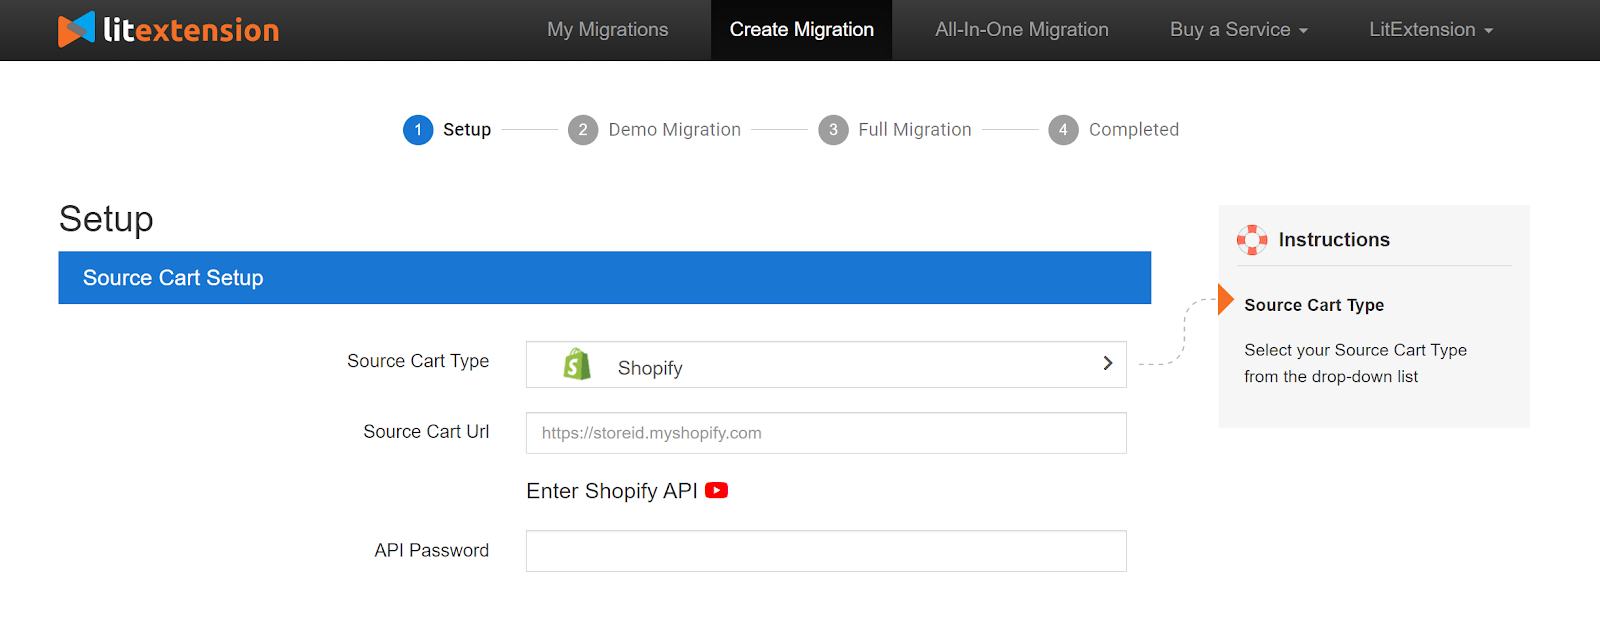
To get your Shopify API key for LitExtension, follow these steps:
Now that your Shopify store is connected to LitExtension’s migration system, you can prepare your WooCommerce store to receive the migrated data.
For your target WooCommerce store setup, select WooCommerce from the dropdown menu and enter your website URL.
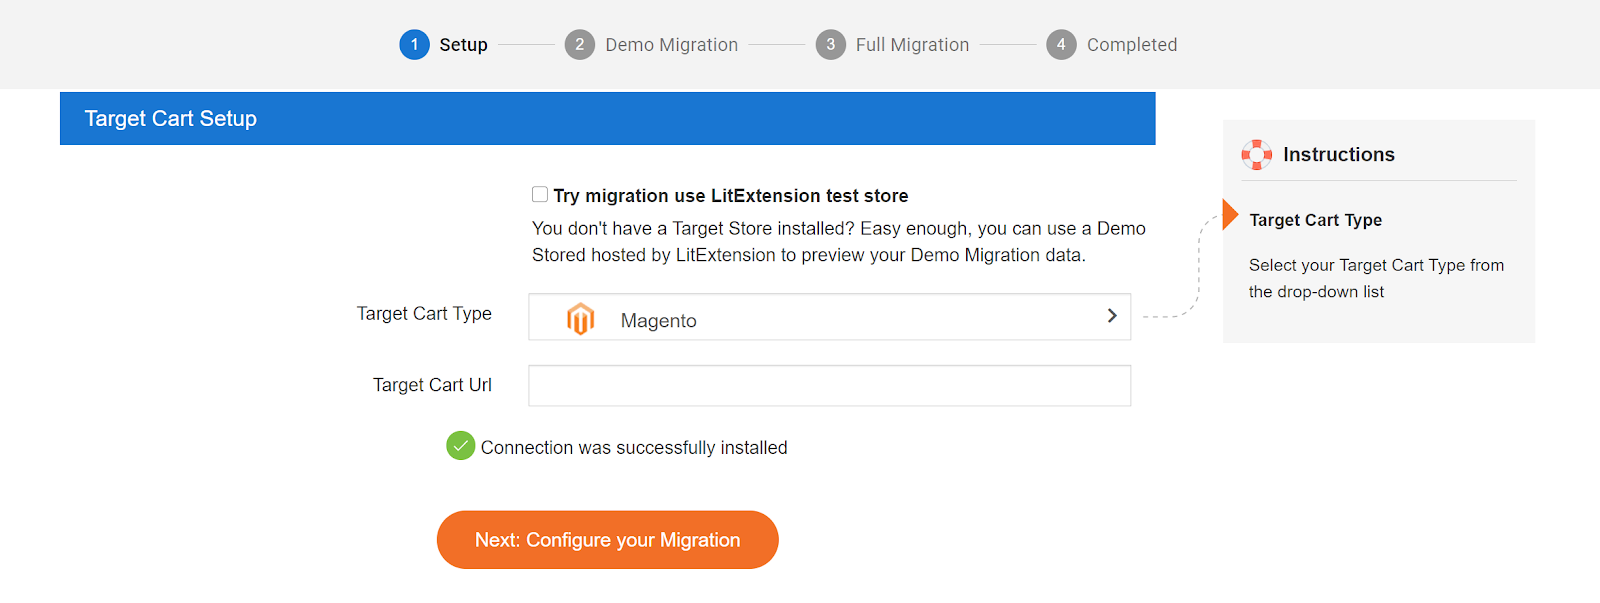
The next step involves installing the LitExtension Connector, which creates a secure bridge between your stores. Here’s how to handle the Connector installation:
You can upload this file to your WooCommerce store using either:
If using your cPanel File Manager:
If using FileZilla:
The Connector remains secure throughout the process, using your unique security token to protect your data during migration.
After successfully connecting both stores, click on Next: Configure your Migration to proceed with selecting which data you want to transfer. Once your migration is complete, you can safely remove the Connector files.
Pro tip:
If you encounter any issues during setup, you can verify the Connector installation by entering your store URL and /le_connector/connector.php in your browser. You should see a “Connector Installed” message if everything works correctly.
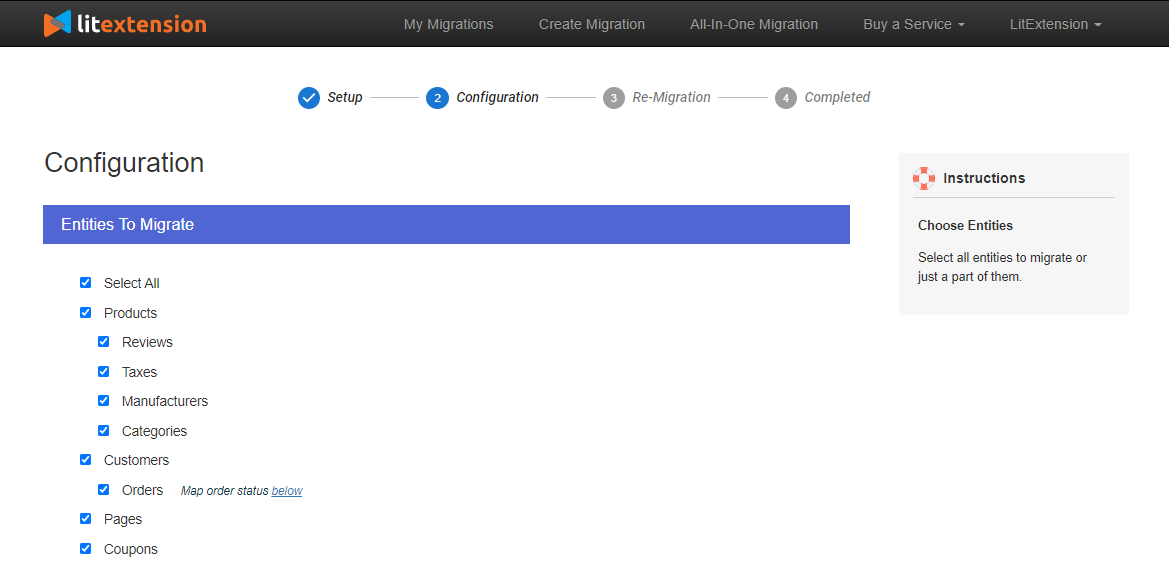
To migrate your data to WooCommerce, you need to select the entities you want to move over. You can choose to migrate specific items, such as Products or Customers, or you can select everything by ticking the Select All box.
The main entities typically include:
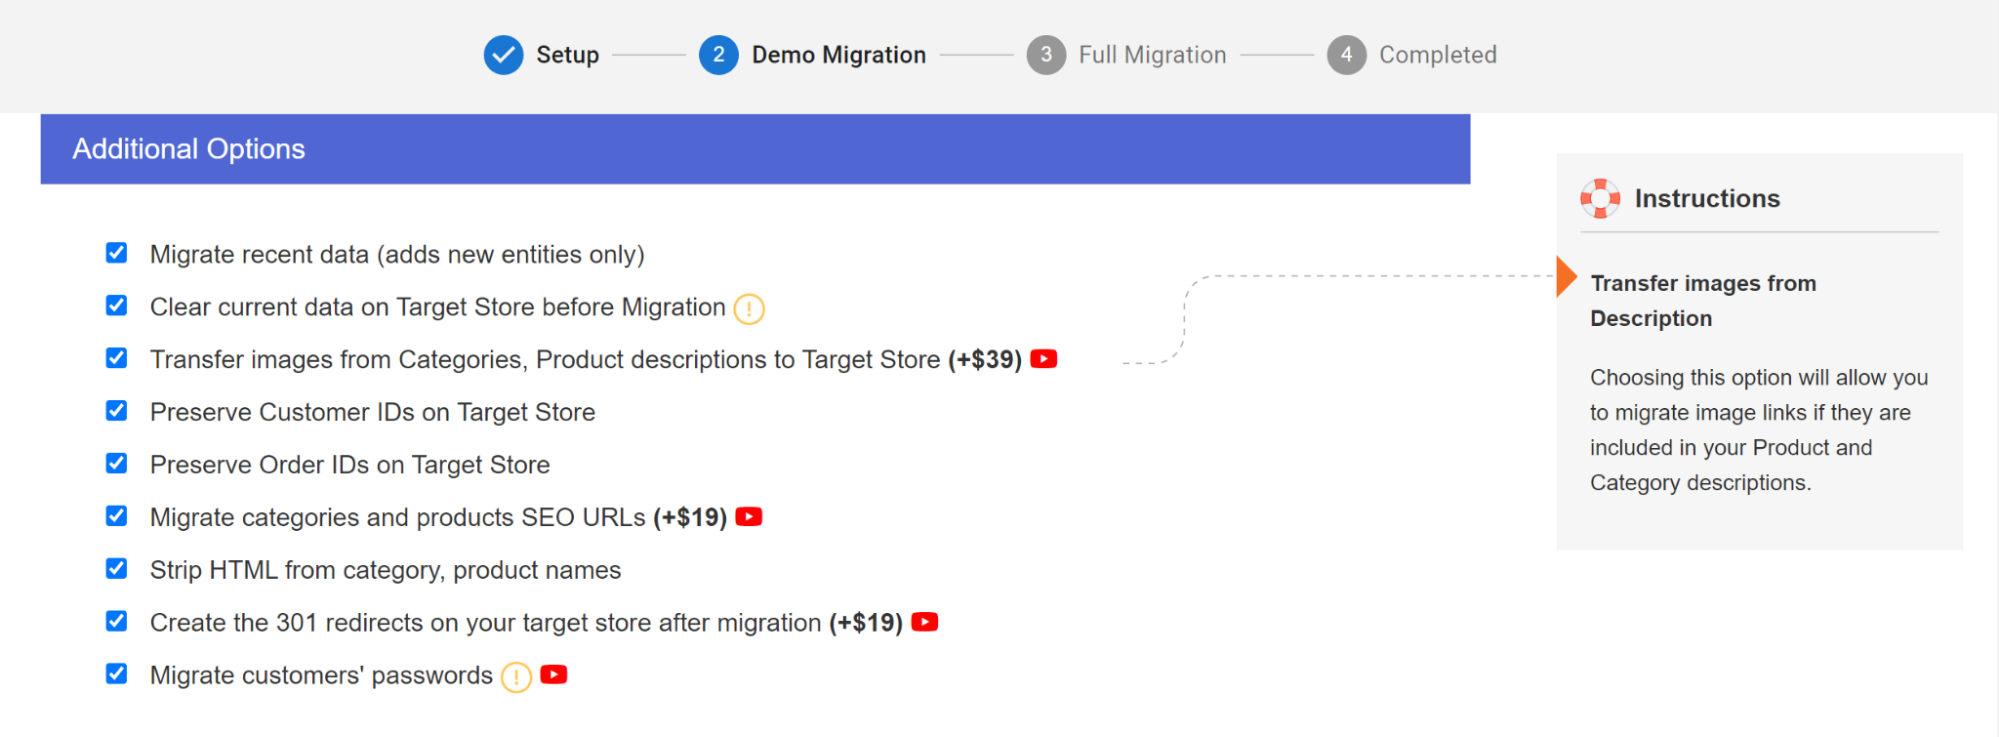
If you have complex data, such as customer passwords or product SEO URLs, you can use Additional Options to further enhance your migration capabilities.
When it comes to SEO data, the migration can preserve your existing search engine rankings by transferring:
Another critical aspect of data preservation is maintaining the integrity of your order management system. For instance, you can use the Preserve Order IDs on Target Store option to ensure that your order IDs from your current platform match those in your new WooCommerce store.
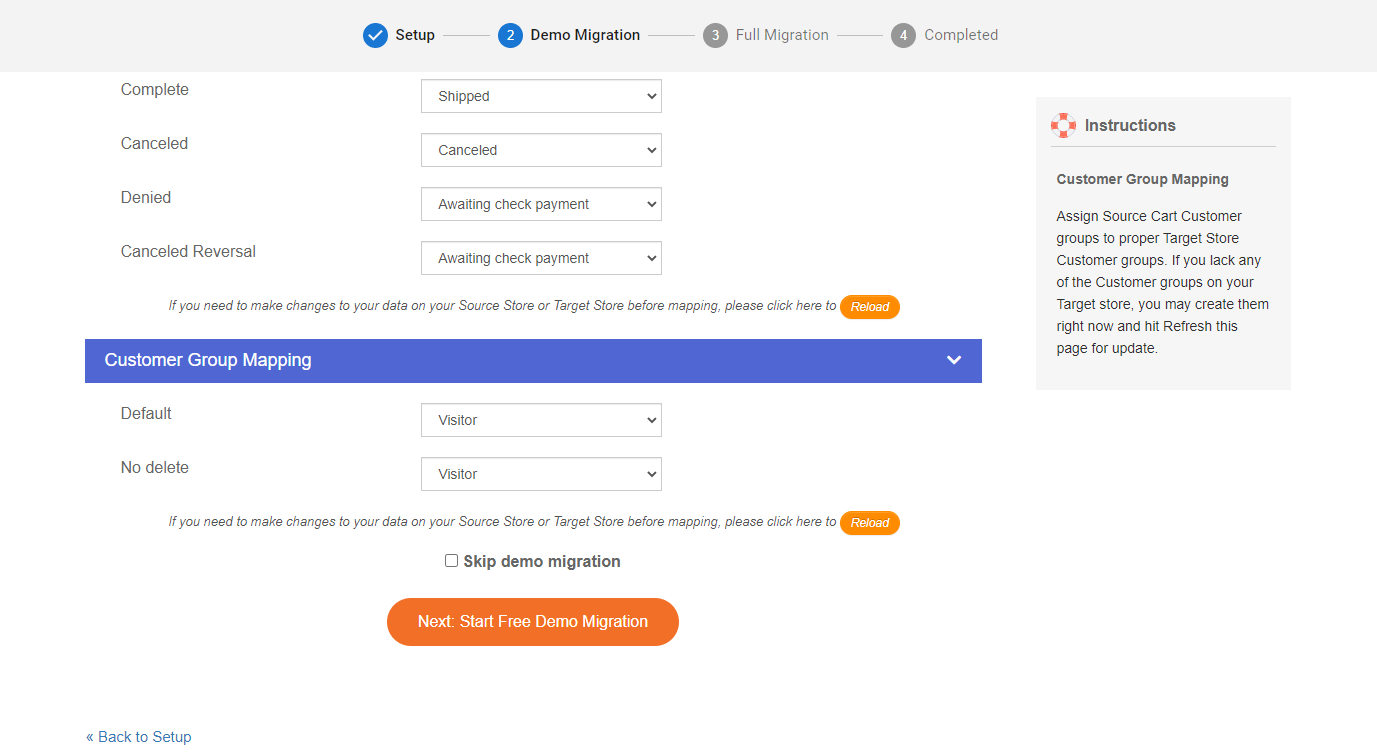
Finally, make sure to map your order status and language to ensure they’re displayed correctly on your WooCommerce site.
If you’d prefer to save time and effort during your migration process, you can use the LitExtension All-in-One Migration Package, which includes a personal assistant to handle your entire project.
Before committing to a complete store migration, take advantage of LitExtension’s Free Demo Migration to see exactly how your data will transfer.
A demo will migrate 20 entities (including products, customers, and orders) to your new store, giving you a clear preview of the migration process and results.
Why run the demo first?
To get started, click the Next: Start Free Demo Migration button to see how the process works. Alternatively, you can skip the demo and migrate your store right away.
The migration service is cloud-based, which means that you don’t need to keep your computer on during the process. You’ll receive an email notification when the migration is complete.
Once the migration is finished, check your Shopify store’s front and back end for errors. If you encounter any issues, contact LitExtension’s technical support team to resolve them.
After migrating from Shopify to WooCommerce, your first 24 hours should focus on verifying critical business functions.
Start by processing test orders through your payment gateways and confirming that customers can complete purchases successfully.
Verify all product data, including prices, inventory, and variations, has migrated correctly. Also, verify that customer accounts and order histories are accessible.
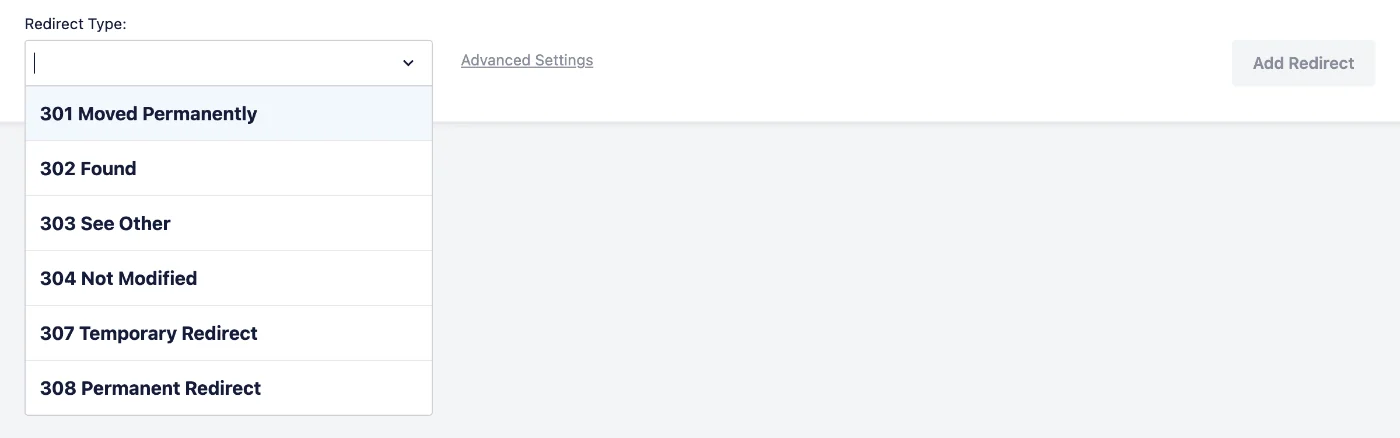
Ensure your financial systems and marketing tools work properly in the first week. Set up essential 301 redirects, check sitemaps to maintain SEO value, and thoroughly test your checkout process across different devices and browsers.
Monitor your analytics closely for the first month, looking for unusual patterns in sales, cart abandonment, or customer service issues. Then, communicate with customers to reassure them about any performance problems.
One of the easiest ways to communicate is to set up Omnisend with WooCommerce to create email marketing and SMS campaigns.
For instance, you could create a clear, welcoming “We’ve Moved!” campaign that reassures customers while highlighting any exciting new features or improvements they’ll experience.
Follow this with targeted automated messages that guide new and existing customers through your refreshed shopping experience.
Quick sign up | No credit card required
When you migrate your store from Shopify to WooCommerce, you must decide how to handle your store’s design. You have two main options:
Recreate your Shopify store’s design in WooCommerce to maintain a familiar and cohesive experience for your customers.
Your current design might drive strong sales and customer satisfaction, so recreating it might be worthwhile. However, matching Shopify’s unique design elements will likely require either developing a custom theme or extensively modifying an existing WooCommerce theme.
Refresh your store’s look with a new WooCommerce theme. WordPress has more customization options than Shopify, with thousands of themes and plugins.
For example, the Gravia theme requires no coding and looks great out of the box:
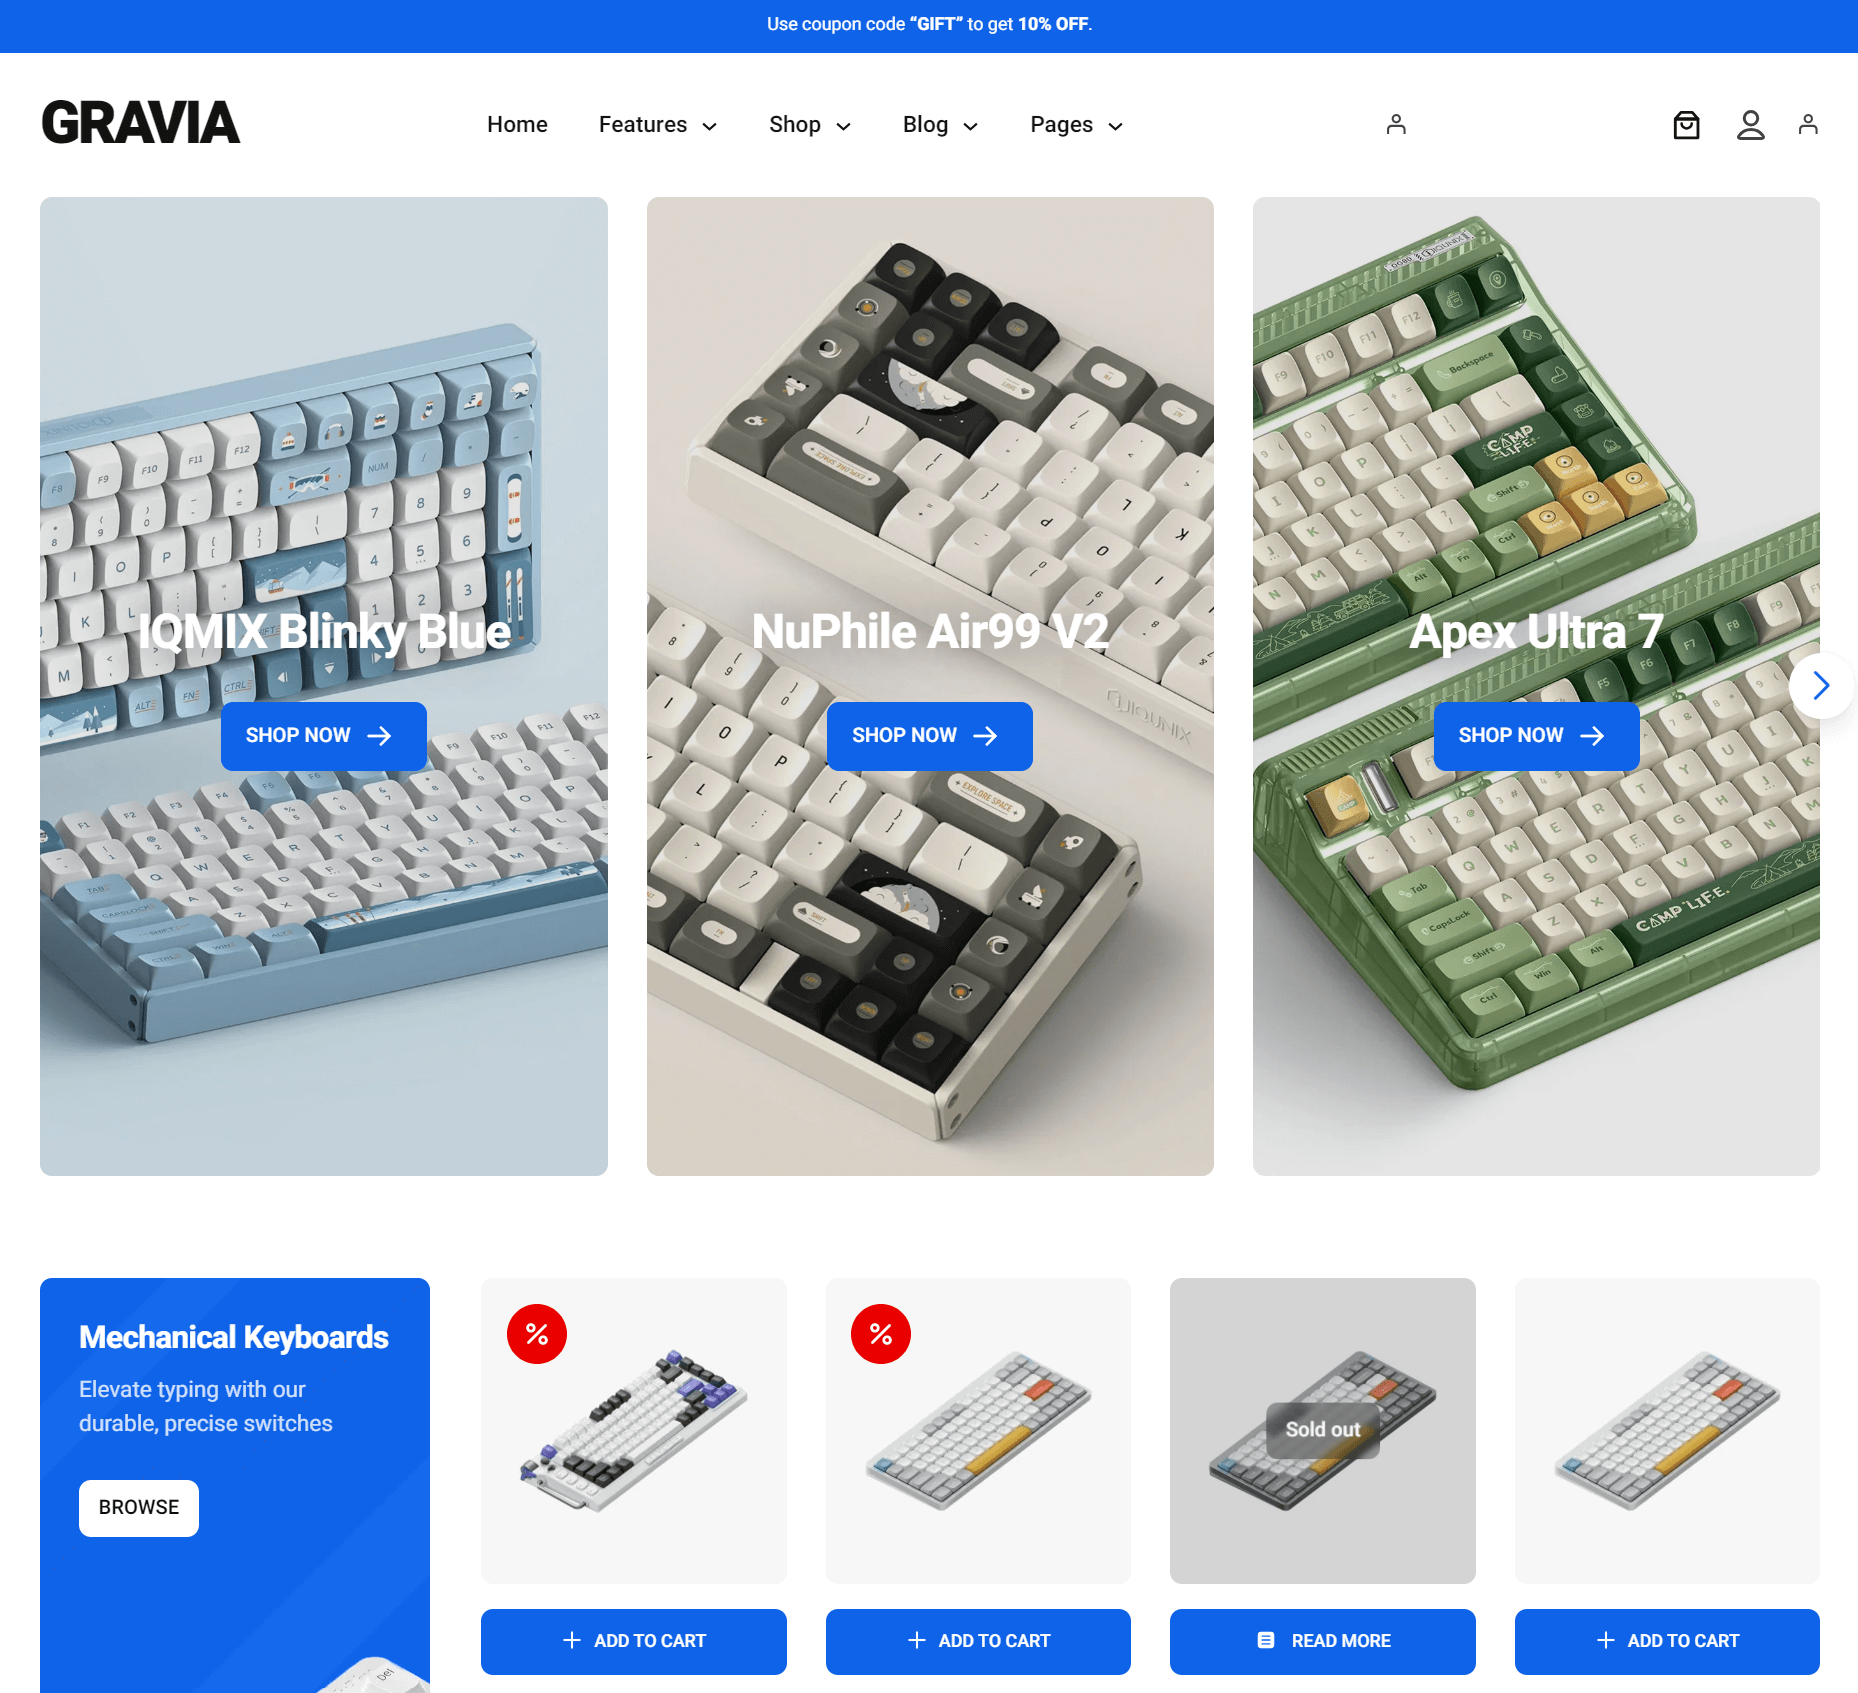
If you break free from Shopify’s design cues, you have complete control over building the shopping experience you envision. You could also start with a new WooCommerce theme and replicate any Shopify elements that worked well.
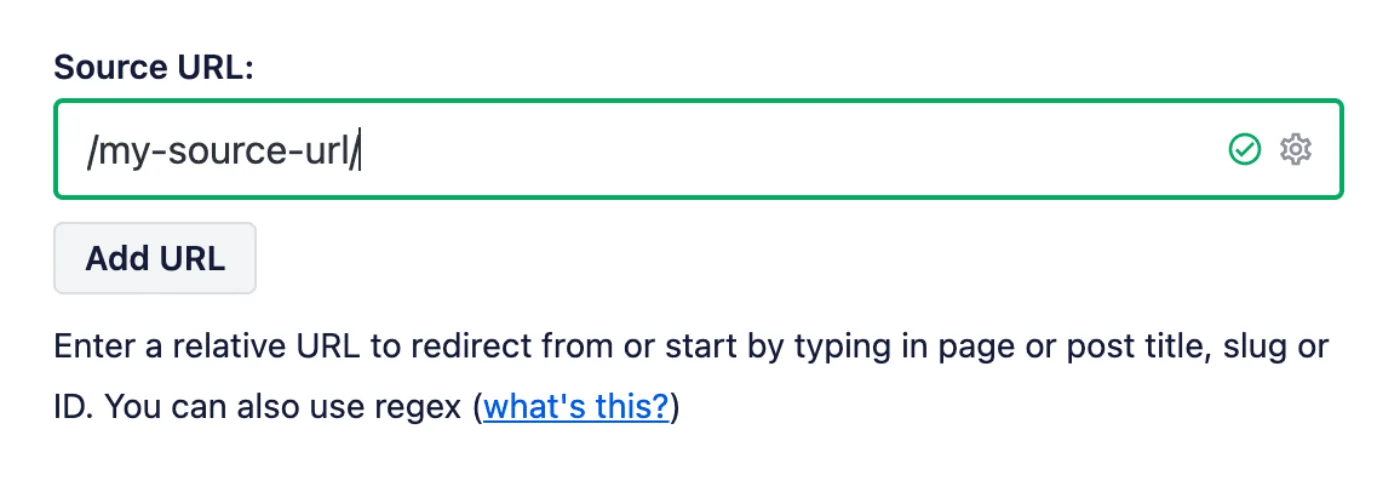
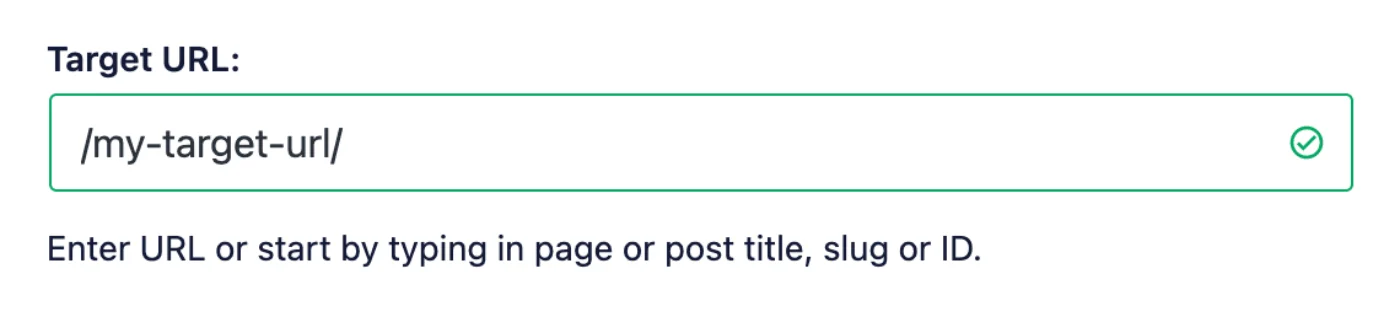
To ensure your customers can still find your products after the migration, you must redirect your Shopify URLs to your new WooCommerce URLs.
Here’s how to properly set up redirects and update your DNS settings when moving from Shopify to WooCommerce:
LitExtension offers the option to Create 301 redirects on your target store after migration for a one-off $19 fee. It sets up 301 redirects automatically while migrating your store.
You can also use a WordPress plugin like All In One SEO to perform 301 redirects after migrating. Here’s how:
You’ll need to update any internal links in your website content that point to your old Shopify domain. Here’s how:
These steps will help maintain your SEO rankings and ensure customers are directed to your new store.
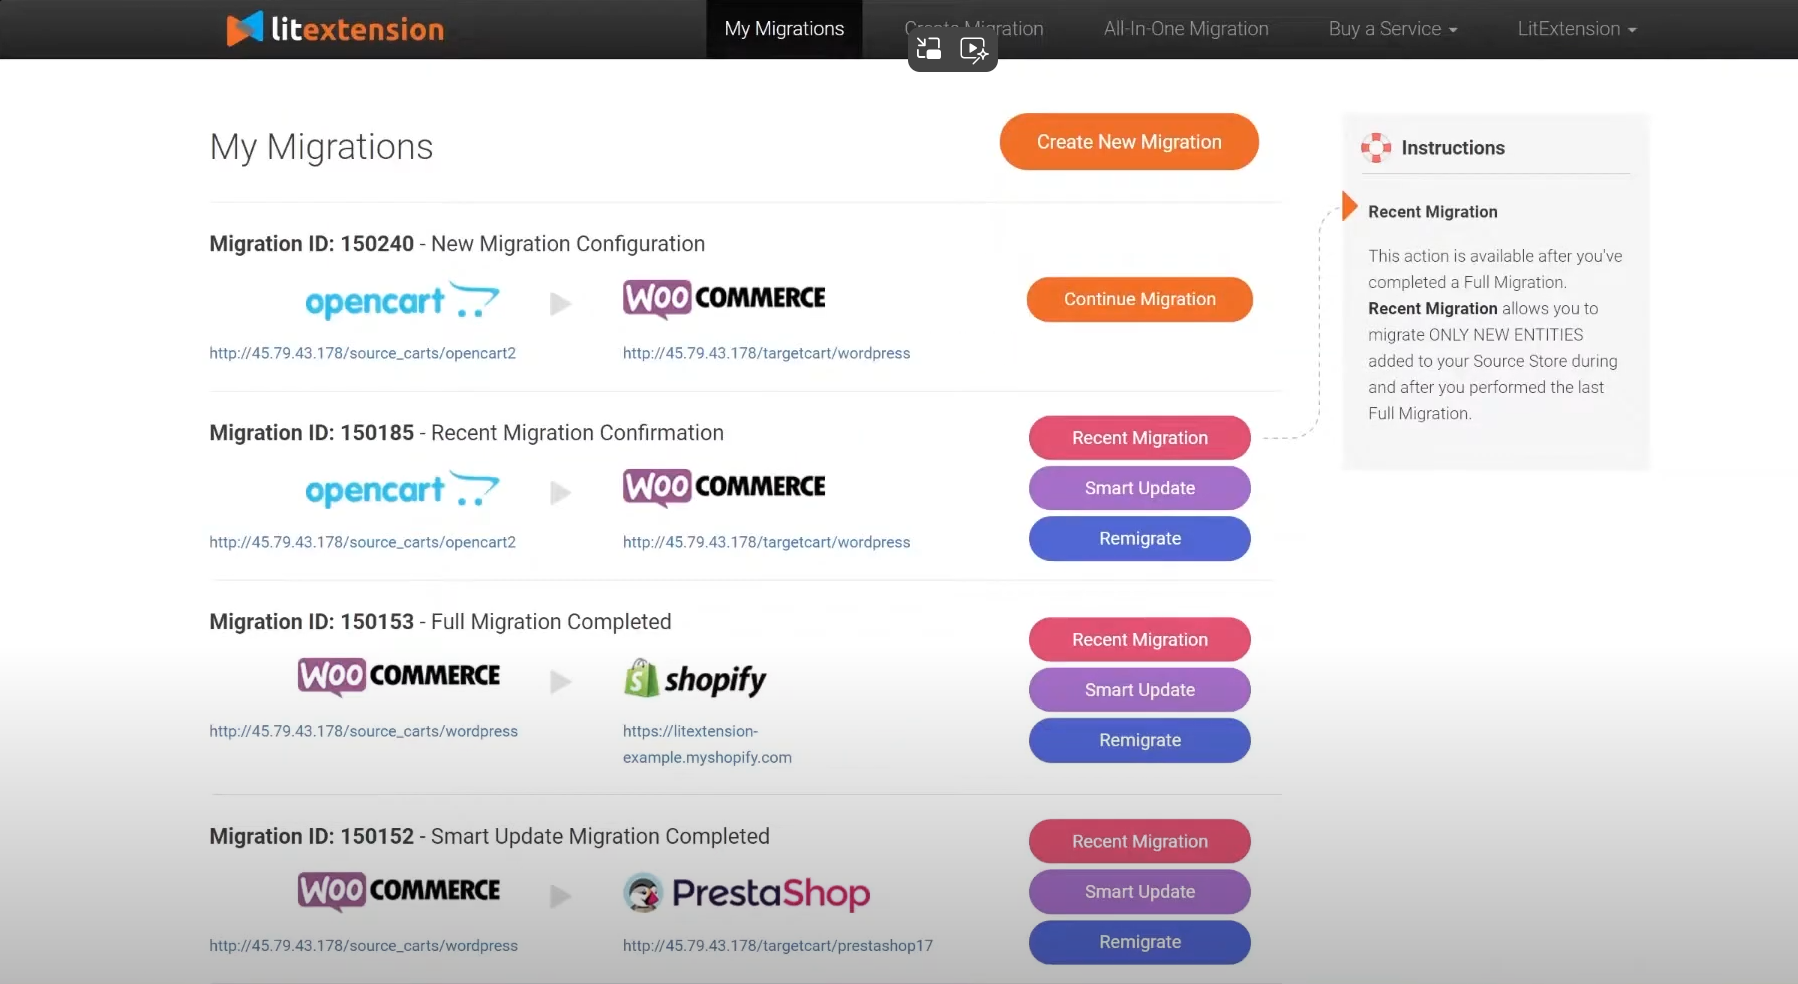
LitExtension’s Recent Data Migration transfers only newly added data from your Shopify store to your new WooCommerce store after your initial full migration.
After completing the main migration, you can use this service to move new orders, customers, and products your Shopify store generates.
In other words, it ensures you don’t lose any new business data generated in your Shopify store while setting up your WooCommerce store, as long as you’re within the 60-day window and data volume limits.
Follow these steps to ensure your WooCommerce store is ready for launch:
Omnisend can transform your WooCommerce store’s performance through email/SMS campaigns and marketing automation workflows.
With campaigns, you can craft targeted email and SMS messages using a drag-and-drop editor, personalize content, and schedule broadcasts to reach customers at optimal times.
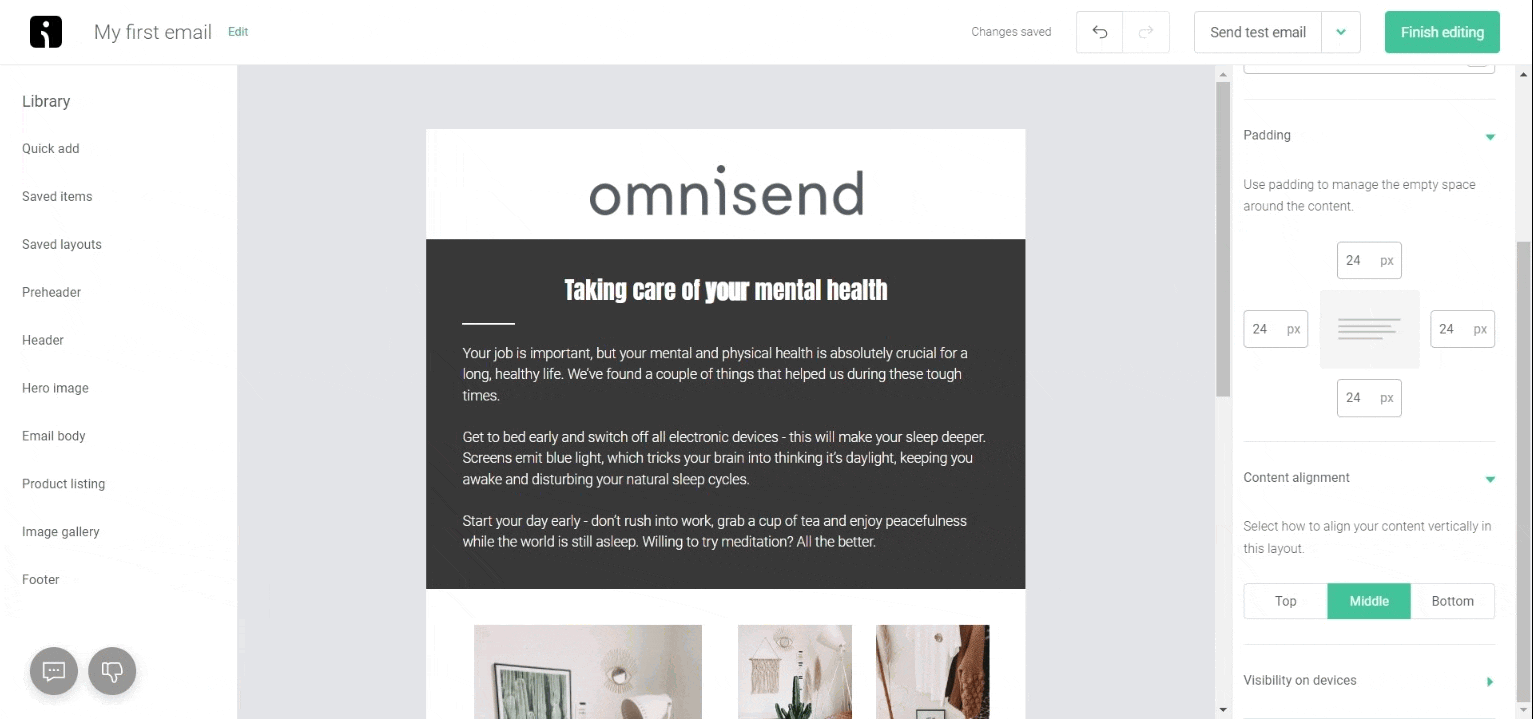
The platform’s automation capabilities go further by creating sophisticated workflows that respond to customer behavior, from sending welcome sequences to recovering abandoned carts and automatically re-engaging inactive customers.
Advanced segmentation ensures all communications, whether one-time campaigns or automated sequences are relevant. You can segment based on purchase history, browsing behavior, and engagement levels, making every message count.
Analytics then tracks results, helping you optimize performance with detailed metrics on opens, clicks, and conversions.
WooCommerce is more scalable than Shopify and doesn’t have ongoing monthly fees, making it possible to open a store with only hosting costs.
The initial setup is more time-intensive than with Shopify, but in return, you get unlimited freedom to build what your business needs without paying for features you won’t use.
WooCommerce eliminates monthly platform fees. Shopify’s basic plan is $39/month plus transaction fees — WooCommerce is free. While you will pay for web hosting, WooCommerce still works out cheaper than Shopify in most cases.
If your business relies heavily on content alongside ecommerce, WooCommerce runs on WordPress’s powerful content management system. Instead of connecting multiple platforms, you can run everything from one dashboard.
While both platforms use templates, WooCommerce lets you modify any aspect of your store without restrictions. You can change checkout flows, add custom features, or create unique shopping experiences without being locked into platform limitations.
You own your entire WooCommerce store setup, including data, code, and hosting. You can switch service providers freely, use any payment processor without limitation, and scale without being forced into higher-priced plans.
WooCommerce can quickly scale from a single store into a full marketplace platform without spiraling costs. You can add multiple vendors, create custom commission structures, and manage complex product relationships with plugins.
There are three plugins you should use when migrating to WooCommerce:
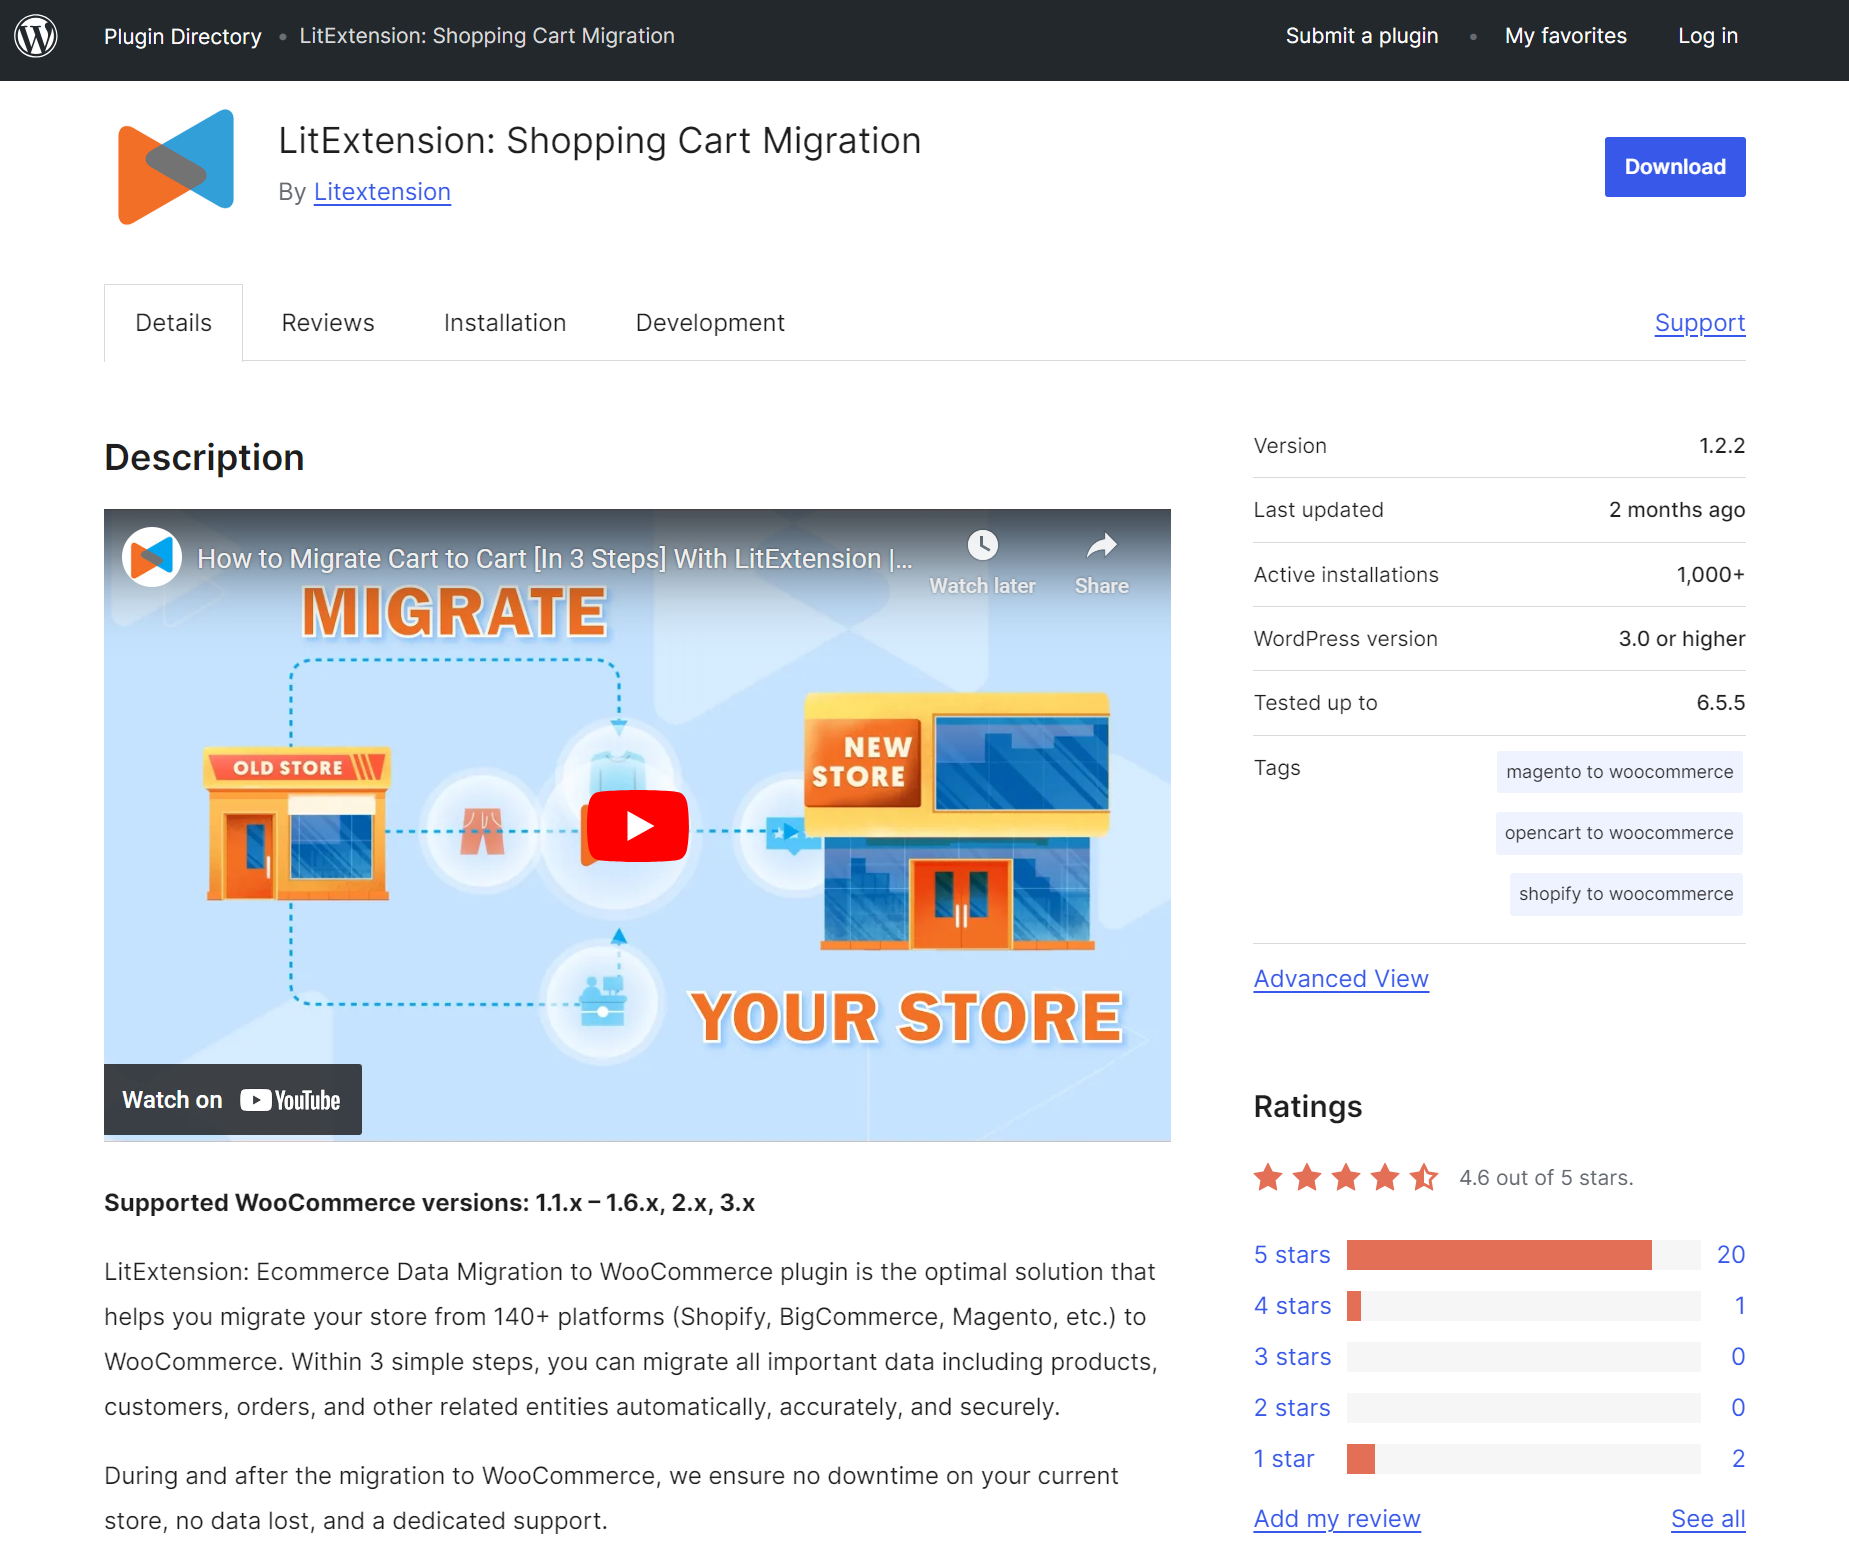
This comprehensive store migration service automates the transfer of ecommerce data between Shopify and WooCommerce.
It migrates products, customers, orders, and other store data with high accuracy and a user-friendly three-step process. During migration, you can also get 24/7 support and maintain store operations.
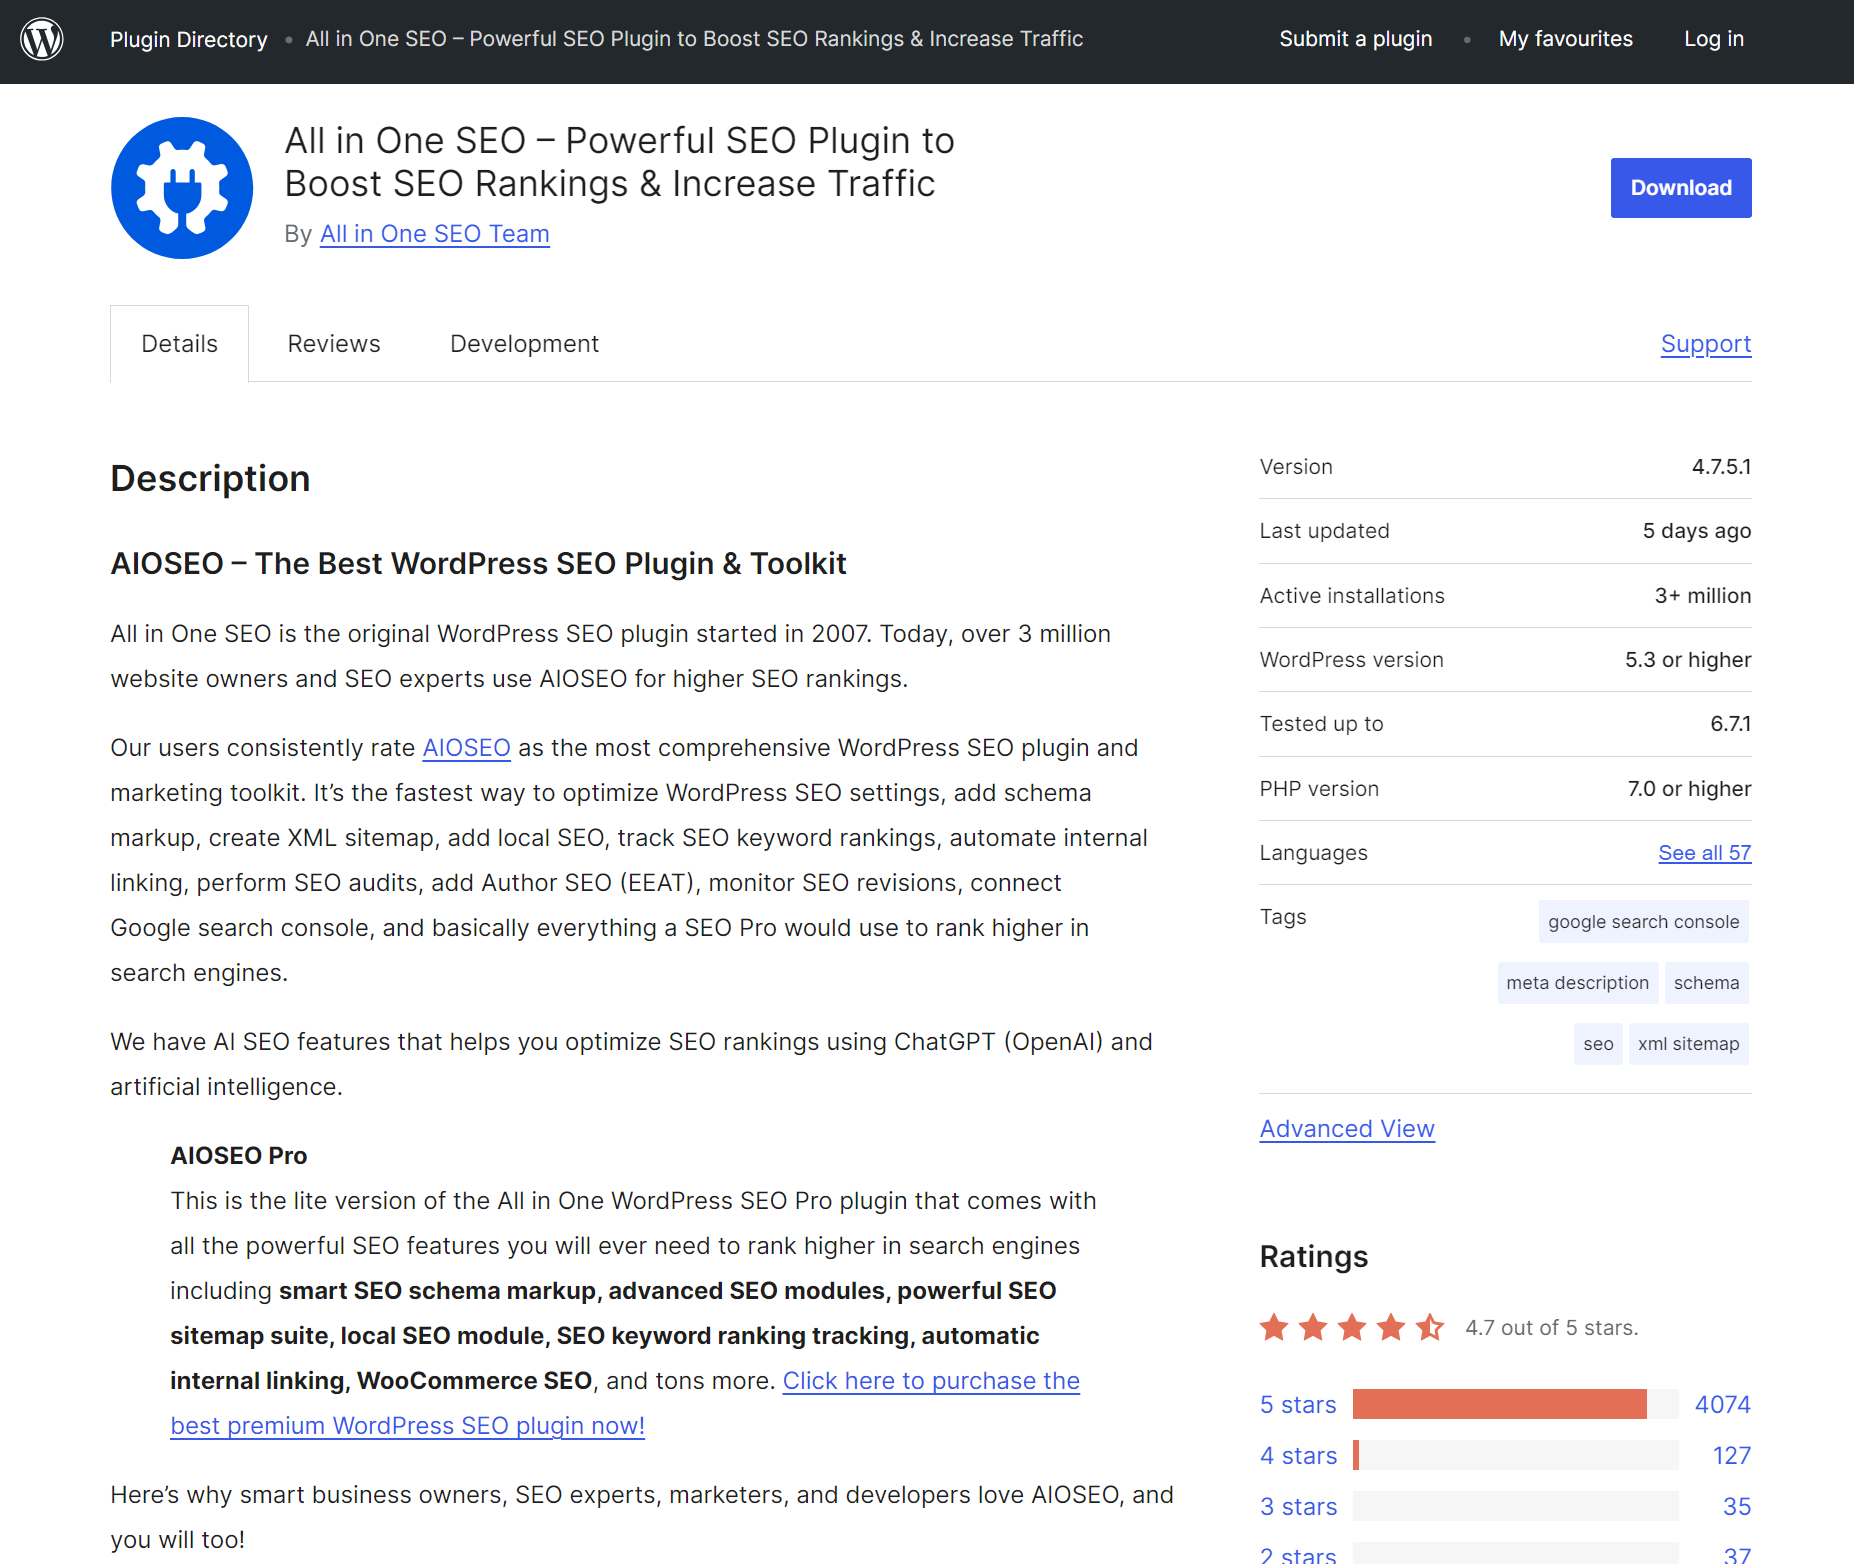
This is likely the only SEO plugin you’ll need with comprehensive optimization tools, including TruSEO analysis, schema markup, XML sitemaps, and social media integration.
It features local SEO capabilities, WooCommerce optimization, and advanced tools like broken link checking and redirect management.
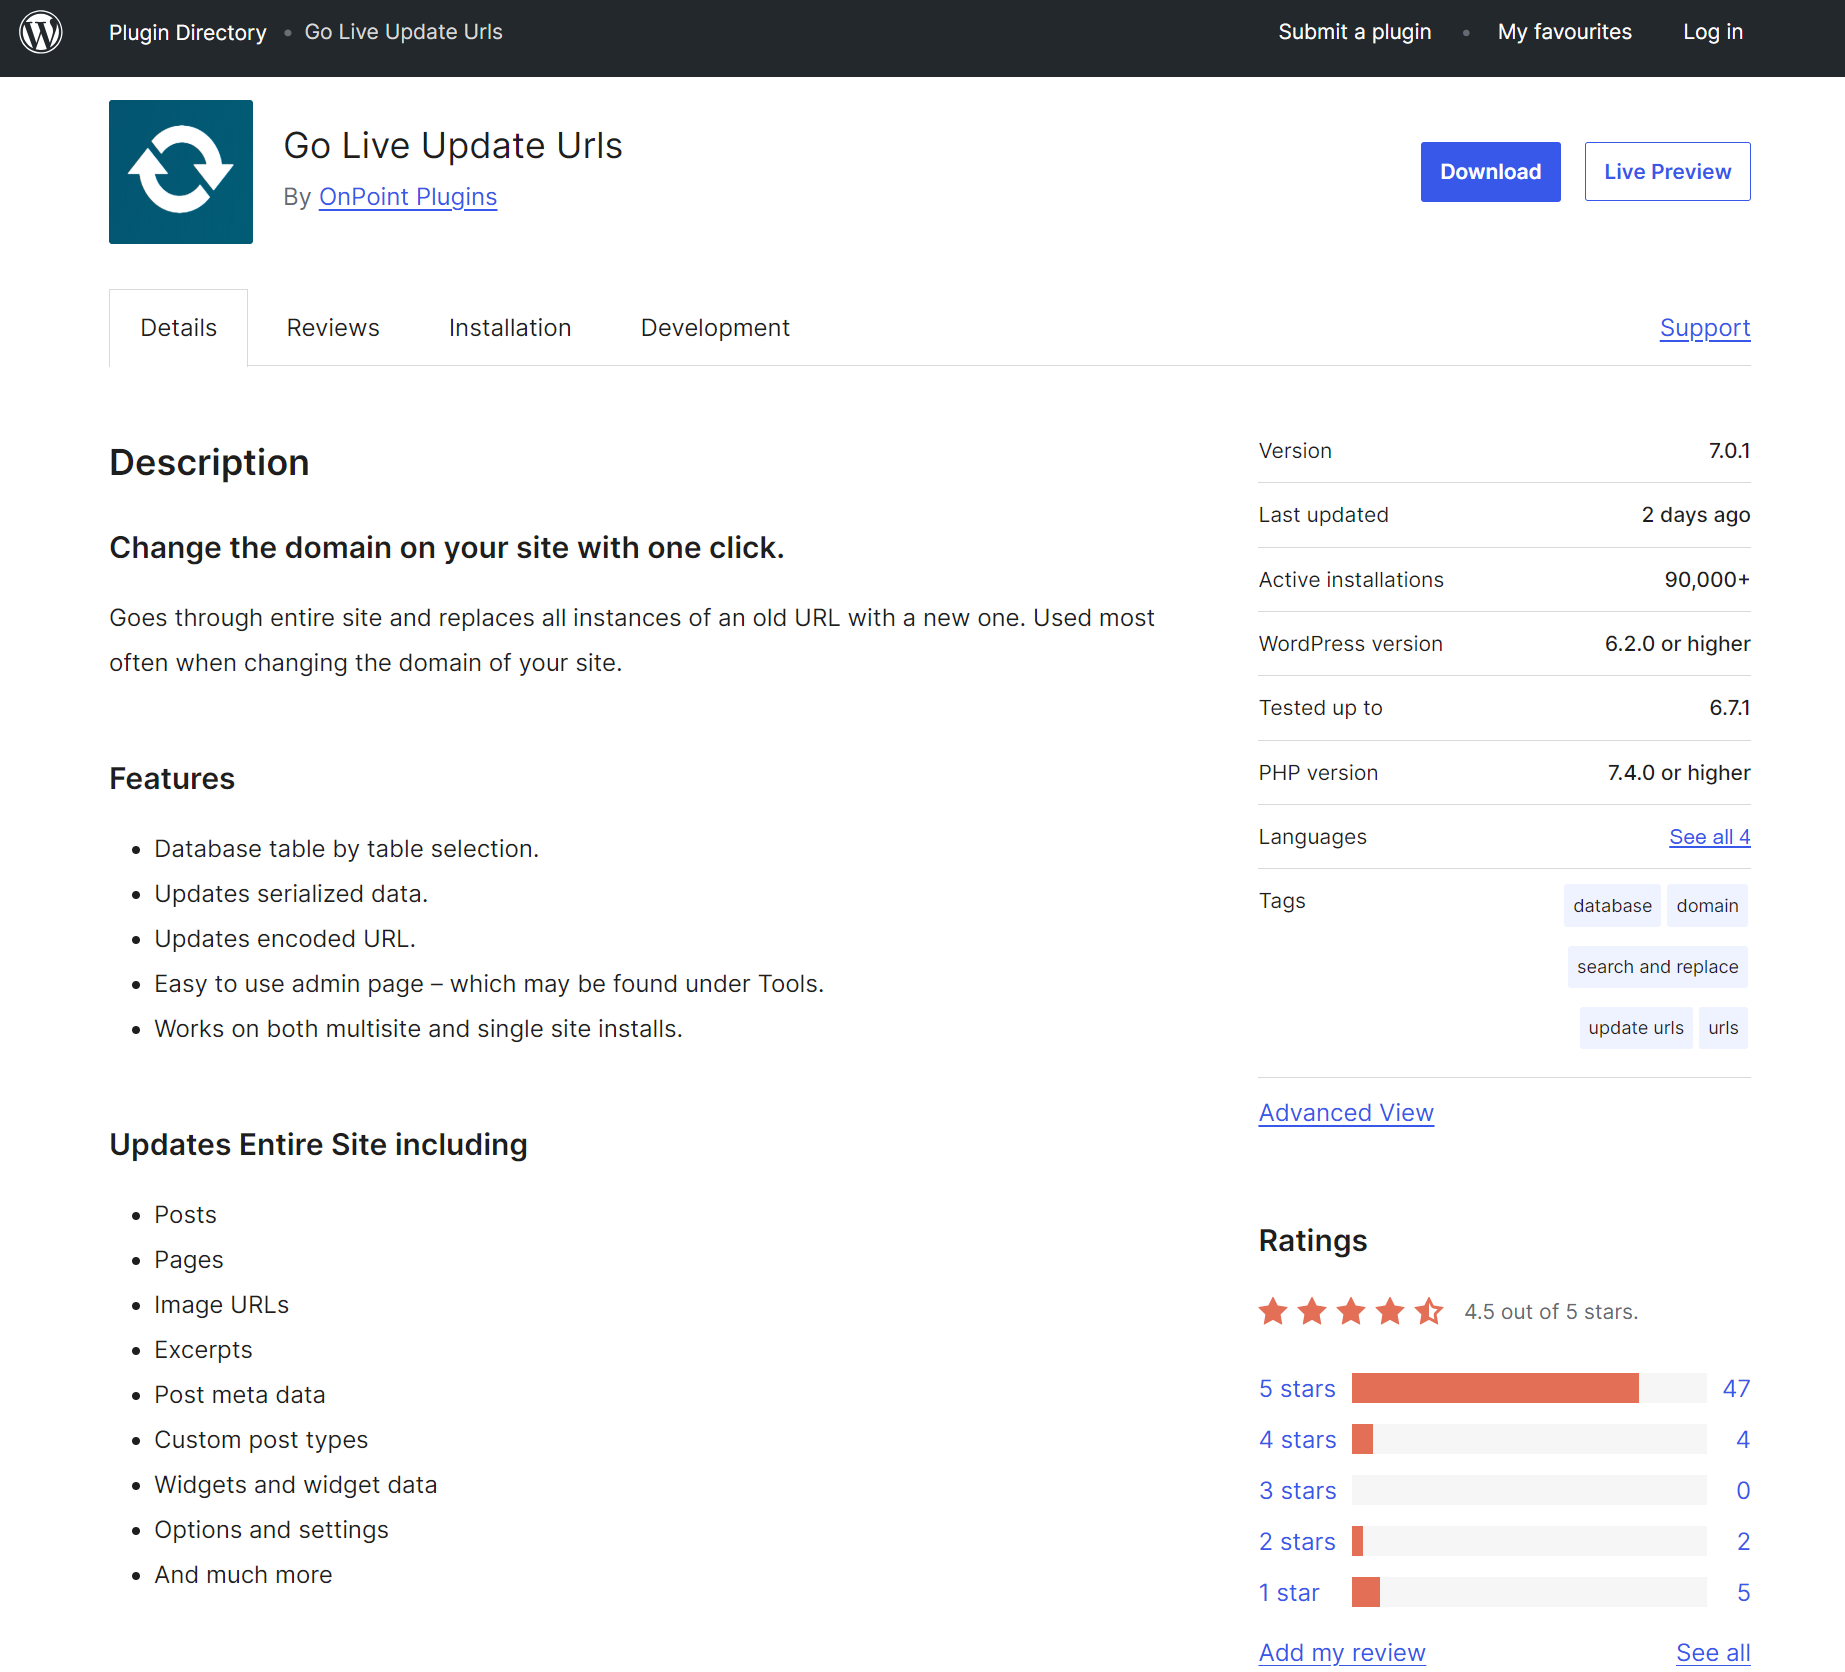
This is an excellent WordPress plugin for seamless domain changes across entire websites. It intelligently handles serialized data, updates URLs across all database tables, and supports various data types.
Its ability to update complex content while maintaining data integrity and preventing common migration issues means one less thing to worry about.
Your move from Shopify to WooCommerce makes sense if you want to avoid platform fees and build a more scalable, custom site.
Migrating to WooCommerce involves several steps, but LitExtension automates much of the process after some initial configuration steps. Plus, you can keep your Shopify site live during the migration and handle all redirects afterwards.
Backing up your site and taking a systematic migration approach will help protect your business and minimize downtime. Test everything after migrating and communicate any changes to your customers to ensure a smooth transition to your new store.
Quick sign up | No credit card required
TABLE OF CONTENTS
TABLE OF CONTENTS
What’s next


No fluff, no spam, no corporate filler. Just a friendly letter, twice a month.