
 OFFER
OFFER


Drive sales on autopilot with ecommerce-focused features
See FeaturesMost people think launching a WordPress website is as simple as clicking Publish. Just pick a theme, add some content, and you’re done, right? Unfortunately, that’s how websites end up slow, unsecure, and invisible in search results.
A successful launch takes more than just setting up a few pages. Every detail matters — from performance optimization and security measures to search engine optimization and email marketing integrations. Overlooking even one step can cost you traffic and sales.
This WordPress launch checklist covers everything you need for a high-functioning, fast, secure site that’s ready to grow.
Launch your WordPress site and integrate marketing automation software for worry-free growth on autopilot
Quick sign up | No credit card required
WordPress launch checklist
Site functionality and design
A good-looking website needs to work smoothly on any device, load quickly, and guide visitors toward a specific action. Before launch, either you or your web developer needs to check these key areas to ensure everything runs as intended.
Ensure your website is responsive
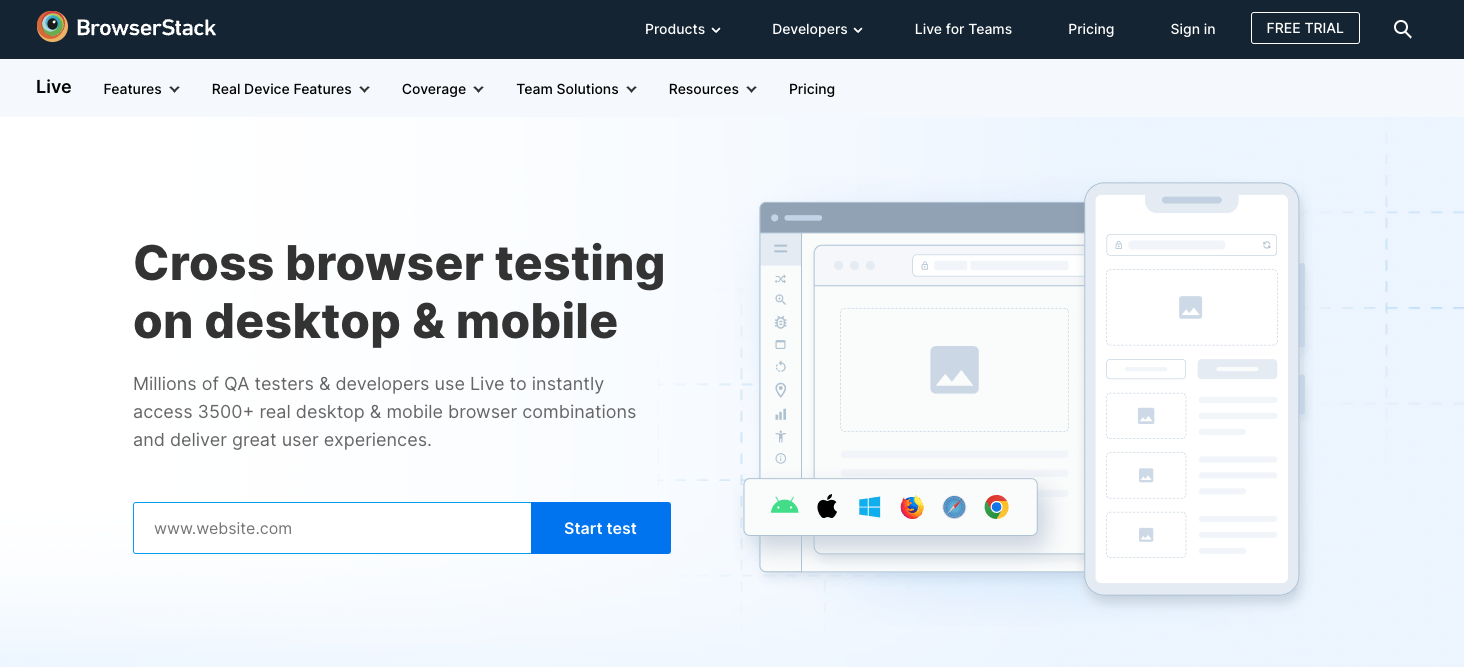
Your site should look and function properly on desktops, tablets, and smartphones. Test it across different screen sizes to catch issues with menus, buttons, popups, and images.
BrowserStack, which is shown in the image below, helps preview your site across multiple devices without extra hardware:
Test your site on multiple browsers
Not everyone uses Google Chrome, and testing on virtual environments like BrowserStack is just the first step.
Open your site in Safari, Firefox, Edge, and mobile browsers to confirm that everything displays correctly. Fonts, animations, and embedded media can behave differently across platforms, and you’ll want to catch and fix these inconsistencies prior to launch.
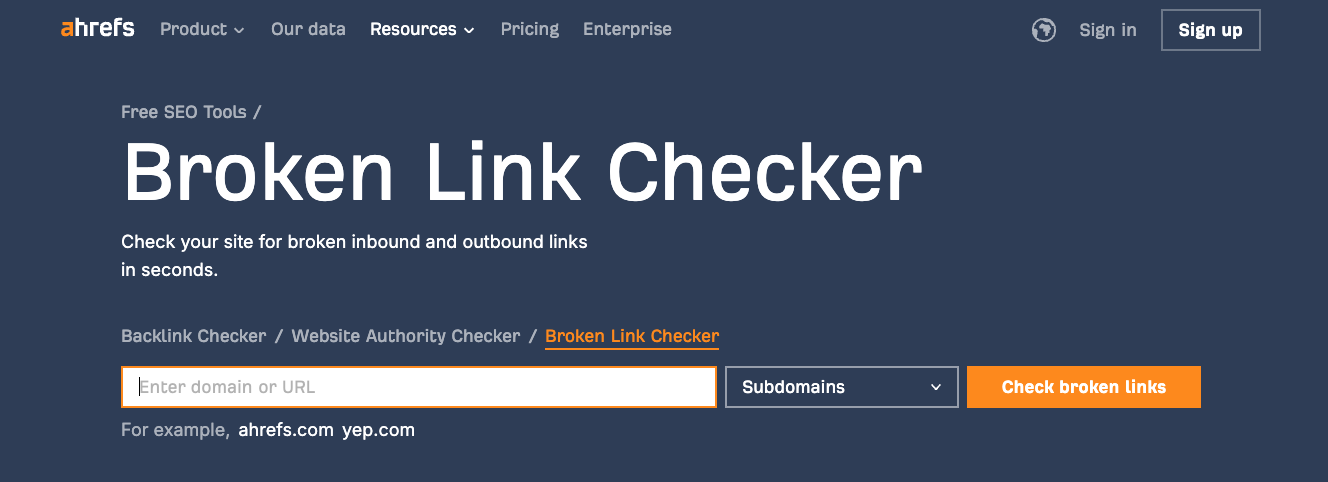
Check for broken links
Click through every page and test every link. Nothing frustrates visitors more than landing on a broken page. Use tools such as Broken Link Checker, shown below, or Screaming Frog SEO Spider to scan for dead links and fix them before launch:
Test your forms
Every form — whether it’s a contact form, newsletter signup, or checkout page — needs to work flawlessly. Submit test entries to make sure the data goes to the right place and confirmation emails arrive as expected. If you’re using Omnisend, you can ensure new subscribers automatically end up on your email list so you can engage them right away.
Remove default content
WordPress installations often come with placeholder content, sample pages, and “Lorem Ipsum” text. Clean these up before launch to avoid making your site look unfinished.
Double-check for demo content from your theme or plugins, as some may automatically generate sample posts, comments, or menu items.
Deleting unnecessary content makes your site look more professional and prevents search engines from indexing duplicate or irrelevant pages.
Optimize your 404 page
Visitors will occasionally land on a page that doesn’t exist, whether due to a mistyped URL, a deleted page, or an outdated link. Instead of showing a bland error message, create a custom 404 page with a search bar, navigation links, or recommendations for popular content so people find their way back.
A well-designed 404 page reduces bounce rates and improves the user experience, making it more likely that visitors explore your site rather than leaving.
Set up search functionality
You can also improve the default WordPress search functionality with a plugin like Jetpack Search. This tool has powerful features like instant search results, granular filters, spelling correction, and more.
Investing in an advanced search solution helps visitors find what they need faster, especially if your site includes a blog or a large product catalog.
Add a favicon
A favicon is a tiny icon that appears next to your site’s name in web browsers, search results, and other places around the web. A unique, high-quality favicon does more than you think to help your site look polished and professional.
Upload your favicon in Appearance > Customize > Site Identity in WordPress. While it may seem like a minor detail, a favicon reinforces your brand identity and makes your site easier to recognize when people have multiple tabs open.
For the best results, use a simple, square image — preferably 512 x 512 pixels — that represents your brand or simply use your logo.
Use clear calls to action
Every page should guide visitors toward the next step. Instead of vague text like “Learn More,” use action-driven calls to encourage engagement. A few examples include:
- Start your free trial: This is great for SaaS and subscription businesses
- Get 10% off — Subscribe now: This option works well for ecommerce stores
- Book a free consultation: This one’s ideal for service-based businesses
Make contact information easy to find
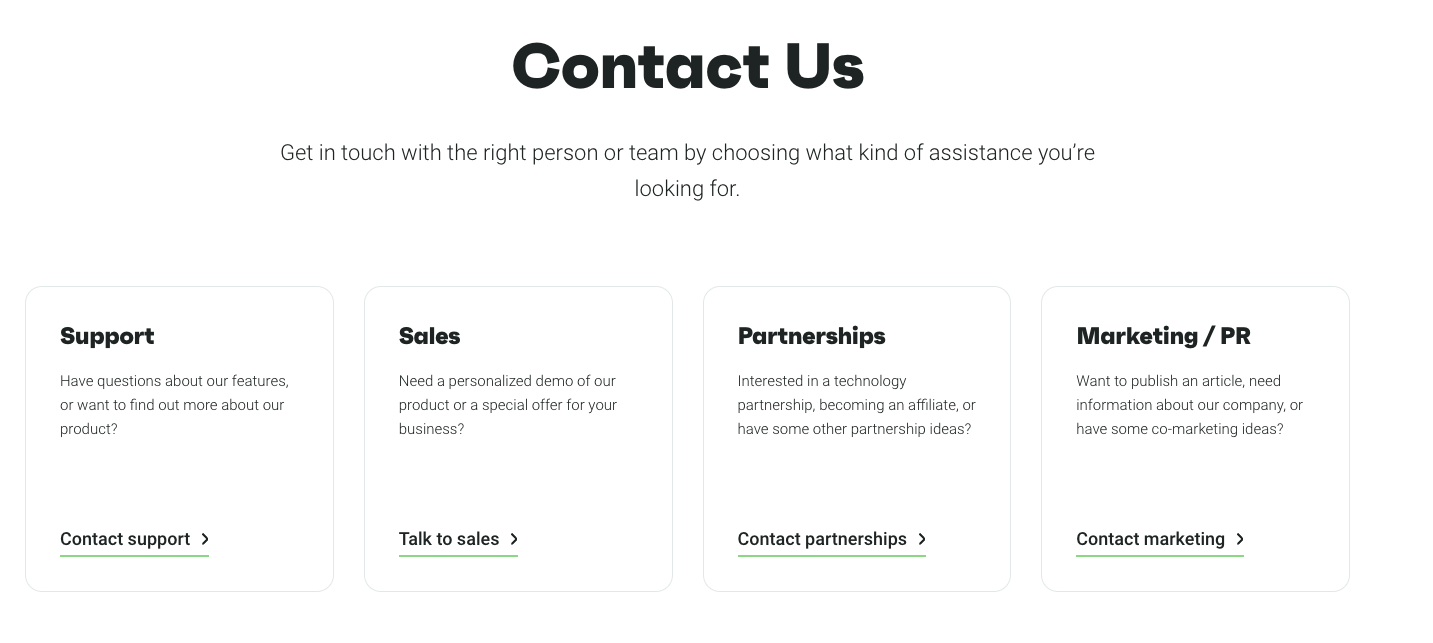
If visitors struggle to reach you, they’ll likely move on to a competitor. Display your email, phone number, and address (if applicable) in the footer, header, and a dedicated contact page so customers can connect with you.
Consider adding a contact form to simplify inquiries and reduce spam exposure from publishing your email address directly. If you have a physical location, embed a Google Map to make it even easier for visitors to find you.
Providing multiple contact options such as live chat, links for social media platforms, or a customer support portal builds trust and makes your business more accessible. Here’s how Omnisend does it:
Performance and site speed
A slow website can frustrate visitors, prompting them to leave before exploring your site and business. Search engines like Google also consider page speed when ranking sites, making performance optimization essential.
Complete the following to ensure your WordPress site loads quickly and efficiently:
Test your website speed
Start by getting a baseline for your current performance. Use tools such as PageSpeed Insights and GTmetrix, which is shown in the image below, to analyze your load times and get recommendations for improvements:
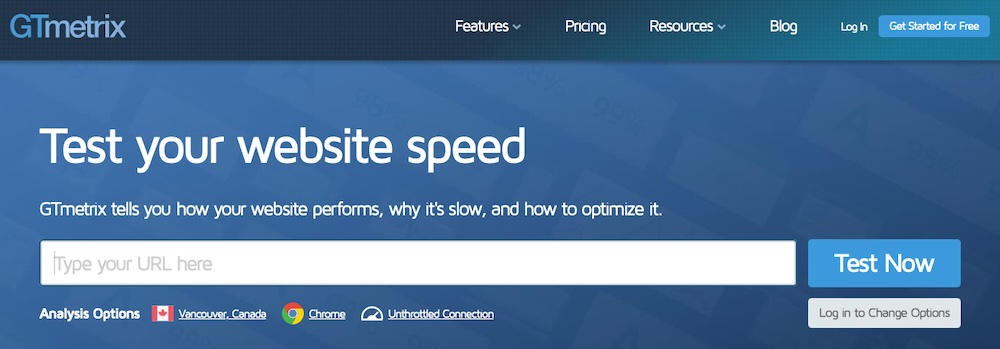
These tools highlight specific performance bottlenecks, such as slow server response times, unoptimized images, or excessive JavaScript.
Compress images
Large images slow down websites more than almost anything else. Compressing them with plugins like Smush, ShortPixel, and Imagify reduces file sizes without sacrificing quality, allowing pages to load faster.
Beyond compression, lazy loading improves performance by delaying off-screen images until people scroll to them. Since images take up a large portion of a website’s total file size, optimizing them speeds up load times and enhances overall site performance.
Convert image formats to WebP
PNG and JPEG images can slow down a site, but WebP reduces file sizes while maintaining or improving quality. Image optimization plugins like ShortPixel and Imagify automatically convert images to WebP.
You can also install the WebP Express plugin or use a hosting provider that offers built-in WebP conversion for a simpler upgrade.
Use a CDN
A content delivery network (CDN) distributes your site’s files across multiple servers worldwide, so visitors load content from the closest server instead of waiting for data to travel from a single location. This reduces load times and improves reliability.
Many managed WordPress hosting providers, such as Kinsta and Cloudways, offer built-in CDNs, or you can use a provider like Cloudflare to integrate this feature into the hosting setup you currently have.
Install a speed plugin
A caching and performance plugin automates key optimizations, speeding up load times and enhancing site performance. Jetpack Boost, shown in the image below, offers a beginner-friendly solution, handling lazy loading, CSS optimizations, and site speed improvements with minimal setup.
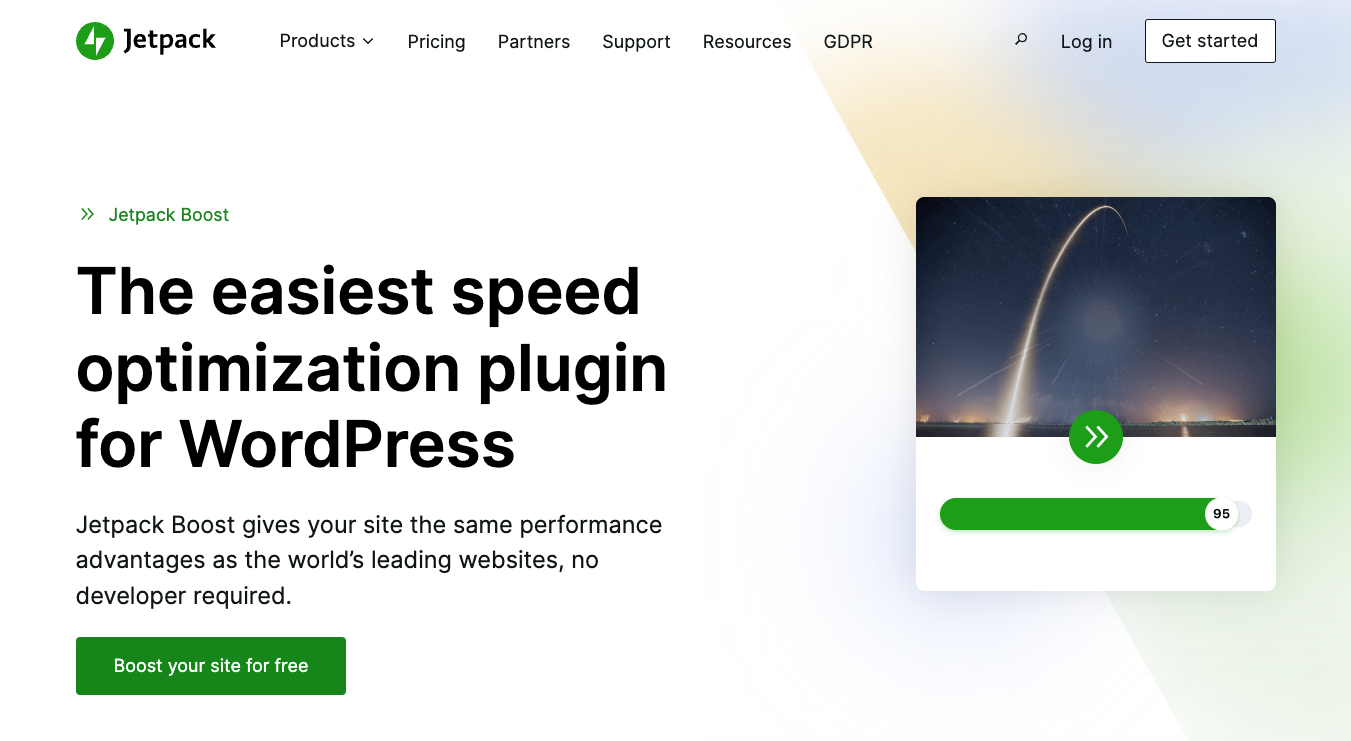
WP Rocket provides another option, which includes page caching, database optimization, and script minification. Using a speed plugin reduces server strain, optimizes resource usage, and improves visitor experience, leading to better engagement and higher search rankings.
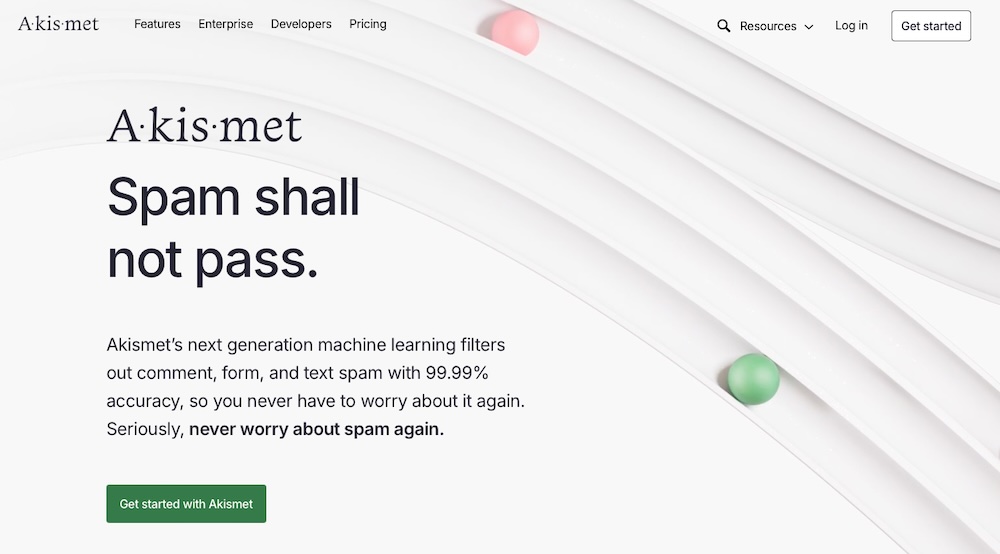
Set up an anti-spam tool
Spam comments and bot activity slow down your site and clutter your database. Akismet, shown in the image below, is the leading anti-spam plugin and filters out junk comments automatically so they don’t bloat your WordPress installation.
Accessibility
Every visitor, including those with disabilities, should be able to navigate and use your website easily. Prioritizing accessibility improves user experience and boosts your site’s SEO. It also helps with compliance to legal requirements in certain regions.
Before launching, take these steps to ensure your WordPress site meets accessibility standards:
Use an accessibility checker to identify problems
Start by scanning your site for accessibility issues to ensure that everyone can navigate and interact with your content effectively. Tools such as WAVE and Equalize Digital Accessibility Checker, shown below, highlight problems like missing alt text, poor color contrast, and keyboard navigation issues:

These tools also provide detailed reports and suggestions on how to fix accessibility barriers, helping you meet Web Content Accessibility Guidelines (WCAG) standards.
Make sure all images have alt text
Alt text describes images for visually-impaired visitors using screen readers. It also helps with SEO. Add meaningful descriptions for all images, especially those that provide essential information such as product photos, infographics, or call to action buttons.
A good alt text example might be “A woman holding a red leather handbag with gold accents.” A bad alt text example wouldn’t describe anything about the image and would instead be something like “Image 123” or a keyword like “red leather bags for sale.”
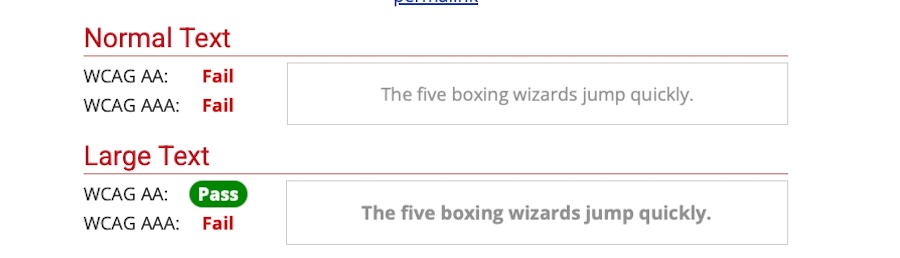
Check for color contrast across your site
Low-contrast text makes reading difficult, especially for those with visual impairments. Use the WebAIM Contrast Checker to ensure your text and background colors provide enough contrast.
For instance, black text on a white background offers good contrast, while light gray text on a white background creates poor contrast, as illustrated in the image below:
Try navigating your website using just a keyboard
Many people navigate websites using a keyboard instead of a mouse. Press the Tab key to move through links, buttons, and forms, ensuring everything follows a logical order.
Every interactive element should remain focusable and usable without a mouse. If navigation feels disjointed or elements don’t highlight properly, adjust your theme’s accessibility settings or add focus indicators using CSS.
Security
Securing your website protects your business, customer data, and reputation. Cybercriminals frequently target WordPress sites. However, taking the right precautions reduces risks and keeps your site safe. That’s why the next category of this WordPress checklist centers around ways to make your site more secure.
Install a WordPress backup plugin
Regular backups ensure that if anything goes wrong — such as a security breach, accidental deletion, or plugin conflict — you can restore your site quickly.
Here are two reliable plugins to consider:
- Jetpack VaultPress Backup: Provides real-time, automatic backups stored securely in the cloud
- UpdraftPlus: Lets you schedule backups and store them on remote services like Dropbox, Google Drive, or Amazon S3
Even the most secure site can experience issues, so automatic backups add reassurance.
Use an SSL certificate
An SSL certificate encrypts data between your site and visitors, keeping sensitive information such as login credentials and payment details secure. It also improves SEO and builds trust, as Google marks sites without an SSL certificate as “Not Secure.”
Most hosting providers include free SSL certificates, or you can obtain one from Let’s Encrypt.
Set up a security plugin
A good security plugin helps block brute force attacks, malware, and unauthorized logins. Here are some popular choices to consider:
- Wordfence: Offers a Web Application Firewall (WAF) and login security features
- Jetpack Security: Provides malware scanning, real-time backups, and spam filtering
For maximum protection, look for plugins that include firewalls, file integrity monitoring, and malware scanning.
Update WordPress core, plugins, and themes
Outdated software creates serious security risks. Developers release updates to fix vulnerabilities, so keeping WordPress, plugins, and themes up to date is essential.
Enable auto-updates from the WordPress admin by viewing your plugins or themes and selecting Enable auto-updates.
Check that your passwords are secure
Weak passwords give attackers an easy way to break into your site. Strengthen security by creating long, unique passwords that include a mix of letters, numbers, and symbols.
Use two-factor authentication (2FA) to add a layer of protection. Store credentials securely with a password manager such as Bitwarden or 1Password, shown in the image below, to reduce the risk of breaches:

Search engine optimization
A well-optimized website helps search engines find your content, rank it higher, and drive more visitors to your site. Before launching, take these steps to ensure your WordPress site is ready to compete in search results:
Install a reputable SEO plugin
A strong SEO foundation starts with the right tools. Yoast SEO simplifies optimization by providing real-time feedback on your pages, generating an XML sitemap, and helping you craft search-friendly titles and meta descriptions.
Other SEO plugins, like Rank Math and All in One SEO, also offer advanced features, but Yoast remains one of the most beginner-friendly and widely-used options.
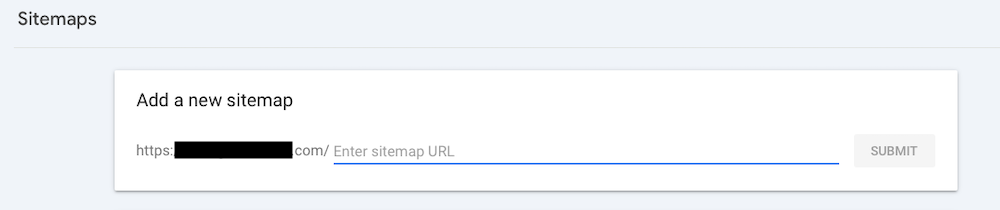
Submit your XML sitemap to Google
An XML sitemap helps Google and other search engines index your content faster. Most SEO plugins, including Yoast, automatically generate a sitemap.
To submit it:
- Visit Google Search Console and sign in
- Select your site and navigate to Sitemaps under the Indexing section
- Enter your sitemap URL — usually something like yourwebsite.com/sitemap_index.xml — and click Submit, as shown in the screenshot below:
Optimize your pages
Search engines prioritize well-structured content, and small details make a big difference in how your pages rank. Every page should be clear, concise, and optimized for both search engines and visitors.
Before launching, check that the following is true:
- Each page has a clear, keyword-rich title (under 60 characters): A strong title tells search engines what the page is about and encourages people to click when it appears in search results. Aim for clarity and relevance rather than stuffing keywords unnaturally.
- Meta descriptions summarize the page concisely (around 150 characters): While meta descriptions don’t directly affect rankings, they influence click-through rates. Use them to provide a compelling snapshot of what people can expect when they visit the page.
- Headings (H1, H2, etc.) organize content logically and include relevant keywords: Well-structured headings make content easier to read and help search engines understand the topic hierarchy. Ensure each page has only one H1 (main heading) and use H2s and H3s to break content into digestible sections.
- Internal links connect related pages to improve navigation and keep visitors engaged: Well-placed internal links guide visitors to additional content, reduce bounce rates, and help search engines crawl and index your site more effectively. When linking, use descriptive anchor text rather than generic phrases like “click here.”
Take the time to refine these details to help your content rank well and attract clicks.
Make sure your site is set to index
By default, WordPress allows search engines to index your site. However, during development, many site owners enable the “Discourage search engines from indexing this site” setting under Settings > Reading.
Before launch, make sure that this option is unchecked so search engines can crawl and rank your site.
Once you attract visitors, make the most of every visit with a marketing tool like Omnisend. Encourage new visitors to subscribe so you can reach them again and again with automated email and SMS campaigns.
Turn first-time visitors into lifelong customers. Use Omnisend’s smart popups, automated welcome sequences, and segmentation tools to grow your email list and drive sales.
Online store functionality
A smooth shopping experience keeps customers engaged and reduces abandoned carts. Before launching your WooCommerce store, test every detail to ensure transactions work flawlessly.
Here’s what to pay attention to:
Test your checkout process
Whether you sell your own products or operate a dropshipping business on WordPress, run through the entire purchasing journey as if you were a customer. Select different product variations, add them to the cart, and proceed through checkout. Test:
- Guest checkout vs. signed-in checkout
- Various payment methods like credit card, PayPal, and digital wallets
- Shipping and tax calculations
- Order confirmation emails
Look for any friction points that might cause customers to abandon their carts.
Check your shipping rates
Make sure shipping costs are displayed correctly for different locations and product types. Test a variety of addresses, weight-based rates, and flat-rate options to confirm that pricing matches expectations.
If you use live carrier rates, verify that they pull accurate data from providers like USPS, FedEx, or UPS.
Ensure that your taxes are set up correctly
Taxes vary by location, so double-check that WooCommerce applies the correct rates. In WooCommerce > Settings > Tax, confirm that:
- The right tax classes are applied to different product categories
- Sales tax adjusts based on customer location, if applicable
- Tax amounts appear correctly at checkout
For U.S. stores, integrating WooCommerce Tax, shown in the image below, can automate many of these calculations:

Make sure inventory updates properly
If you sell products across multiple platforms like Amazon, Etsy, or a physical store, inventory should sync across all channels.
Place test orders to verify that stock decreases correctly and that customers can’t purchase out-of-stock items. Consider using a tool like Stock Sync if you need advanced inventory management.
Test coupon codes
Create a discount and test whether coupon codes apply correctly. Try different percentage-based and fixed-amount discounts, cart-wide vs. product-specific coupons, and expiry dates and usage limits.
Confirm that discounts appear at checkout and that the final price updates correctly before completing the order.
Make sure return and shipping policies are easy to find
Customers trust stores that clearly state return windows, refund eligibility, and shipping policies. Display these details in your footer, checkout page, and FAQ section. If your store has unique rules (such as no returns on digital products), highlight them upfront to avoid customer frustration.
Marketing
A strong marketing strategy keeps visitors engaged, encourages them to return, and increases conversions. Without a clear plan before launch, you risk losing potential customers who may never come back.
Preparing in advance ensures your marketing efforts run smoothly from day one, allowing you to capture leads, build relationships, and drive sales.
Set up email automation
Launching your website marks the start of your marketing efforts, not the finish line. Email marketing turns new visitors into long-term customers, making it one of the most effective tools for growing your business.
Instead of manually sending your messages, email automation delivers the right message to the right person at the right time.
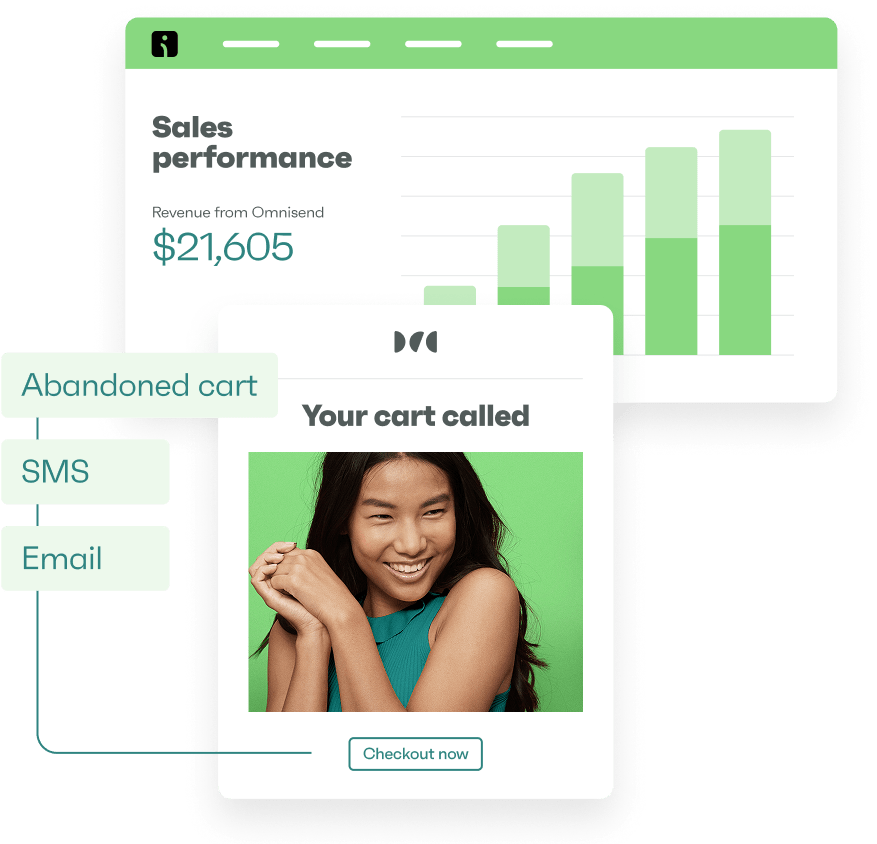
With Omnisend, you can set up welcome emails that introduce your brand and create a strong first impression. Abandoned cart reminders bring back potential buyers before you lose the sale, while post-purchase follow-ups build customer loyalty and encourage repeat business.
Omnisend’s pre-built workflows and customizable templates, shown in the image below, simplify email marketing, helping store owners engage their audience effortlessly:

Integrate Google Analytics
If you don’t track your visitors, you won’t know what’s working and what isn’t. Google Analytics provides insights into how people find and interact with your website, helping you optimize for more traffic and conversions.
Once connected, you’ll be able to monitor traffic sources, page performance, and conversion rates. To get started, sign up for Google Analytics and install the Google Site Kit plugin, shown below, for easy WordPress integration.
Leverage SMS marketing
While email remains a powerful tool, SMS marketing delivers messages instantly and boasts some of the highest engagement rates.
Text messages are direct, personal, and almost impossible to ignore, making them a great way to announce your store launch with a time-sensitive offer or to send order confirmations and shipping updates to keep customers informed.
Texts are also useful for recovering abandoned carts by reminding shoppers about the items they left behind.
Create a welcome series
First impressions matter, and a strong welcome email series keeps new subscribers engaged. Instead of sending a single email, set up an automated welcome email sequence using Omnisend that guides them through their first interactions with your brand.
A great welcome series might include a warm introduction that shares your brand’s story and values. Or, highlight a featured product or offer a personalized recommendation. Still, another option is to encourage a first-time purchase with a limited-time offer by providing an exclusive discount.
Automating your welcome series ensures that every new subscriber gets a consistent, well-timed experience, increasing the chances of converting them into loyal customers.
Launch your WordPress site
With performance optimized, security tightened, SEO configured, and marketing tools in place, you’re ready to launch your WordPress site. However, launching involves more than just going live. It also requires continual improvement and updates to keep visitors engaged long after they arrive and maximize conversions.
Omnisend can help you make the most of every visitor.
As visitors arrive, Omnisend helps convert them into customers. Automated email and SMS marketing welcomes new subscribers, recovers abandoned carts, and nurtures relationships — all with pre-built workflows and intuitive tools.
TABLE OF CONTENTS
TABLE OF CONTENTS

Subscribe and don’t miss any updates!
No fluff, no spam, no corporate filler. Just a friendly letter, twice a month.