
 OFFER
OFFER


10 best WooCommerce upsell plugins to use in 2025
With over 130+ pre-built integrations and flexible APIs, you can easily centralize data from across your tech stack
Make the most out of your data and unlock powerful growth marketing possibilities with these other top marketing tools.
Build any custom integration with our open, flexible APIs that are simple to use and implement.
Check out apps that have been stealing all the spotlight.
Email and SMS marketing insights, ecommerce resources, and the latest Omnisend news
Expert-led sessions covering email, SMS, and ecommerce marketing strategies.
Educational video and live training to help you make the most out of Omnisend.
Get better email & SMS marketing made for WooCommerce for 30% off PLUS a bonus migration package valued at $1,000
Use code to get 30% discount COPIED ONLYWOO
Drive sales on autopilot with ecommerce-focused features
See FeaturesNot only do blurry, oversized, or pixelated images don’t look bad, but they kill conversions too. If your WooCommerce product image size is off, your store can come across as sloppy or slow. And that’s the kind of mistake customers struggle to forgive.
Product photos should sell, not sabotage. They need to look crisp, load fast, and show off the details that make your product worth buying. Too big, and your site drags. Too compressed, and you lose the detail that drives decisions.
This post covers exactly how to optimize WooCommerce product image sizes — and the settings you need to tweak — to keep your store looking sharp and running fast on any device.
Quick sign up | No credit card required
Product images in WooCommerce can directly impact performance and sales. Large, unoptimized images can slow down your site, leading to higher bounce rates.
The probability of a visitor leaving your site increases significantly if the page takes too long to load. This is why Google has prioritized page load speeds as a crucial ranking factor.
According to Portent, a site that loads in one second has a conversion rate five times higher than a site that loads in 10 seconds.
Since most people browse on mobile devices, Google ranks websites based on mobile-first indexing. This means that oversized images can negatively affect your mobile performance, potentially lowering your search rankings.
You see, product visuals often serve as the final convincing factor for customers. They get to see different angles of the product, and the details of the ingredients or materials used.
Therefore, ensuring your WooCommerce product image sizes are optimized contributes to faster load times and better search visibility.
Additionally, good images keep the customers scrolling longer and reduce shopping cart abandonment.
This is why you need to use the best image size for WooCommerce products across your site.
When you don’t apply uniformity across your WooCommerce product image sizes, you end up with inconsistent images.
That can negatively affect user experience and result in poor sales. This brings us to the next important question: What are the recommended WooCommerce image sizes?
The best WooCommerce image sizes are dependent on several things, like:
Typically, the minimum resolution you should aim for with your WooCommerce product images is 800 x 800 pixels. The maximum recommended resolution should be no higher than 1000 x 1000 pixels.
However, for better quality, you should aim as high as possible when setting the WooCommerce product image size.
For example, the above dimensions are suitable for adding standard Woocommerce products, while complicated and detailed products might require larger images — ideally 2000 pixels and above — to allow customers to zoom in on even the more minor details.
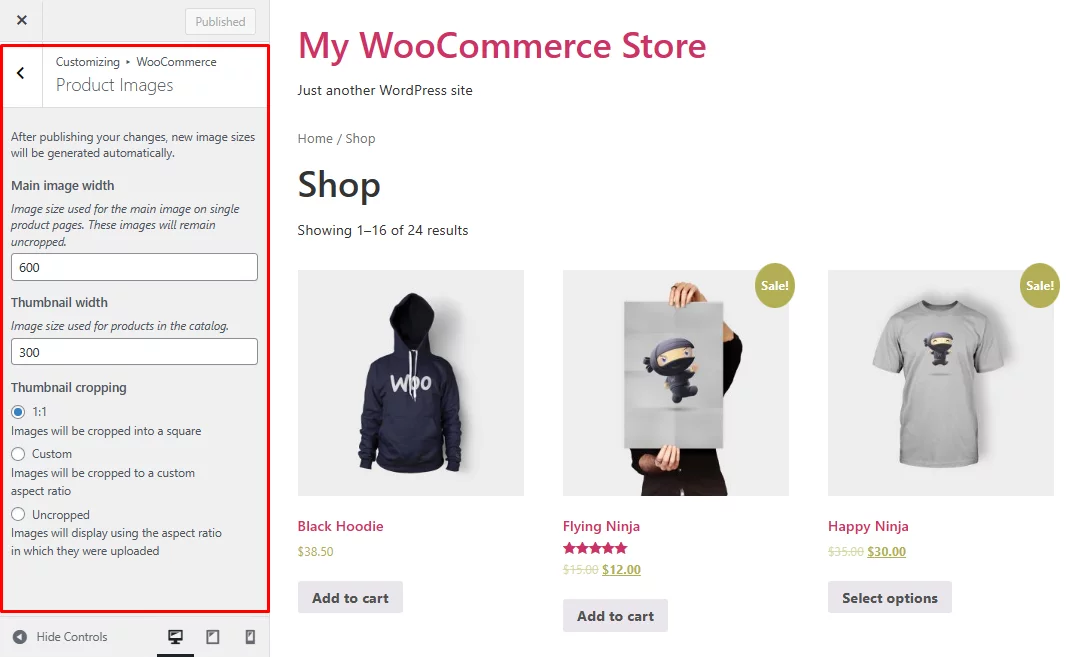
Note how you can edit the dimensions of your product images in WooCommerce:
There are several types of images for WooCommerce, each with its own optimal size. Here’s a table showing the recommended image sizes for WooCommerce online stores.
| Image type | Recommended size (pixels) | Aspect ratio |
|---|---|---|
| Thumbnail | 300 x 300 | 1:1 |
| Single product | 600 x 600 | 1:1 |
| Gallery thumbnail | 100 x 100 | 1:1 |
Let’s explore these WooCommerce product image sizes in more detail and understand their purpose.
A thumbnail image is a smaller version of a larger image, often used as a placeholder to represent the full-sized version. Thumbnails are square, cropped, and suitable for product galleries, shopping carts, and widgets.
By default, a WooCommerce thumbnail size is set to 300 pixels wide. However, the store owner can customize it depending on usage.
Similarly, by default, the gallery thumbnail is set to 100 pixels x 100 pixels.
Take a look at these thumbnails from Etsy. They are small yet clear enough to entice visitors to click and explore the full product pages.
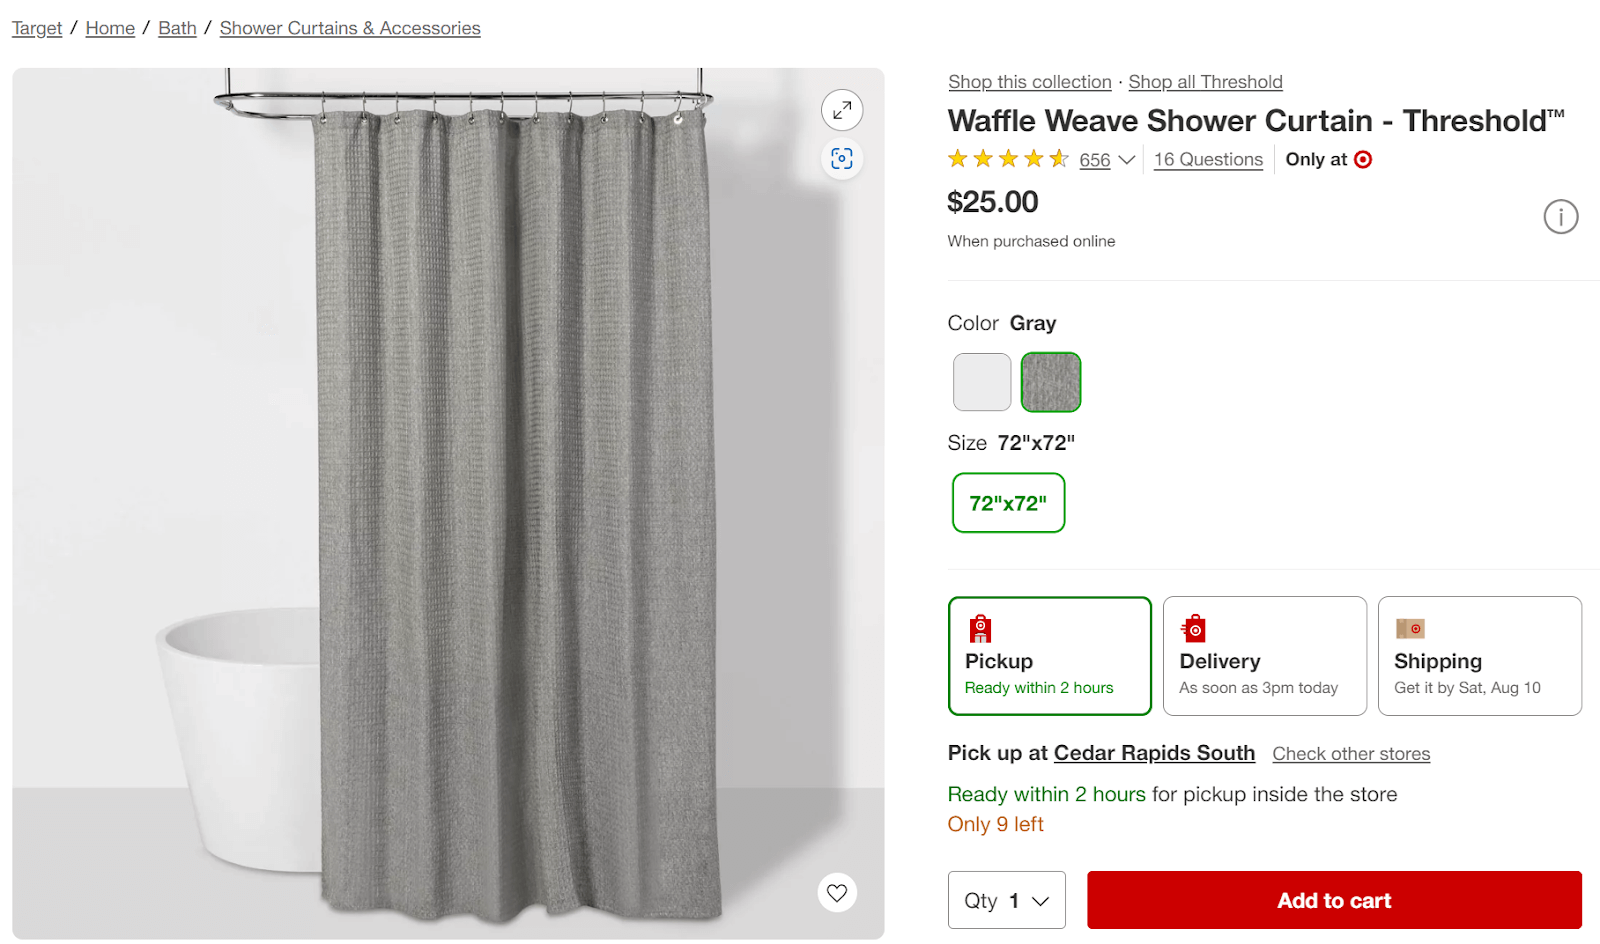
Single product images refer to the main or featured photos. They are likely the largest images and are used when you’re creating a WooCommerce product listing.
The single product images shouldn’t be cropped and must have a minimum width of 600 pixels.
For instance, note how the below Target product image is large:
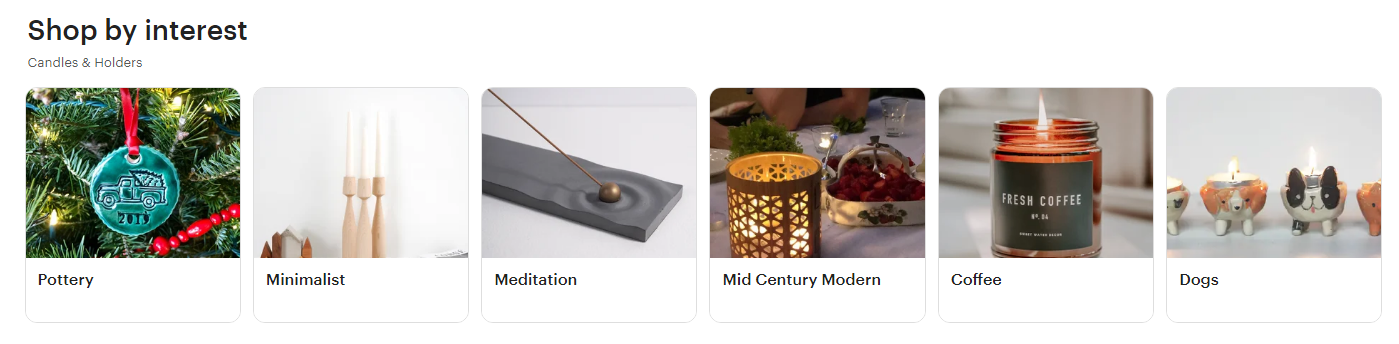
Catalog images are usually medium-sized images suitable for exclusive product page loops. These include the likes of Related Products, Shop, and Product Category pages, where images are typically a few hundred pixels.
For instance, note how the catalog images on Walmart are small yet clear:
You can set and manage WooCommerce product image size from within the WooCommerce platform. You can either do it manually or use a plugin to automate the process.
Here’s how you can set WooCommerce product image size manually:
The second option is to use a plugin like WooThumbs for WooCommerce. Here are the steps you can follow.
You need to pay attention to WooCommerce themes and page builders when deciding on the WooCommerce product image size for your store. Themes and page builders directly shape how your product images look and load.
If your images appear blurry, stretched, or improperly cropped, the issue is likely not with the image itself, but rather with how your theme or page builder is displaying them.
Some WooCommerce themes, such as Storefront, Astra, or Flatsome, define their own custom image dimensions. These settings often override WooCommerce’s default image sizes.
So even if you upload high-quality images, the theme might force them into fixed boxes or crop them unexpectedly.
Page builders like Elementor or WPBakery have a significantly bigger impact on image appearance. Their image widgets or modules can control how images render on the front end, sometimes applying custom CSS or resizing rules.
This can create conflicts or visual bugs if the builder’s image settings don’t match your theme’s layout.
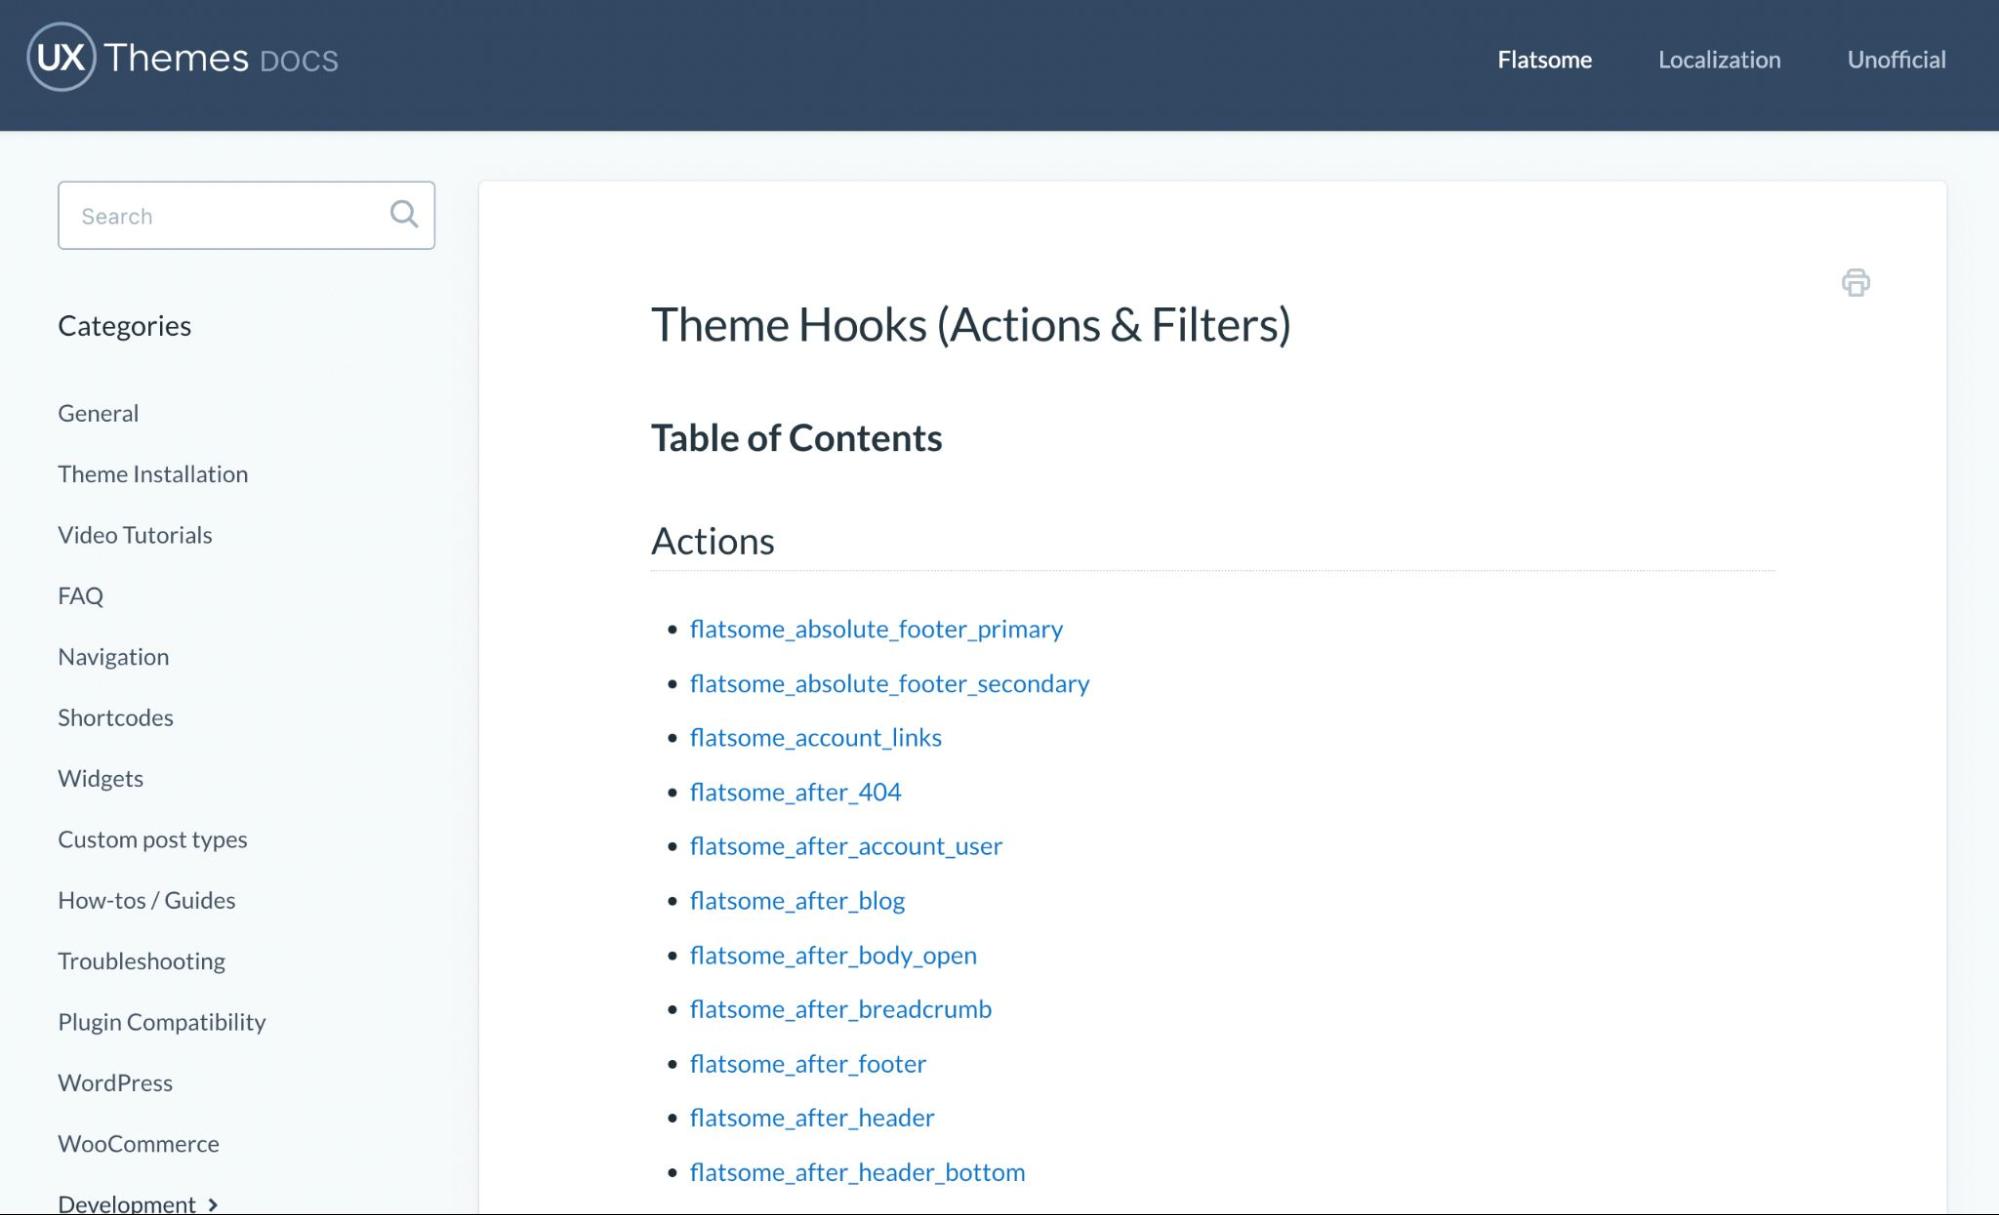
To fix all these image issues, check both the theme and builder documentation for hooks or filters related to WooCommerce product image size. Here’s how a theme documentation usually looks:
If you own a WooCommerce store, you may have experienced blurry photos, slow load times, and uneven grids. These image-related issues are more common than you think, but easy to fix.
Blurry images often occur when low-resolution files are stretched to fit larger display boxes. Doing so makes it difficult for customers to see product details clearly, which can negatively impact conversions.
Solution:
WooCommerce > Settings > Products > Display
If some images are square, while others are wide or tall, your shop grid will appear messy. This happens when product photos have inconsistent aspect ratios.
Solution:
High-resolution images can slow down your website speed if the files are too large. Uploading raw images directly from the source increases page load times.
Solution:
A bonus tip to keep in mind is to regenerate thumbnail images after changing WooCommerce settings. A plugin like reGenerate Thumbnails can automatically handle this for you.
Did you know that Omnisend offers a WooCommerce integration for marketing automation? You can connect your store here.
Image optimization adds more to your store than just reducing file size. It ensures your visuals are sharp, uniform, and load smoothly, which is key to a seamless shopping experience.
You can optimize images for WooCommerce in three ways:
Compression is one of the best ways of optimizing images for your WooCommerce product gallery, as it reduces the size of the images without necessarily altering their dimensions.
The two main types of compression include:
Often, you cannot tell the difference between lossless and lossy compression, especially if you’ve used a less aggressive algorithm when altering the image size.
To achieve the best WooCommerce product image size, you should use compression when editing your pictures. This is an easy hack that reduces the image file size without changing anything else.
Quick tip: Never upload images with huge file sizes because they will slow down your website and negatively affect your conversion rate. Compress the images using tools like JPEG Optimizer, TinyPNG, and Compressnow.
You can also use WordPress plugins to compress product images directly during the upload process, making it a convenient way to optimize your images automatically.
The loading speed of your ecommerce store largely depends on its weight and the size of the image files uploaded. Converting the image into different file formats can greatly reduce your product image size. This, in turn, can speed up your website with ease.
The common formats used in online images include PNG and JPEG.
The JPEG format is great for reducing WooCommerce image sizes because the images are smaller and easier to compress than PNG files. They also support lots of colors and are often used by big ecommerce stores like Walmart and Amazon.
However, JPEGs don’t support transparency. Hence, you might be forced to use PNG if you want to add transparency to your images.
Additionally, AVIF and WebP are the newest formats in town. They’ve become an instant sensation thanks to the impressive file size reduction they offer.
Surprisingly, they can reduce up to over half of your page weight without compromising quality. This makes them perfect successors to the standard PNG and JPEG images.
What’s more?
You can easily integrate them into your WordPress, and they’ll work seamlessly. Configuring and using WebP is a walk in the park on WordPress. You can install a plugin like WebP Converter for Media. Once it’s installed, all you need to do is sit and relax.
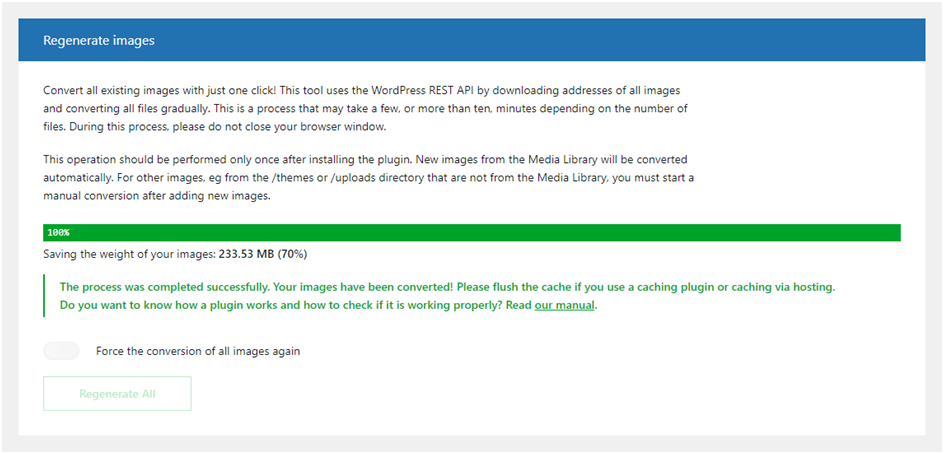
The plugin works automatically, converting all the images on the website to WebP. This way, you receive new and lighter photos than the previous ones.
Adding alt text during upload helps search engines understand your product images. It also improves accessibility for readers and is great SEO practice.
When done correctly, including alt text can drive traffic to your store. Well-written alt text should describe exactly what’s in the image and include context, without stuffing keywords.
For example, if you’re selling shoes, use black-leather-chelsea-boots-side-view instead of IMG_9484.jpg.
Accurate alt text descriptions, such as “black leather Chelsea boots,” align closely with what customers are searching for. This leads to higher search rankings and keeps your site’s layout clean and loading fast.
If your WooCommerce still feels slow, despite making all the changes we’ve discussed, then it’s time to try advanced fixes. Here’s what you can try out.
Lazy loading holds off on loading images until they’re about to be seen. Instead of forcing a browser to load every single image upfront, it only loads what’s visible on the screen.
As a shopper scrolls, more images load in. This reduces initial page load time, alleviates server strain, and makes your store feel faster.
This is helpful if your WooCommerce product image size is large or you’ve got lots of images on a single page. Faster pages mean better SEO and fewer abandoned carts.
Old formats like JPEG and PNG aren’t built for performance. WebP and AVIF offer way better compression, which means faster loading without a noticeable drop in quality.
That’s important for WooCommerce stores, where you need clear, detailed photos that don’t slow down your site. WebP is supported by most browsers and works seamlessly with WooCommerce. AVIF, on the other hand, offers even smaller file sizes.
Fortunately, many image optimization plugins can automatically convert uploads into these formats while preserving the original WooCommerce product image size. This allows you to save bandwidth and speed things up without touching your layout.
It might be tempting to use images found online, but avoid doing so. Using unlicensed images can result in copyright violations, takedown notices, and potentially costly legal problems. Always stick to licensed images, manufacturer-supplied photos, or ones you’ve taken yourself.
Sticking to approved content protects your store legally and ensures you’re showcasing the correct WooCommerce product image size and branding.
As you can see from what we’ve discussed, optimizing WooCommerce product image size for your store is highly recommended. You can do it manually or use a plugin like WooThumbs for WooCommerce.
Well-optimized images reduce loading times and keep visitors on your site longer. Both of these increase the chances of making a sale. Therefore, start paying attention to the sizes of images you add to your online WooCommerce store.
Optimize them by compressing them without losing quality, adding alt text before uploading, and using formats like AVIF and WebP. Implement these tips today and see how your WooCommerce store performs.
The best WooCommerce product image size for most stores is 800 by 800 pixels. This gives you a clean square layout that works well for both product pages and thumbnails.
If your theme recommends a different size, follow that. Always upload high-quality images that match your set dimensions.
Yes. Cropping thumbnails keeps your grid clean and images uniform, especially if your product photos vary in shape and size. WooCommerce lets you crop to 1:1 or use a custom ratio.
If you prefer full images without cutting parts off, choose the uncropped option. Just make sure it fits your layout.
For good speed and quality, keep each image under 200 KB. Large files can slow down your site, even if the WooCommerce product image size is set correctly.
Use tools like TinyPNG or ShortPixel to compress images before uploading. Find a balance between sharp images and fast load times.
Blurry images usually mean the uploaded photo is smaller than your WooCommerce product image size settings.
Upload larger images that match or exceed your set dimensions. After changing sizes, use the Regenerate Thumbnails plugin to reprocess old files.
TABLE OF CONTENTS
TABLE OF CONTENTS
What’s next


No fluff, no spam, no corporate filler. Just a friendly letter, twice a month.