
 OFFER
OFFER


21 best Shopify apps for 2025
With over 130+ pre-built integrations and flexible APIs, you can easily centralize data from across your tech stack
Make the most out of your data and unlock powerful growth marketing possibilities with these other top marketing tools.
Build any custom integration with our open, flexible APIs that are simple to use and implement.
Check out apps that have been stealing all the spotlight.
Email and SMS marketing insights, ecommerce resources, and the latest Omnisend news
Expert-led sessions covering email, SMS, and ecommerce marketing strategies.
Educational video and live training to help you make the most out of Omnisend.
Drive sales on autopilot with ecommerce-focused features
See FeaturesSetting up Shopify Email is essential for maintaining direct communication with customers, allowing you to send confirmations, promotions, and updates from your dashboard.
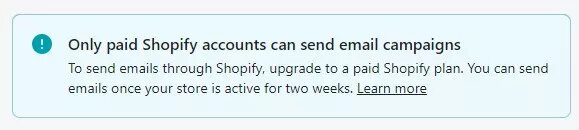
Ensure your store has a paid plan and install the Shopify Email app to access its features, including a template library and basic automation workflows.
Authenticate your domain using SPF, DKIM, and DMARC protocols to improve email deliverability and protect your brand's reputation.
As your business grows, consider upgrading to advanced tools like Omnisend for more complex automation and multi-channel marketing capabilities.
You’ve worked hard to launch your online store and maybe even made a few first sales. However, how will you stay in touch with customers? You’ll need to send confirmations, promotions, and updates that look professional and trustworthy.
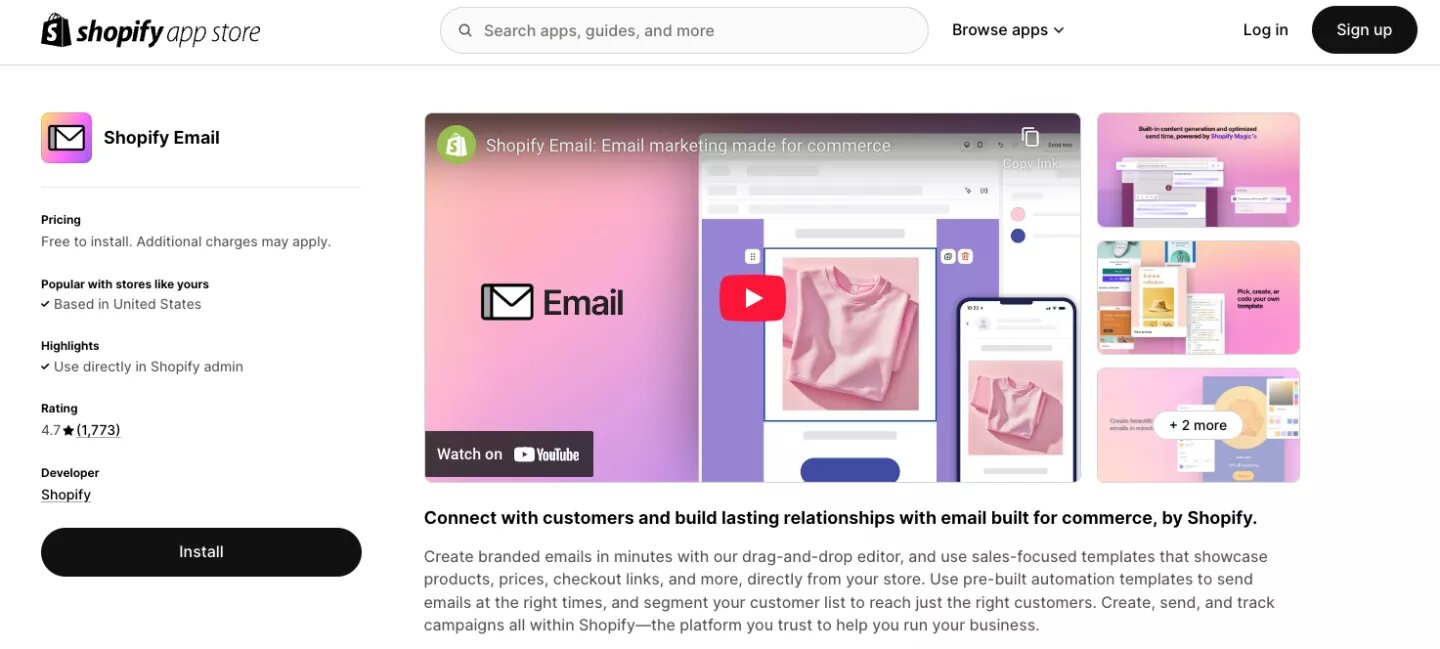
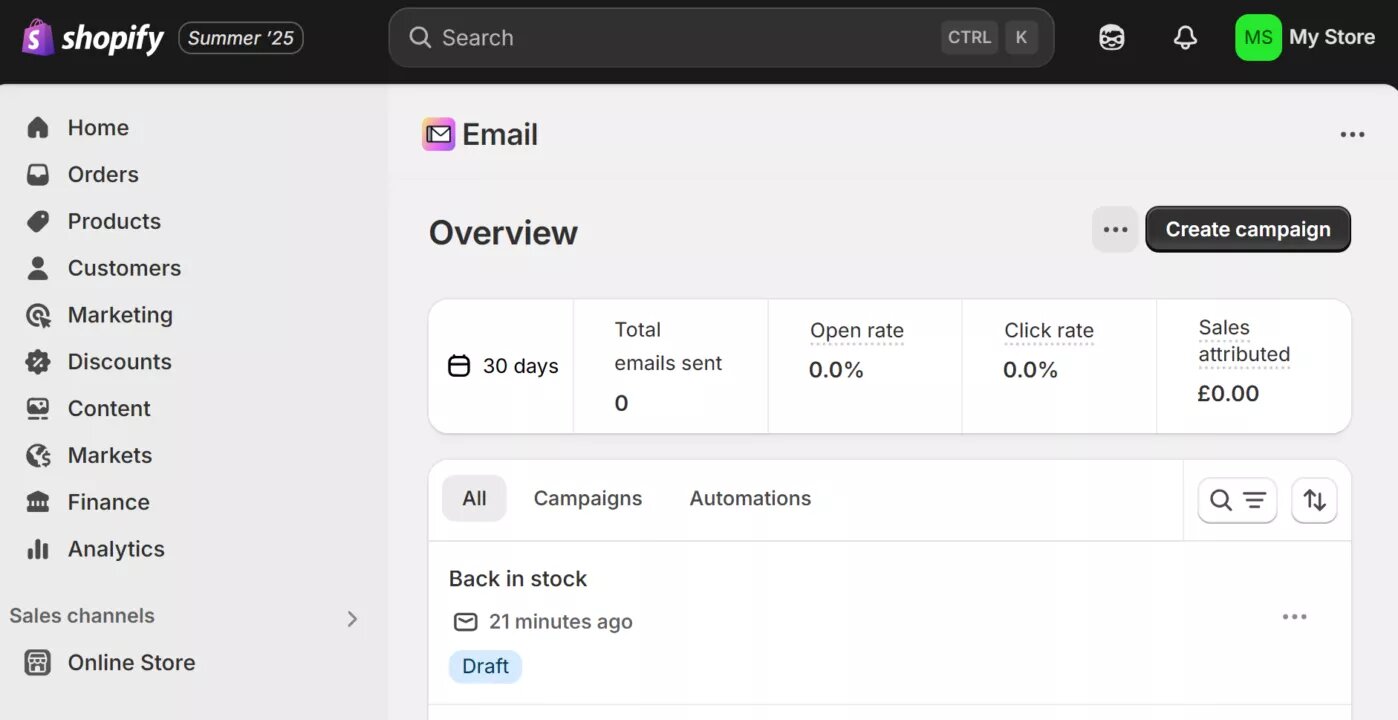
Shopify Email setup is the first step to creating a direct communication channel with your customers. This built-in email tool lets you create and send campaigns directly from your dashboard.
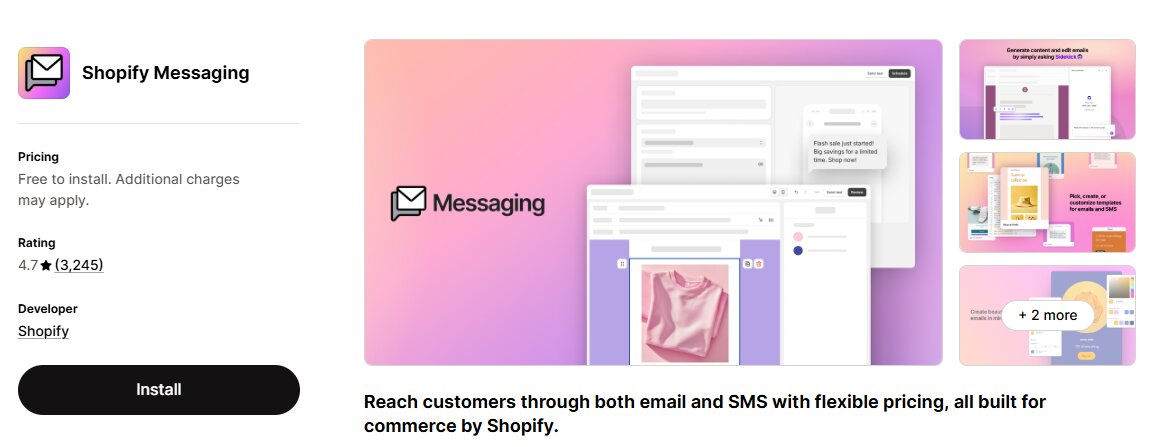
You may see it labeled “Shopify Messaging” in the App Store. It provides an email template library, a simple editor, and basic Shopify email marketing workflows for creating professional emails.
In this guide, you’ll learn how to set up your Shopify email account correctly, connect and verify your domain, handle authentication, and understand pricing. We’ll also discuss when upgrading to a more advanced tool might be the best choice.
This guide is for new Shopify store owners setting up email for the first time and existing merchants assessing their current setup.
Quick sign up | No credit card required
Before you start sending campaigns with Shopify Email, ensure your store meets a few basic requirements.
For you to be able to set up Shopify Email, first make sure that you:
This Shopify Email setup takes about 10–15 minutes. Follow the steps below.
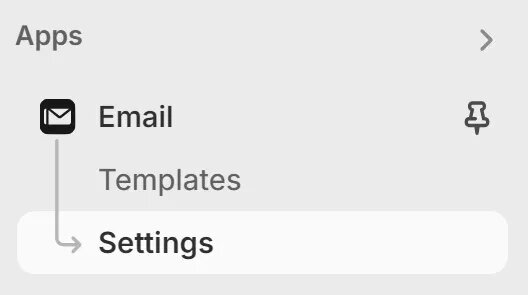
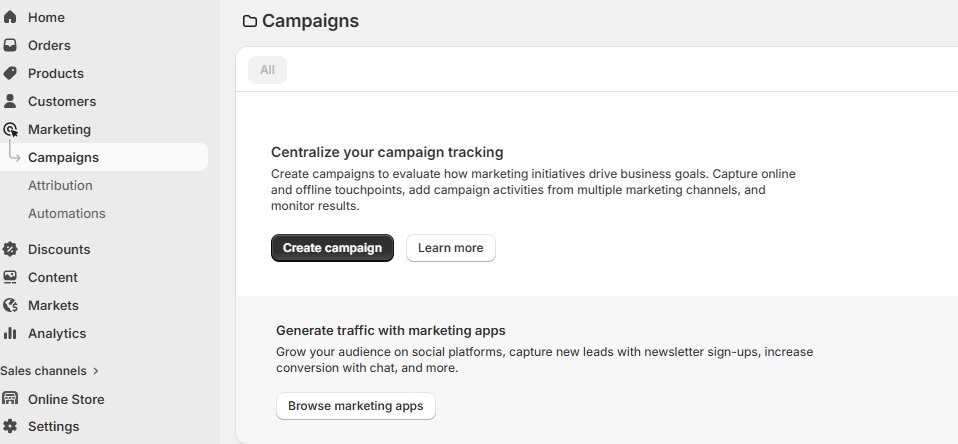
To set up the Shopify Email app, follow these steps:
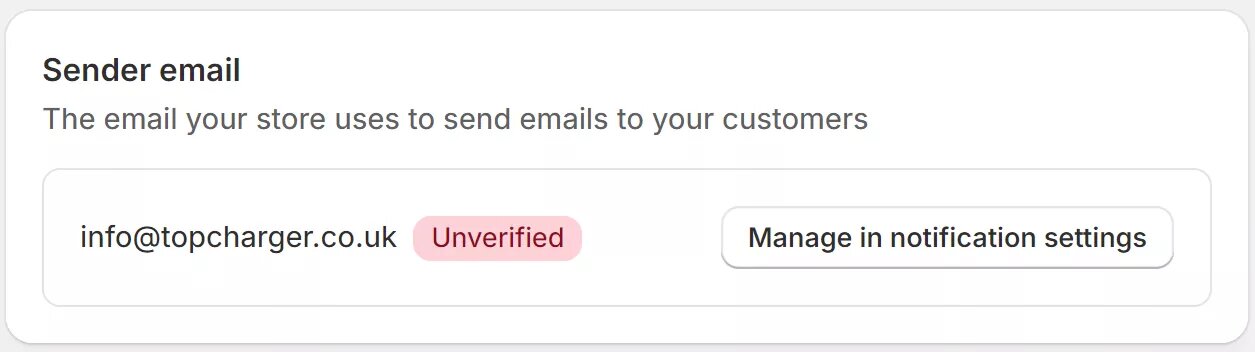
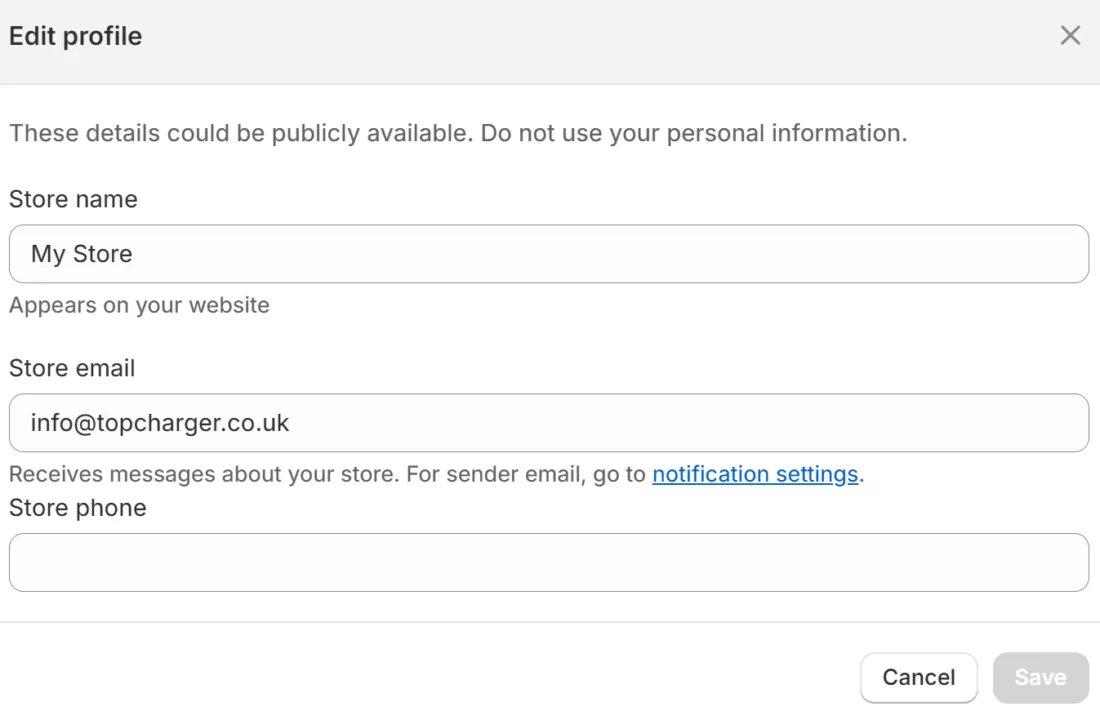
At this stage, you might want to change your store email address so that it’s different from your Sender email. To update your Shopify store’s contact email:
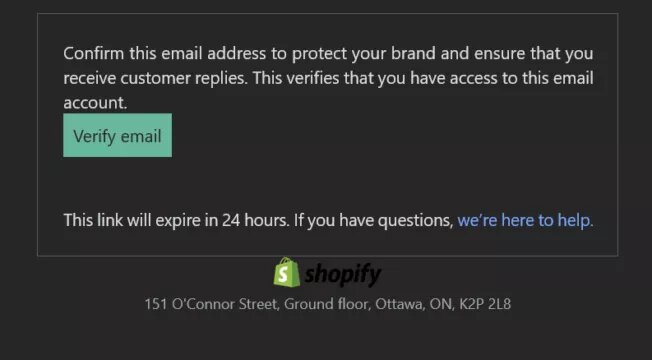
Once you’ve set your Shopify email address, you can start sending messages. However, to receive email, you need to take a few more steps in your Shopify Email setup.
Shopify doesn’t provide email hosting services. However, you can create custom email addresses using your domain (like [email protected]) and then forward emails sent to those addresses to your existing email account (Gmail, Outlook, etc.).
Before launching, send a test email.
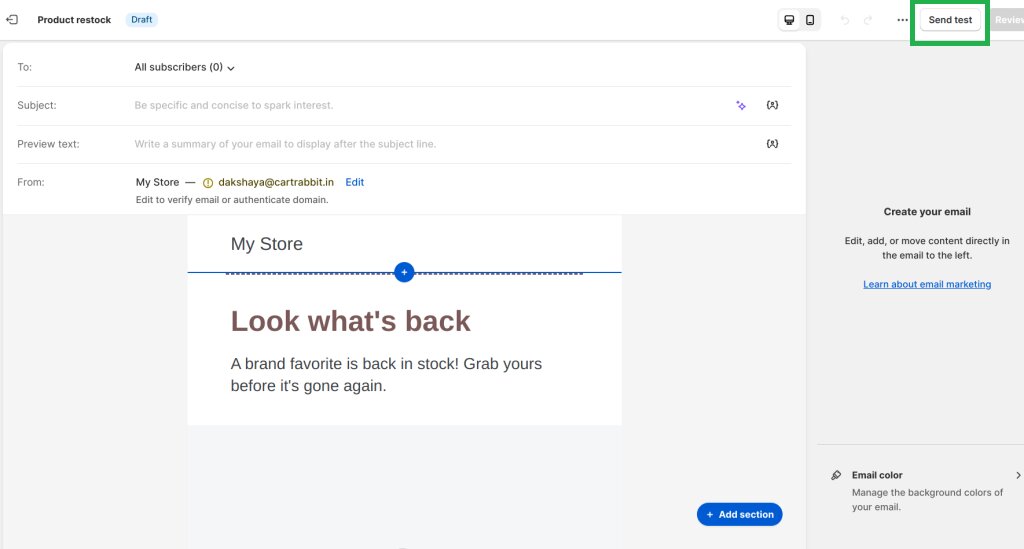
This concludes your Shopify Email setup. You can now start sending real campaigns to your customers.
Shopify charges you based on the number of emails you send. It uses a pay-as-you-go model that scales with your email volume.
What you get for free
Once you exceed the free limit, you’re required to pay a specific fee for extra emails sent.
Here’s a breakdown of Shopify Email pricing:
| Email volume (per month) | Cost |
|---|---|
| First 10,000 | Free |
| 10,001–300,000 | $1/1,000 emails |
| 300,001–750,000 | $0.65/1,000 emails |
| 750,001+ | $0.55/1,000 emails |
Shopify offers tiered volume discounts that reward higher sending levels. The more emails you send, the less you pay per 1,000 emails.
Key rules to remember
Let’s look at a simple example to help you understand Shopify Email pricing better:
If you send two campaigns to 6,000 subscribers each, that’s 12,000 total emails for the month. Here’s what you’d pay:
Shopify Email vs third-party apps
Most third-party platforms like Omnisend charge based on subscriber count instead of email volume. For example, if you have 5,000 subscribers, you pay a flat monthly fee regardless of whether you send one email or twenty.
Shopify Email’s volume-based pricing can become expensive if you send frequent automations or multiple campaigns monthly. It’s best if you’re just starting out and only send a few targeted campaigns.
For heavy, advanced automations and frequent promotions, subscriber-based pricing offers better value for money.
Quick math: If your store has 5,000 subscribers and you send four campaigns a month, that is 20,000 total emails. Your cost would be exactly $10/month with Shopify Email ($0 for the first 10,000 + $10 for the next 10,000).
You want professional-looking emails to enhance credibility and build trust with your customers.
Instead of sending messages from a generic Gmail address, you can use a Shopify business email. It’s a custom address like [email protected] that matches your store name.
Since Shopify isn’t an email hosting provider, you can manage communications through email forwarding or by connecting a third-party tool.
Here’s what you need:
If you bought your domain through Shopify, you can create a custom email address and forward emails to your existing inbox (like Gmail or Outlook).
Follow these steps to set up Shopify Email forwarding:
Shopify will now forward incoming emails to your regular inbox.
Important notes:
Shopify email forwarding is ideal for basic communication, but it becomes limiting as your store grows.
If you want to maintain professional email communication using a branded domain, you need third-party email hosting.
It allows you to:
Shopify supports Zoho Mail and Google Workspace as third-party email hosting service providers.
To set up Shopify Email hosting through third-party apps, follow the process below:
Note: Setup details vary by provider, so follow their documentation for exact instructions.
Email forwarding vs third-party hosting: Quick comparison
| Feature | Email forwarding | Third-party hosting |
|---|---|---|
| Best for | New stores and solo founders | Growing brands and teams |
| Sending emails | Shows personal address | Shows branded domain |
| Cost | Free with Shopify domain | Monthly fee per user |
| Complexity | Low | Moderate |
The bottom line:
Email forwarding handles incoming messages but limits your outbound communication. Third-party hosting gives you complete control over your Shopify business email. You maintain a professional appearance in all customer interactions and can scale communication as your team grows.
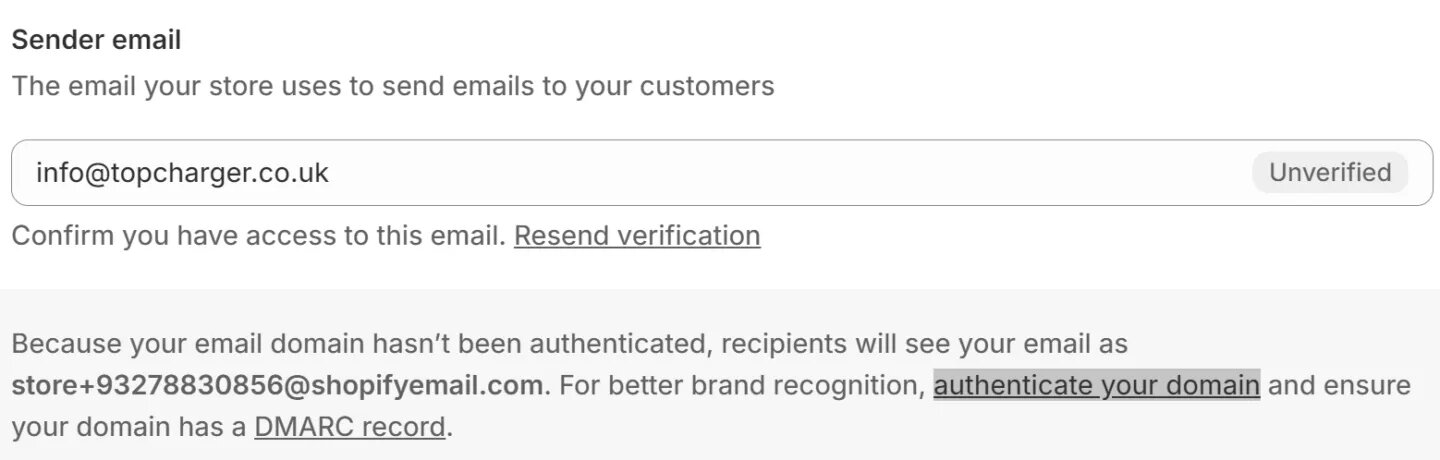
Gmail and Yahoo now require email authentication to deliver messages from your business domain. Without proper setup, your Shopify emails will struggle with deliverability by landing in spam folders and getting rejected.
When authentication fails, Shopify automatically rewrites your sender address to something like [email protected]. So, instead of your professional domain, customers see this generic address.
To avoid that, you need to authenticate your domain using Shopify DKIM settings.
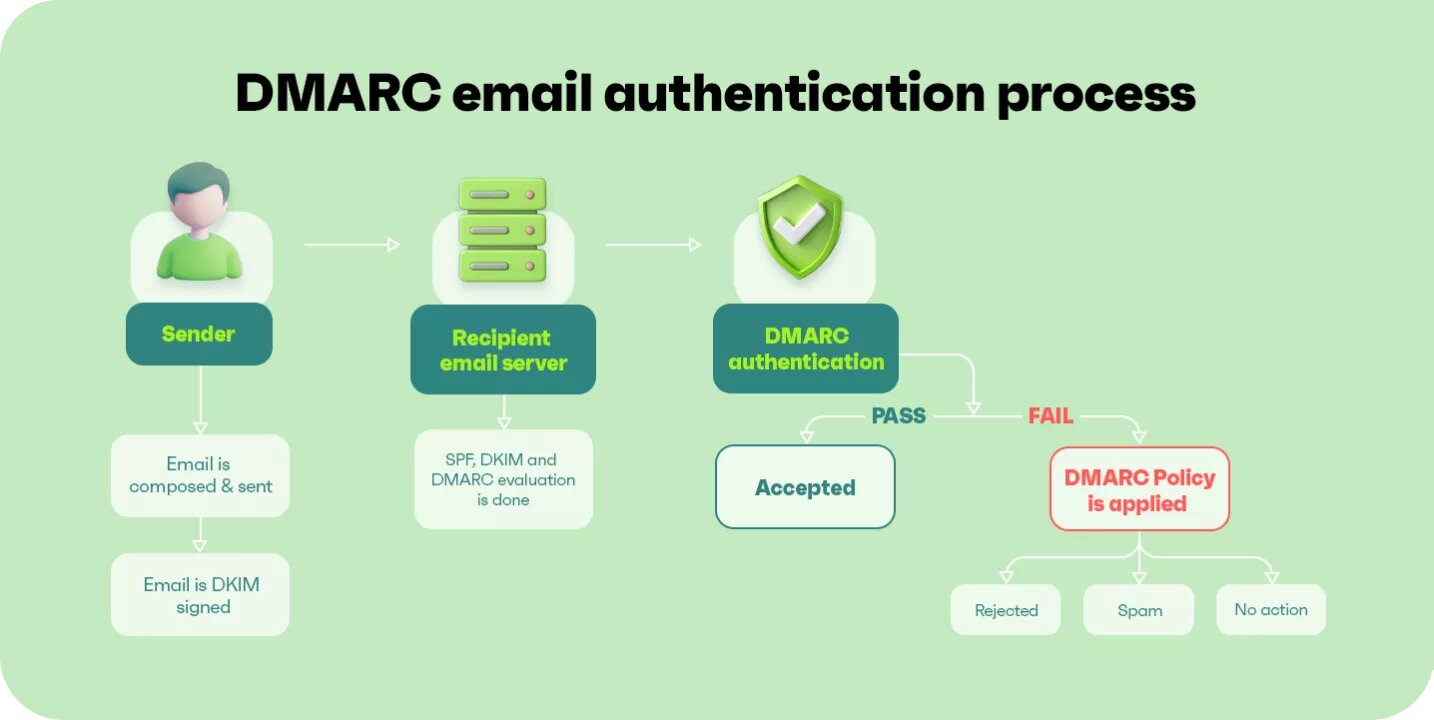
Your Shopify SPF record, DKIM, and DMARC protocols authenticate your emails and determine what happens when emails are received. Think of email authentication as a three-part security system for every message you send:
All three authentication protocols work together to protect your domain and improve deliverability for your Shopify emails.
You need an active paid Shopify subscription to add authentication records. If you already have one, follow these steps to set up SPF and DKIM using Shopify’s CNAME method:
Domains purchased through Shopify already have default DMARC TXT records. You can edit yours under Settings > Domains > Edit DNS if necessary.
If your domain comes from another provider, you can add the record manually by following this DMARC setup guide:
This setting monitors authentication without blocking messages. You can tighten the policy later once you understand your email patterns.
Once you’ve updated your settings, use tools like MXToolbox or DMARC Analyzer to confirm that your Shopify Email setup works. Simply enter your domain, and these tools will scan your DNS records to show any missing or broken authentication settings.
Note: Platforms like Omnisend automatically handle SPF and DKIM authentication after you connect your domain, removing the need for manual DNS configuration.
Quick authentication checklist:
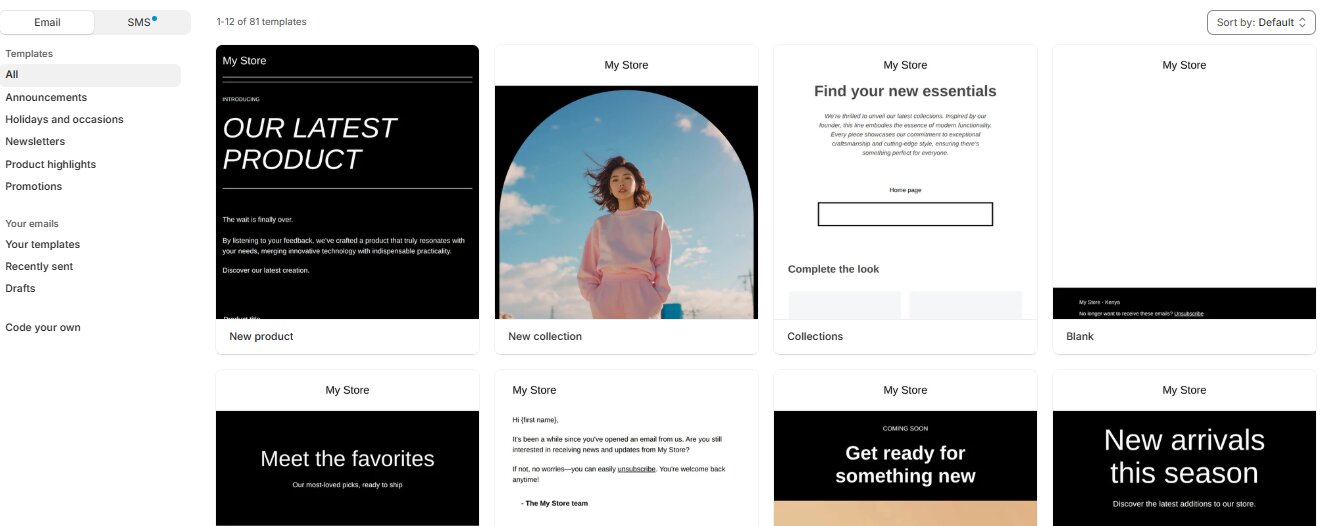
Shopify Email offers basic features to create and send professional email campaigns. You can manage workflows and track results without leaving your Shopify dashboard.
Here are some of its features:
Is Shopify Email a good fit for you?
| Yes, if you: | No, if you: |
|---|---|
| Have fewer than 10,000 subscribers | Have 10,000+ subscribers and send frequent email campaigns |
| Need basic newsletters and promotional campaigns | Want email, SMS, and push notifications in a single unified flow |
| Want a free, no-code solution | Require more advanced segmentation (engagement scoring, predicted LTV, or browse behavior) |
| An ecommerce marketing beginner | Need complex, multi-step automation workflows |
| Only plan to focus on email | Need detailed revenue attribution for every automation |
Shopify Email is suitable for email marketing beginners. It’s built into your store, requires minimal setup, and offers up to 10,000 free emails monthly.
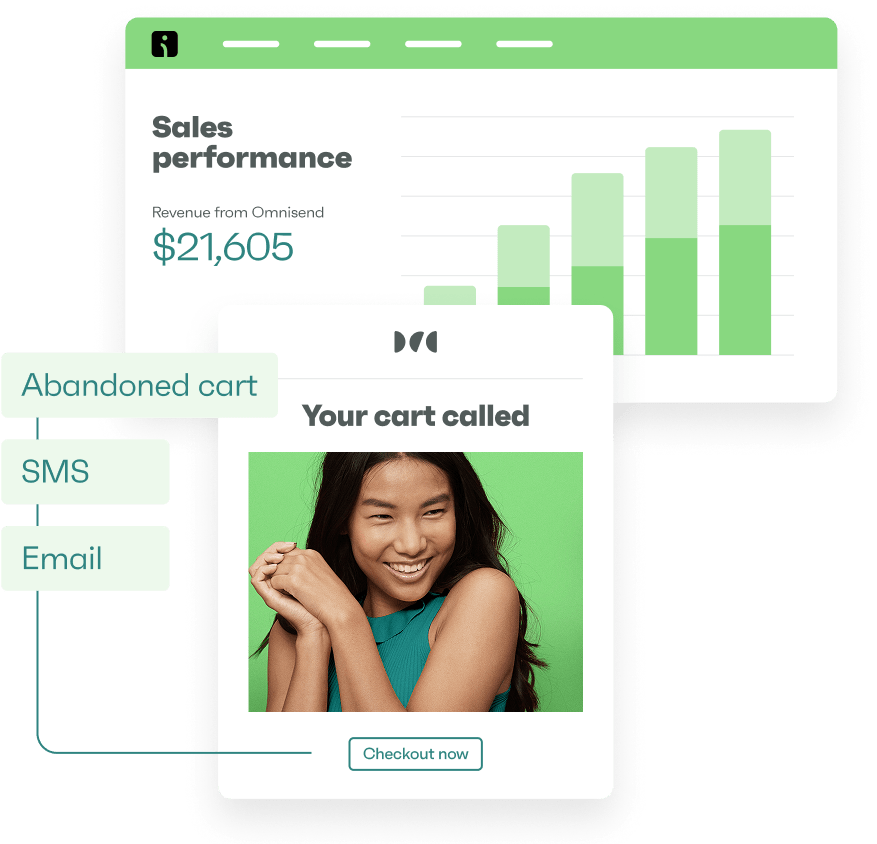
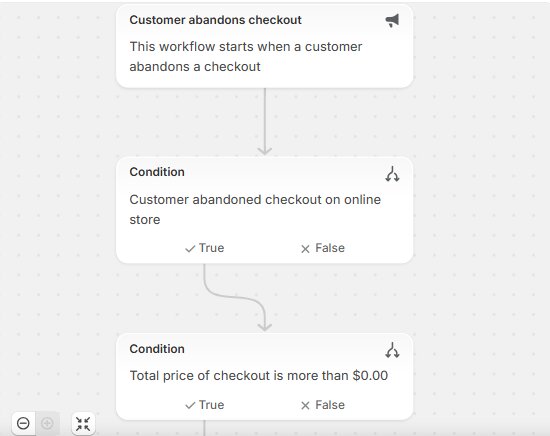
The app also offers simple newsletter templates and email automations for welcome flows and abandoned cart reminders.
However, as your store grows and needs become more complex, basic Shopify marketing emails may not be enough. The Shopify Email marketing app lacks advanced multi-step automation workflows that cover the whole customer journey.
Email marketing for Shopify also offers basic segmentation by purchase history and location, but it lacks advanced targeting options. Plus, it’s limited to email and SMS marketing, while advanced tools offer additional channels like push notifications and social media.
Consider switching to more advanced tools like Omnisend if:
Here’s a table comparing Omnisend and Shopify Email:
| Feature | Shopify Email | Omnisend |
|---|---|---|
| Free tier | Free (10K emails/month) | Generous free plan (500 emails and 250 contacts/month + all essential features) |
| Paid plans | $1/1000 emails (pay-as-you-go) | $16/month (6,000 emails and 500 contacts/month) |
| Email templates | 80+ templates | 250+ templates |
| Automations | Basic pre-built flows (welcome, cart, winback) | Advanced multi-step workflows with conditional branching |
| Channels | Email + SMS (basic) | Email + SMS + push + Facebook/Google |
| Segmentation | Purchase history, location | Engagement, lifecycle, predicted CLV, RFM |
| A/B testing | Subject lines only | Subject lines, content, timing, workflows |
| Product suggestions | Static (manual addition) | Dynamic (AI-driven, behavior-based) |
| Revenue attribution | Basic (sales per campaign) | Advanced (per message, automation, and channel) |
| Shopify integration | Native (built-in) | One-click app installation and real-time data sync |
| Customer support | Basic Shopify support | 24/7 live chat and email support + dedicated account expert |
If you decide to upgrade to an advanced tool, Omnisend is a Shopify Email alternative worth considering.
Here are some of its notable features:
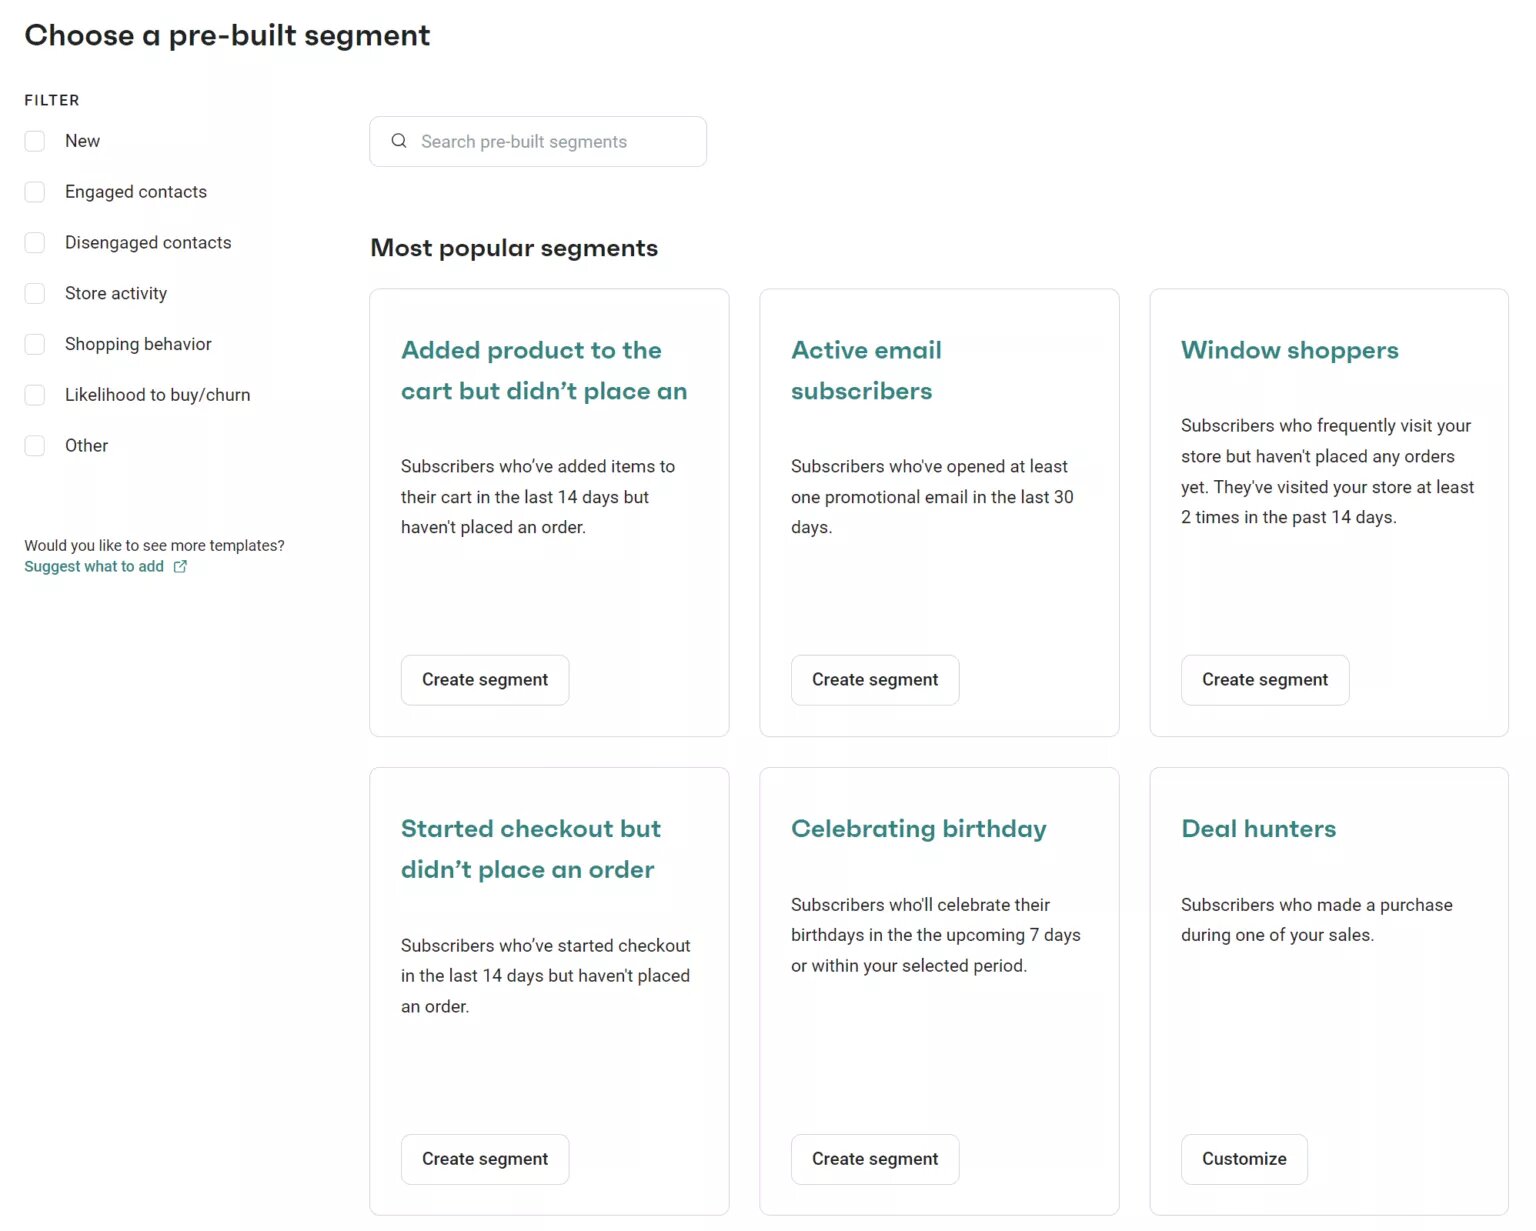
Once you have segments, you can build customer journeys with conditional splits that branch based on behavior, trigger filters that activate workflows from actions, and exit conditions that stop messaging to prevent overload:
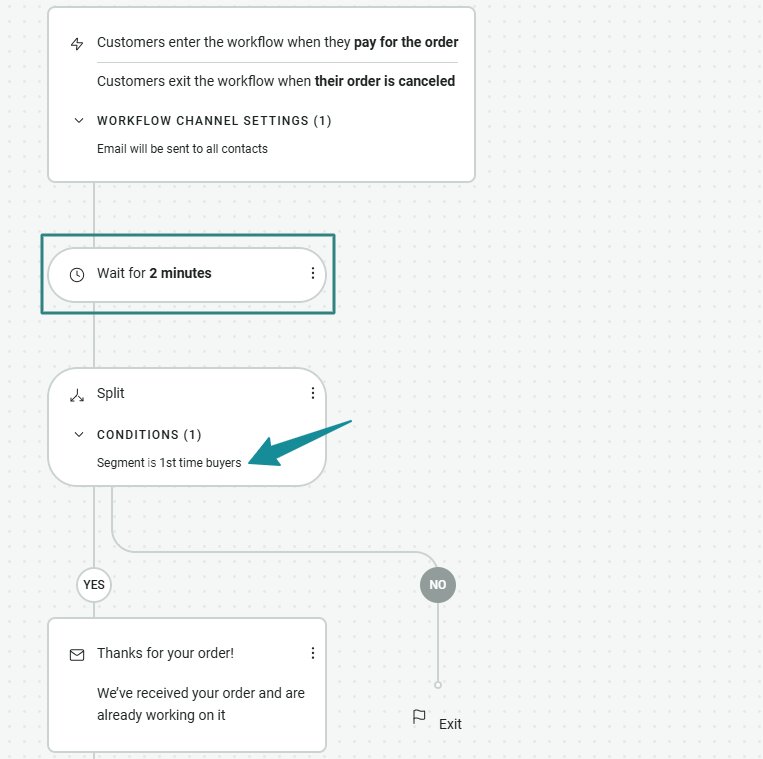
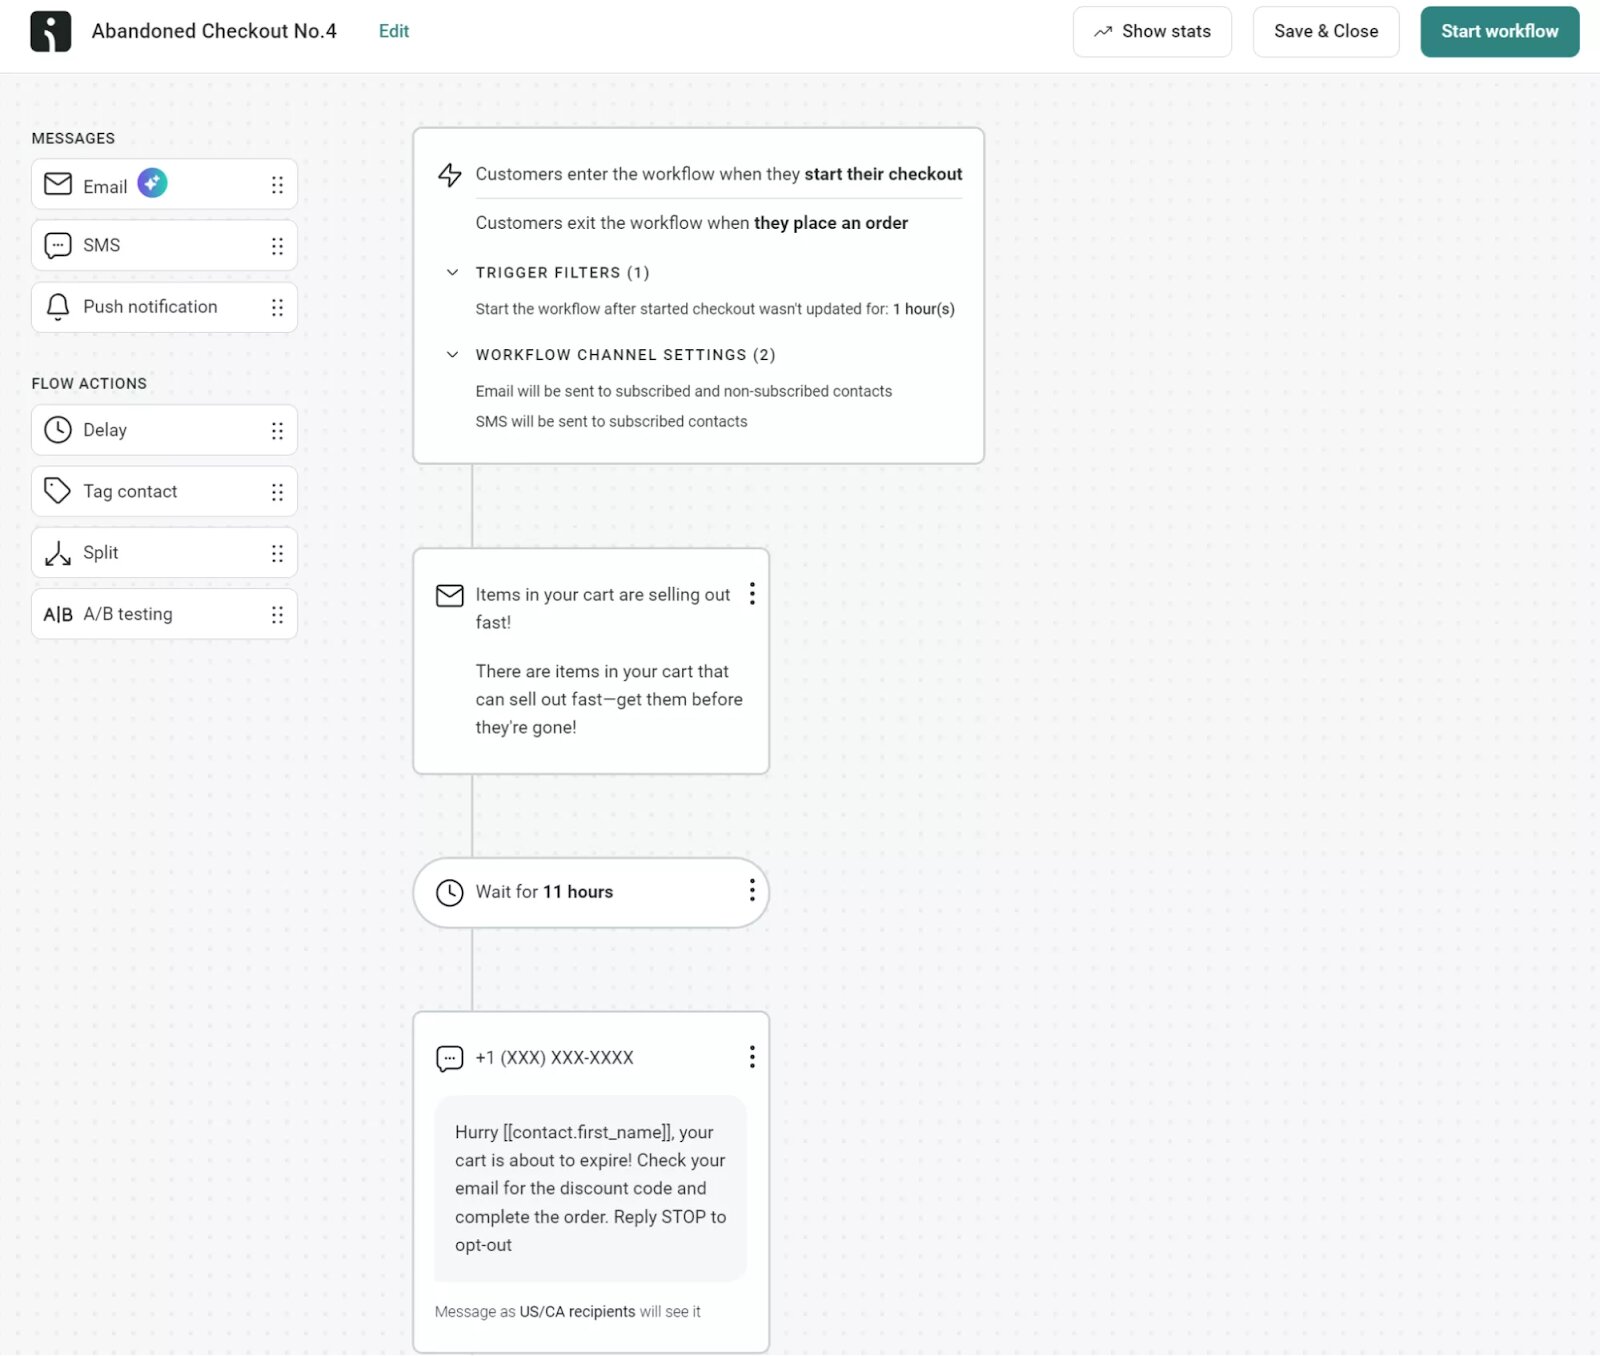
You can send a cart abandonment email, follow up with an SMS reminder, and then deliver a post-purchase message thanking your customer.
Email marketing Shopify strategies can produce significant results. According to our latest report, automated messages generate 30% of all email sales despite making up only 2% of total sends.
When you use Omnisend for Shopify, you can build targeted, multichannel journeys that drive more revenue with less effort. Plus, unlike other platforms that lock features behind paid plans, Omnisend includes all essential features even in its free plan.
One company that generated more revenue with better automation is Gamehide. After switching from Mailchimp to Omnisend, it achieved a 7.7% welcome email conversion rate and a 45% automation open rate, with abandoned cart emails converting at 6.66%.
Read the full case study here.
Setting up Shopify Email correctly ensures your customers receive timely messages, which is important for the growth of your ecommerce store.
By configuring your sender email, setting up forwarding, and adding authentication records, your messages go straight into every subscriber’s inbox.
Whether you’re launching your first campaign or managing thousands of subscribers, the right email setup can generate real revenue.
Your tools should evolve with your marketing needs. Start simple, track results, and upgrade when you need more complex features.
When you’re ready for advanced automation and multi-channel capabilities, Omnisend’s free plan lets you get started without financial risk.
Quick sign up | No credit card required
Yes, Shopify Email comes built into your store dashboard and handles basic email marketing needs. It’s real, and thousands of merchants use it daily for email marketing campaigns.
It’s free for the first 10,000 messages/month, and extra emails cost $1/1,000 messages up to 300,000 — those rates are competitive, but Shopify Email lacks the complex automations and workflows to cover your entire customer journey.
Shopify forwards emails but doesn’t provide actual email hosting. When someone emails [email protected], it bounces to your separate inbox. You reply from Gmail or another email client, not your business address.
Shopify recommends Google Workspace and Zoho Mail, but Outlook works too. Any email provider can connect to your Shopify domain via a custom DNS configuration in your hosting settings.
A domain-linked email, like [email protected], beats generic addresses. Branded emails get opened more often and look more trustworthy to customers.
Omnisend consistently ranks as one of the best alternatives to Shopify Email. It offers advanced automation workflows, integrated SMS, and deeper segmentation. Meanwhile, Shopify Email is ideal for simple email marketing needs.
Yes. While SMS marketing is helpful, the capabilities are basic compared to those offered by specialized tools. If you want advanced SMS automation and a broader, global reach, you need platforms like Omnisend that combine email and SMS in a single workflow.
TABLE OF CONTENTS
TABLE OF CONTENTS
What’s next


No fluff, no spam, no corporate filler. Just a friendly letter, twice a month.